TimeLiner Window
The TimeLiner dockable window enables you to link items in the model to project tasks, and simulate project
schedules.
To toggle the TimeLiner window
■
Click TimeLiner
on the Workspace toolbar.
Menu: Tools
➤
TimeLiner
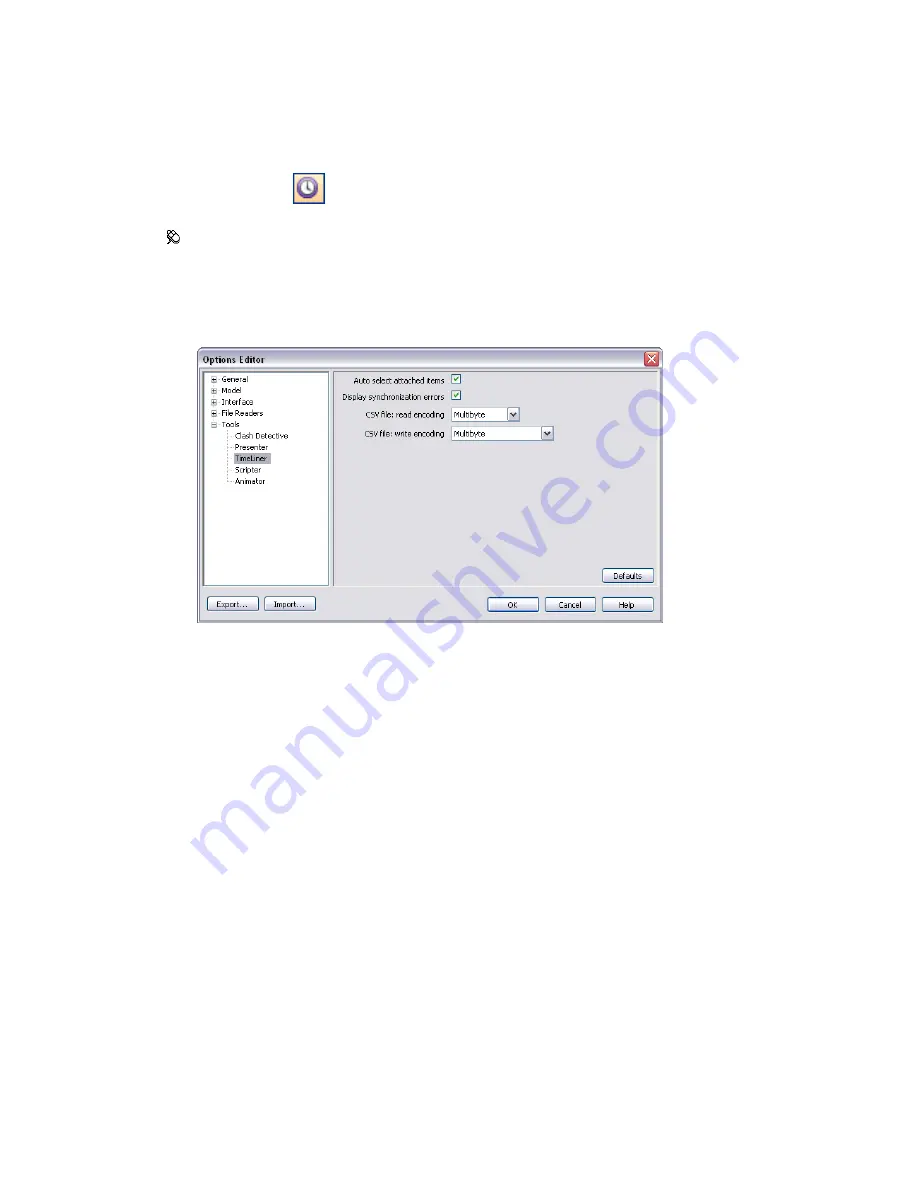
To set TimeLiner options
1
Click Tools
➤
Global Options.
2
Expand the Tools node in the Options Editor, and click the TimeLiner option.
3
On the TimeLiner page, select the Auto Select Attached Items check box if you want TimeLiner to select
any attached items in the Scene Area as you select each task in the TimeLiner window.
4
Select the Display Synchronization Errors check box if you want TimeLiner to inform you of errors when
synchronizing tasks from external links.
5
Click OK.
Tasks Tab
The Tasks tab enables you to create and manage project tasks. It shows all of the tasks in your schedule, listed
in a table format. You can use the scroll bars at the right and at the bottom of the tab to move through the task
records.
336 | Chapter 15 Simulate Construction Scheduling
Summary of Contents for 507B1-90A211-1301 - NavisWorks Manage 2010
Page 1: ...Autodesk Navisworks Manage 2010 User Guide March 2009 ...
Page 12: ...xii Contents ...
Page 14: ...2 Part 1 Welcome to Autodesk Navisworks Manage 2010 ...
Page 64: ...52 Chapter 3 Installation ...
Page 97: ...Get a Whole Project View 85 ...
Page 98: ...86 Part 2 Get a Whole Project View ...
Page 136: ...124 Chapter 5 Work with Files ...
Page 178: ...To toggle ViewCube Click View Head Up Display ViewCube 166 Chapter 6 Explore Your Model ...
Page 262: ...250 Chapter 9 Use Viewpoints and Sectioning Modes ...
Page 270: ...258 Chapter 11 Work Within a Team ...
Page 282: ...270 Chapter 12 Share Data ...
Page 346: ...334 Chapter 14 Create Photorealistic Visualizations ...
Page 460: ...448 Chapter 17 Autodesk Navisworks Reference ...
Page 466: ...454 Glossary ...


