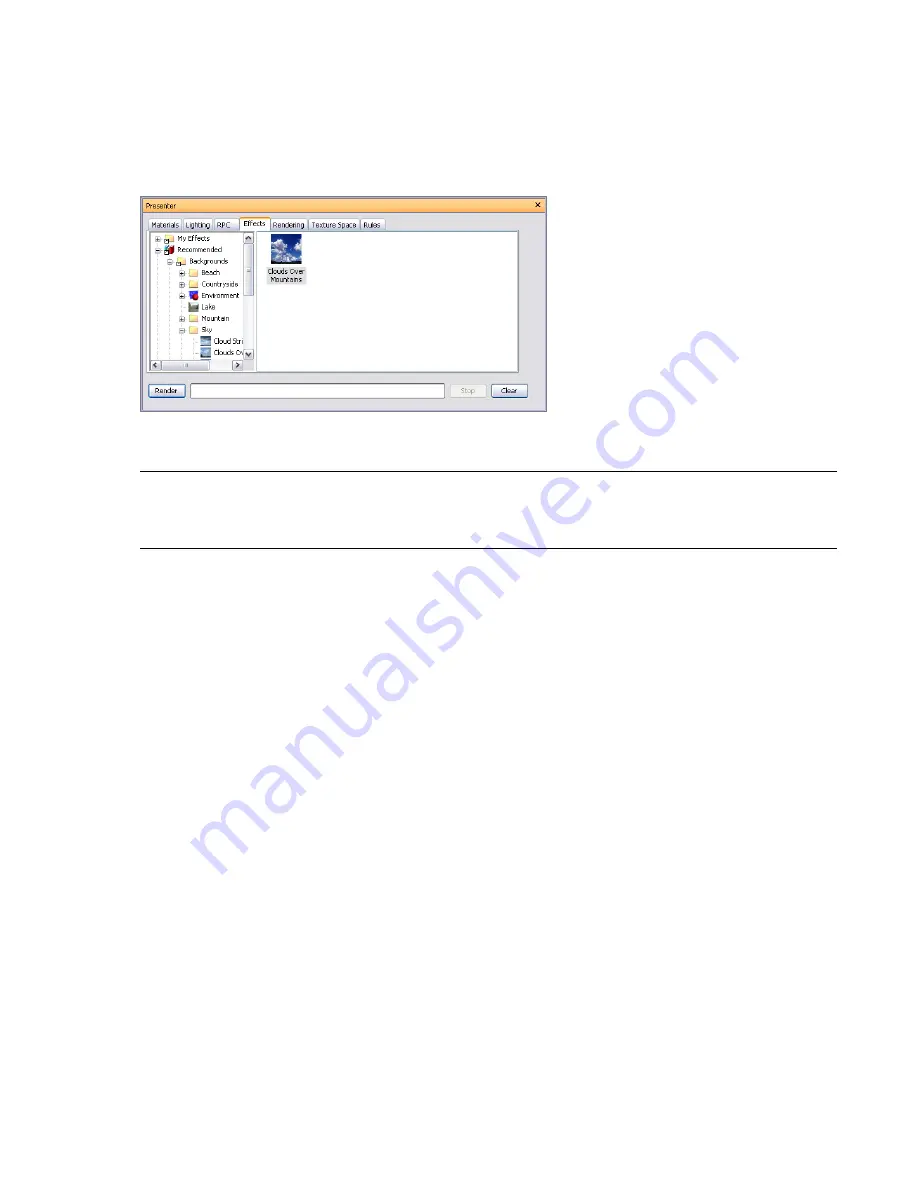
Use Presenter Rendering Effects
Effects Tab
tabs, the Effects tab is divided into two panes for archives and palette.
This tab is where you set up different background and foreground effects.
To set up an effect for the render, you simply drag a style from the archive to the palette. You can only have one
of each type of effect at once in the palette: that is, one background and one foreground style.
NOTE
A complete reference manual for all types of foregrounds, backgrounds and rendering styles is included with
the Autodesk Navisworks API (see
\API\COM\documentation\shaders.chm
). The Autodesk Navisworks API is included
with Autodesk Navisworks Manage 2010; it’s an optional feature in the installer, and is installed by default into the API
subfolder in the Autodesk Navisworks installation folder.
Background Effects
Background effects affect the background of the image when rendered and include plain colors, graduated colors,
procedural clouds and image files (tiled or scaled).
To set up a background for your render, simply drag your chosen background onto the palette on the right-hand
side of the tab. Most backgrounds can be rendered interactively in OpenGL so you have a good preview of how
the background will be fully rendered.
To edit your chosen background effect, simply double-click the effect in the palette. The Background Editor will
appear. Each editor will be different for each type of background. The Scaled Image editor is shown here:
Use Presenter Rendering Effects | 321
Summary of Contents for 507B1-90A211-1301 - NavisWorks Manage 2010
Page 1: ...Autodesk Navisworks Manage 2010 User Guide March 2009 ...
Page 12: ...xii Contents ...
Page 14: ...2 Part 1 Welcome to Autodesk Navisworks Manage 2010 ...
Page 64: ...52 Chapter 3 Installation ...
Page 97: ...Get a Whole Project View 85 ...
Page 98: ...86 Part 2 Get a Whole Project View ...
Page 136: ...124 Chapter 5 Work with Files ...
Page 178: ...To toggle ViewCube Click View Head Up Display ViewCube 166 Chapter 6 Explore Your Model ...
Page 262: ...250 Chapter 9 Use Viewpoints and Sectioning Modes ...
Page 270: ...258 Chapter 11 Work Within a Team ...
Page 282: ...270 Chapter 12 Share Data ...
Page 346: ...334 Chapter 14 Create Photorealistic Visualizations ...
Page 460: ...448 Chapter 17 Autodesk Navisworks Reference ...
Page 466: ...454 Glossary ...


