Work with Events
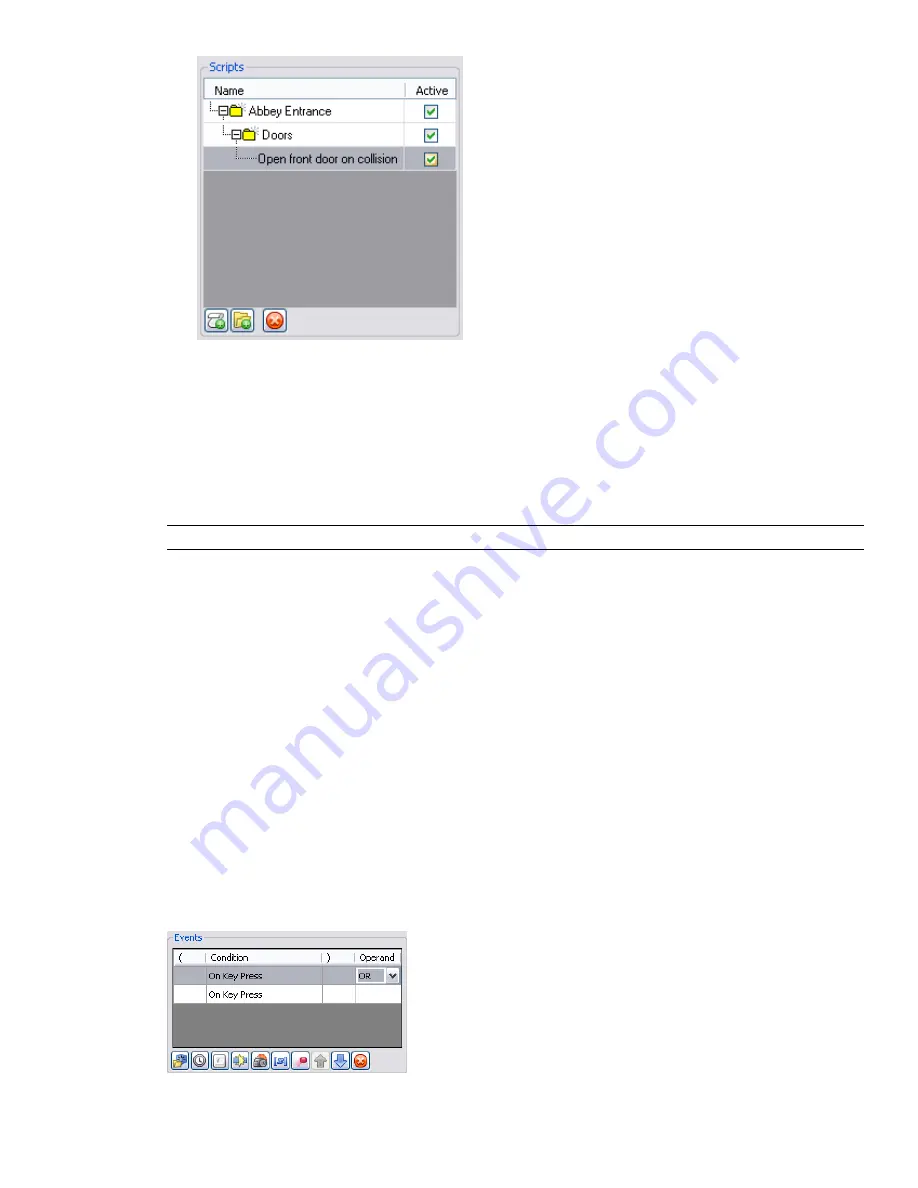
An event is the occurrence of an incident or a situation, such as a mouse click, key press or collision, which
determines whether your script is run or not.
Your script can have more than one event in it. However, the way you combine all event conditions in the script
becomes very important. That is you need to ensure the Boolean logic makes sense, the brackets are closed
properly, and so on.
NOTE
Until the combination of all event conditions in the script is satisfied, your script will not be executed.
Event Types
The following event types are available in Navisworks:
■
On Start
- event triggers a script as soon as scripting is enabled. If scripting is enabled when a file is loaded,
then any start events in the file will be triggered immediately. This is useful for setting up the initial conditions
of your script, such as giving initial values to variables, or moving the camera to a defined start point.
■
On Timer
- event triggers a script at predefined time intervals.
■
On Key Press
- event triggers a script with a specific button on the keyboard.
■
On Collision
- event triggers a script when the camera collides with a specific object.
■
On Hotspot
- event triggers a script when the camera is within a specific range of a hotspot.
■
On Variable
- event triggers a script when a variable meets a predefined criterion.
■
On Animation
- event triggers a script when a specific animation starts or stops.
Event Conditions
Events can be combined with a simple Boolean logic. To create an event condition you can use a combination
of brackets and AND/OR operators.
296 | Chapter 13 Animate Objects
Summary of Contents for 507B1-90A211-1301 - NavisWorks Manage 2010
Page 1: ...Autodesk Navisworks Manage 2010 User Guide March 2009 ...
Page 12: ...xii Contents ...
Page 14: ...2 Part 1 Welcome to Autodesk Navisworks Manage 2010 ...
Page 64: ...52 Chapter 3 Installation ...
Page 97: ...Get a Whole Project View 85 ...
Page 98: ...86 Part 2 Get a Whole Project View ...
Page 136: ...124 Chapter 5 Work with Files ...
Page 178: ...To toggle ViewCube Click View Head Up Display ViewCube 166 Chapter 6 Explore Your Model ...
Page 262: ...250 Chapter 9 Use Viewpoints and Sectioning Modes ...
Page 270: ...258 Chapter 11 Work Within a Team ...
Page 282: ...270 Chapter 12 Share Data ...
Page 346: ...334 Chapter 14 Create Photorealistic Visualizations ...
Page 460: ...448 Chapter 17 Autodesk Navisworks Reference ...
Page 466: ...454 Glossary ...


