To toggle gravity
➤
In walk navigation mode, click Gravity
on the Navigation Tools toolbar.
Menu: Viewpoint
➤
Navigation Tools
➤
Gravity
Command entry: CTRL + G
Crouching
NOTE
This function only works in connection with collision.
When walking or flying around the model with collision activated, you may encounter object that are too low
to walk under, a low pipe for example. This function enables you to crouch under any such objects.
With crouching activated, you will automatically crouch under any objects that you cannot walk under at your
specified height, thereby not impeding your navigation around the model.
TIP
To temporarily crouch under a low object, hold down the Space bar to allow navigation to proceed.
To toggle crouching
➤
In walk or fly navigation mode, click Crouch
on the Navigation Tools toolbar.
Menu: Viewpoint
➤
Navigation Tools
➤
Crouch
Collision
This function defines you as a collision volume - a 3D object that can navigate around and interact with the
model, obeying certain physical rules that confine you within the model itself. In other words, you have a mass
and as such, cannot pass through other objects, points or lines in the scene.
You can walk over, or climb over objects in the scene that are up to half the height of the collision volume, thus
allowing you to walk up stairs, for example.
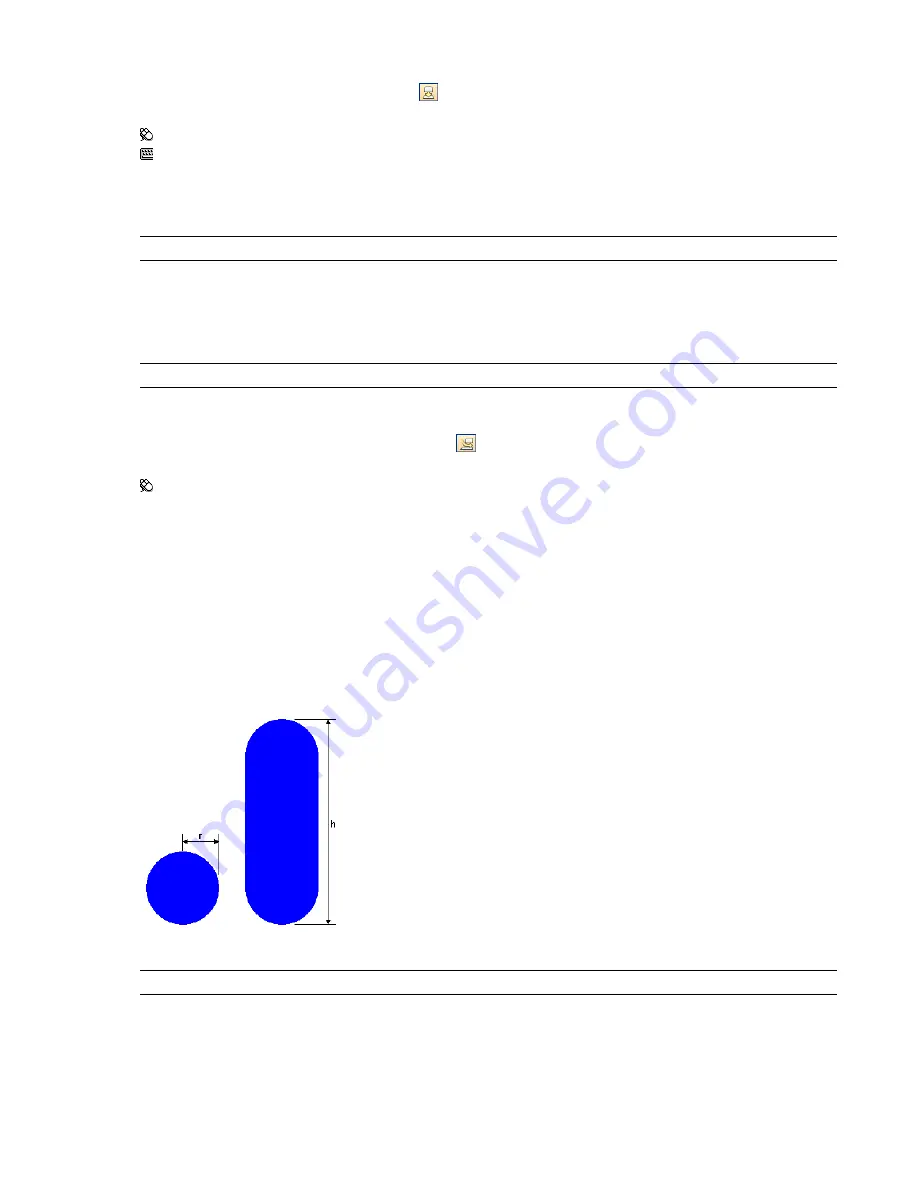
The collision volume, in its basic form, is a sphere (with radius = r), that can be extruded to give it height (with
height = h >= r). See diagram below:
The dimensions of the collision volume can be customized for the current viewpoint or as a global option.
NOTE
Collision can only be used in walk and fly navigation modes, and with the Walk tool for SteeringWheels.
When collision is turned on, rendering prioritization is changed so that objects around the camera or avatar are
displayed with much higher detail than normal. The size of the region of high detail is based on collision volume
radius and speed of movement (needing to see what is about to be walked into).
Crouching | 163
Summary of Contents for 507B1-90A211-1301 - NavisWorks Manage 2010
Page 1: ...Autodesk Navisworks Manage 2010 User Guide March 2009 ...
Page 12: ...xii Contents ...
Page 14: ...2 Part 1 Welcome to Autodesk Navisworks Manage 2010 ...
Page 64: ...52 Chapter 3 Installation ...
Page 97: ...Get a Whole Project View 85 ...
Page 98: ...86 Part 2 Get a Whole Project View ...
Page 136: ...124 Chapter 5 Work with Files ...
Page 178: ...To toggle ViewCube Click View Head Up Display ViewCube 166 Chapter 6 Explore Your Model ...
Page 262: ...250 Chapter 9 Use Viewpoints and Sectioning Modes ...
Page 270: ...258 Chapter 11 Work Within a Team ...
Page 282: ...270 Chapter 12 Share Data ...
Page 346: ...334 Chapter 14 Create Photorealistic Visualizations ...
Page 460: ...448 Chapter 17 Autodesk Navisworks Reference ...
Page 466: ...454 Glossary ...


