


When you select a wall or line that has an end joined to another (unselected) wall or line, movement is
constrained to a direction perpendicular to the selected wall or line to keep the joined end from extending
or shrinking. Press and hold
Shift
to remove this constraint.
Moving Elements with Arrow Keys
Use arrow keys on the keyboard to move selected elements vertically or horizontally. You cannot use the
arrow keys to move a level-based element up or down from the level.
Moving Elements with the Move Tool
The Move tool works similarly to dragging. However, it offers additional functionality on the Options Bar
and allows more precise placement. You can create multiple copies of an element when you move it.
To move elements with the Move tool:
1
Select the elements to move.
2
Click Modify <Element> tab
➤
Modify panel
➤
Move.
3
On the Options Bar, click the desired options:
■
Constrain
: Click Constrain to restrict the movement of the element along vectors that run
perpendicular or colinear to the element.
■
Disjoin
: Click Disjoin to break the association between the selection and other elements
before moving. This option is useful, for example, when you want to move a wall that is
joined to another wall. You can also use the Disjoin option to move a hosted element from
its current host to a new host. For example, you can move a window from one wall to another
wall. This feature works best when you clear the Constrain option.
■
Copy
: Click Copy to move a copy of the element. The original element remains in place.
When you select the Copy option, the Disjoin option becomes selected; you cannot clear it.
■
Multiple
: Click Multiple to create multiple copies of an element every time you click in the
drawing area. The option is available only when the Copy option is selected. See
on page 392. (To exit the Multiple Copy function, press
ESC
.)
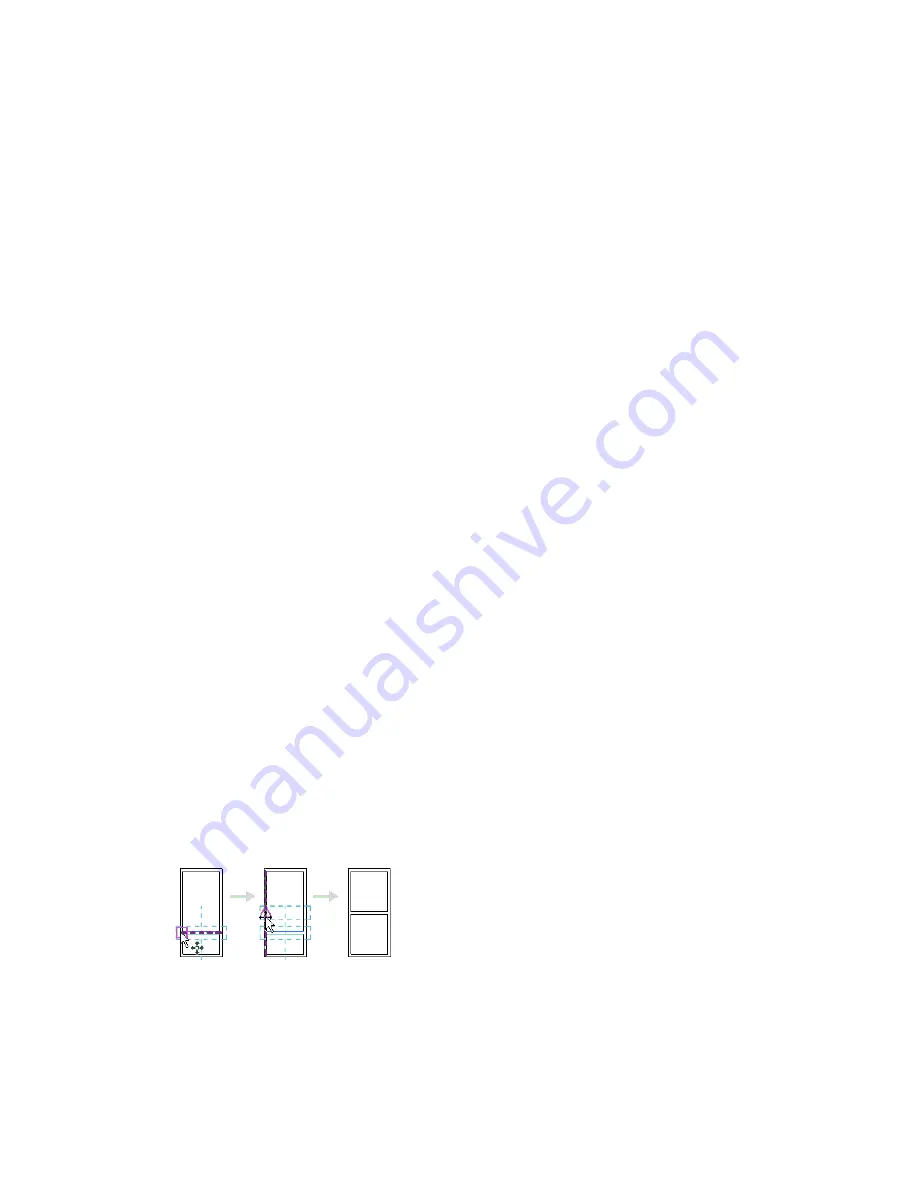
4
Click once to enter a start point for moving.
A preview image of the element appears.
5
Move the cursor in the direction that you want the element to move.
The cursor snaps to snap points. Dimensions appear as guides.
6
Click again to complete the move, or, for more precision, type a value for the distance to move
the element and press
ENTER
.
Moving Elements with Arrow Keys | 373
Summary of Contents for 256B1-05A761-1301 - AutoCAD Revit Structure Suite 2010
Page 1: ...Revit Architecture 2010 User s Guide March 2009 ...
Page 4: ......
Page 42: ...xlii ...
Page 84: ...42 ...
Page 126: ...84 ...
Page 166: ...124 ...
Page 229: ...Schedule Field Formatting Calculating Totals Specifying Schedule Properties 187 ...
Page 230: ...Schedule with Grid Lines Schedule with Grid Lines and an Outline 188 Chapter 5 Project Views ...
Page 304: ...262 ...
Page 427: ...Defining the first scale vector Defining the second scale vector Resizing Graphically 385 ...
Page 454: ...Before painting applying material to stairs 412 Chapter 8 Editing Elements ...
Page 456: ...414 ...
Page 486: ...444 ...
Page 674: ...632 ...
Page 809: ...Curtain wall Curtain Grid Curtain Walls Curtain Grids and Mullions 767 ...
Page 994: ...952 ...
Page 1016: ...974 ...
Page 1204: ...1162 ...
Page 1290: ...1248 ...
Page 1318: ...1276 ...
Page 1372: ...1330 ...
Page 1382: ...1340 ...
Page 1462: ...1420 ...
Page 1492: ...1450 ...


