


Alternatively, right-click a group name in the Project Browser and click Create Instance. Click
in the drawing area to place instances of the group. When you are finished placing groups, click
Place Group tab
➤
Select panel
➤
Modify.
NOTE
Attached detail groups cannot be dragged from the Project Browser into the drawing area.
To place an attached detail group:
1
Place an instance of a model group that has a detail group associated with it.
NOTE
Attached detail groups can only be placed in the view type in which they were created: plans
or section/elevation views. They cannot be placed in 3D views. The instance parameters for attached
detail groups indicate the types of views they can be placed in and to which model group they are
attached.
2
Click Place Group tab
➤
Select panel
➤
Modify.
3
Select the model group or multiple instances of the same model group.
4
Click Modify Model Groups tab
➤
Group panel
➤
Attached Detail Groups.
5
In the Attached Detail Group Placement dialog, select the detail groups to display, or clear the
detail groups to hide in the current view.
6
Click OK.
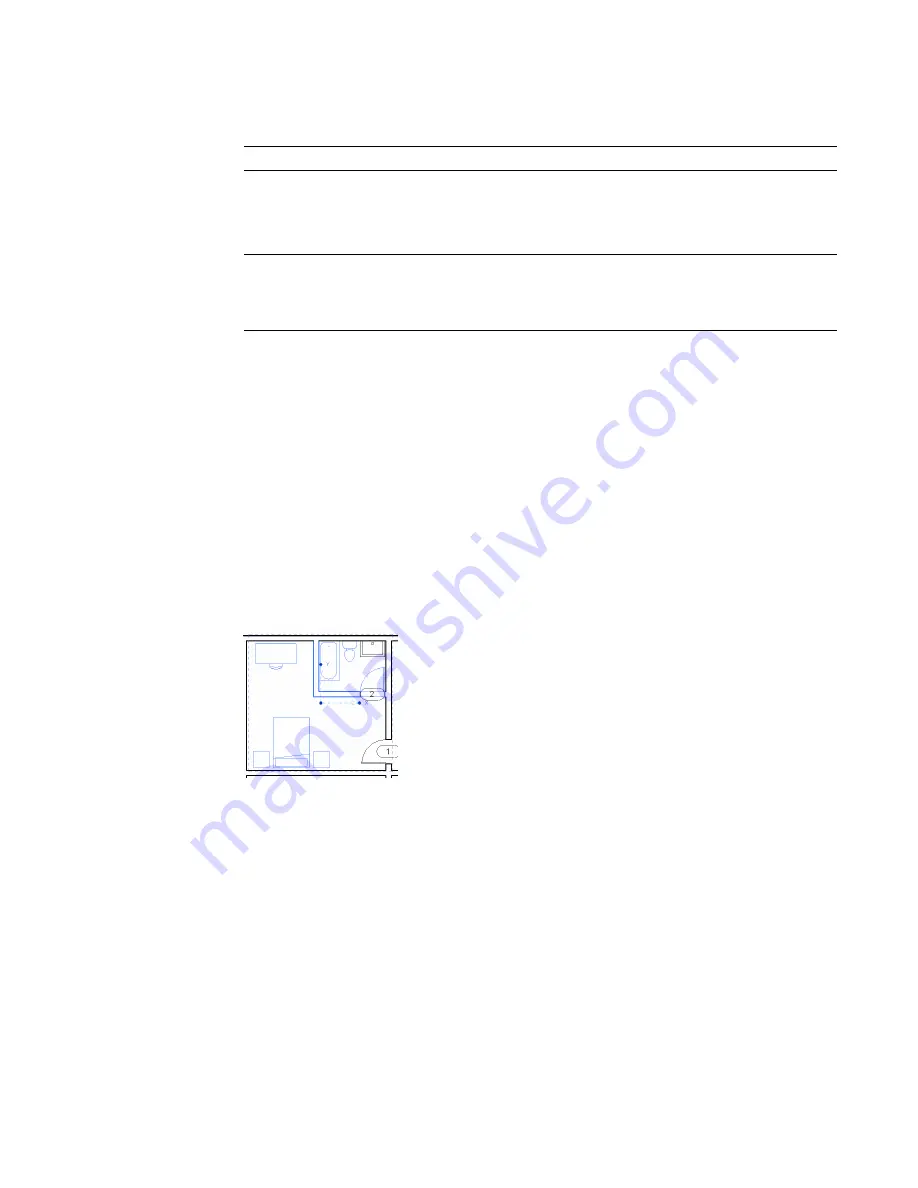
Specifying the Position of a Group by its Origin
When you are placing, moving, rotating, or pasting groups, the cursor is at the group origin. You can modify
the position of the group origin. Once established, the origin position is used for each instance of the group
that you place.
1
To display the origin, select the group in plan or 3D view. Three drag controls display.
2
Drag the center control to move the origin.
3
Drag the end controls to rotate the origin about the z axis.
Snap points help you place the origin or rotate the end controls.
The following image shows the same group with its origin moved. The origin snaps to the wall.
Placing Groups | 359
Summary of Contents for 256B1-05A761-1301 - AutoCAD Revit Structure Suite 2010
Page 1: ...Revit Architecture 2010 User s Guide March 2009 ...
Page 4: ......
Page 42: ...xlii ...
Page 84: ...42 ...
Page 126: ...84 ...
Page 166: ...124 ...
Page 229: ...Schedule Field Formatting Calculating Totals Specifying Schedule Properties 187 ...
Page 230: ...Schedule with Grid Lines Schedule with Grid Lines and an Outline 188 Chapter 5 Project Views ...
Page 304: ...262 ...
Page 427: ...Defining the first scale vector Defining the second scale vector Resizing Graphically 385 ...
Page 454: ...Before painting applying material to stairs 412 Chapter 8 Editing Elements ...
Page 456: ...414 ...
Page 486: ...444 ...
Page 674: ...632 ...
Page 809: ...Curtain wall Curtain Grid Curtain Walls Curtain Grids and Mullions 767 ...
Page 994: ...952 ...
Page 1016: ...974 ...
Page 1204: ...1162 ...
Page 1290: ...1248 ...
Page 1318: ...1276 ...
Page 1372: ...1330 ...
Page 1382: ...1340 ...
Page 1462: ...1420 ...
Page 1492: ...1450 ...


