Benutzerhandbuch / User instructions
Manuel d’instructions / Manuale
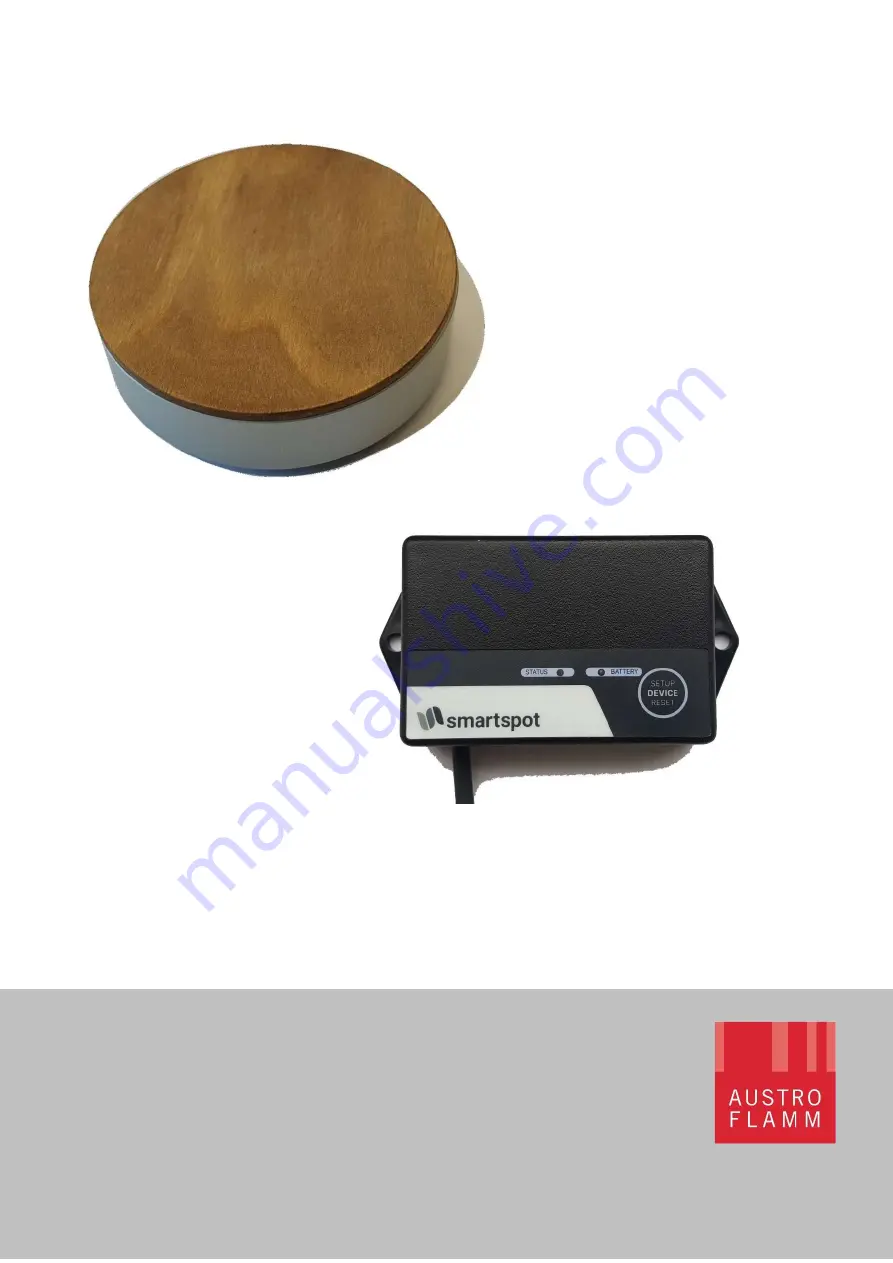
SmartSpot SmartSpot Receiver
Page 1: ...Benutzerhandbuch User instructions Manuel d instructions Manuale SmartSpot SmartSpot Receiver ...
Page 2: ......
Page 3: ...eser ermöglicht Ihnen die Messung der aktuellen Raumtemperatur an der von Ihnen gewünschten Position im Wohnraum Die Verbindung zum Ofen erfolgt mittels Bluetooth Funktechnologie Abhängig vom Ofenmodel ist für die Funktion des SmartSpot die zusätzliche Installation eines SmartSpot Receivers erforderlich Technische Daten Abmessungen 84 x 28 mm Gewicht 100 g Batterie 2 x AAA Batterien incl Batterie ...
Page 4: ...L DISPLAY ab Baujahr 2020 verfügen benötigen keinen SmartSpot Receiver Der SmartSpot Sensor kann hier direkt mit dem Display verbunden werden Wechseln Sie in den Einstellungen auf Bluetooth Geräte Starten Sie die Funktion Gerät hinzufügen Drücken Sie auf Verbinden Ein neues Gerät wird gesucht Nun drücken Sie einmal kurz auf die mit 1 markierte Taste im Inneren des SmartSpot Sensors Nach einigen Se...
Page 5: ...en SmartSpot Receiver wie folgt an der Steuerung an 4 Verbinden des SmartSpot Sensors mit dem Receiver Der SmartSpot Receiver muß an der Ofensteuerung angeschlossen und mit Strom versorgt sein KONTROLLE LED am Receiver blinkt langsam grün Die Batterien des SmartSpot Sensor müssen richtig eingelegt sein Nun drücken Sie kurz die mit 1 markierte Taste des SmartSpot Sensors LED blinkt nun grün Danach ...
Page 6: ... Taste zum Verbinden LED blinkt Gelb Batterie schwach Batteriestatus 20 LED blinkt Rot Batterie leer Batteriestatus 10 Keine oder falsche Temperaturwerte SmartSpot ist nicht verbunden Verbinden Sie den SmartSpot laut Anleitung Keine Verbindung Der SmartSpot ist zu weit entfernt Verringern Sie die Entfernung zum Ofen Gemessene Temperatur ist zu hoch falsch Platzierung des SmartSpot Direkte Sonnenei...
Page 7: ...le you to measure the current room temperature at your favoured position in your living room The connection with your stove will be made via Bluetooth Depending on the stove model an additional installation of a SmartSpot receiver may be necessary in order to use the function of the SmartSpot Technical data dimensions 84 x 28 mm weight 100 g battery 2 x AAA batteries incl battery lifespan 1 year s...
Page 8: ...equipped with an XL DISPLAY manufacture year 2020 do not need a SmartSpot receiver The SmartSpot sensor can be connected directly with the display Change the setting to Bluetooth devices Choose the function add Bluetooth device Press connect A new device is being searched for Now briefly press the highlighted button 1 on the inside of the SmartSpot sensor After a few seconds the connection build u...
Page 9: ...receiver to the control board as follows 4 Connecting the SmartSpot sensor with the receiver The SmartSpot receiver must be connected to the stove s control board and the power must be on TEST LED light on the receiver slowly blinks green The batteries of the SmartSpot sensor must be inserted correctly Now briefly press the highlighted button 1 on the inside of the SmartSpot sensor LED light blink...
Page 10: ...order to connect flashes yellow batterie low batterie status 20 flashes red batterie empty batterie status 10 no or wrong temperature display SmartSpot is not connected connect the SmartSpot acc to the instructions no connection SmartSpot is too far away from the receiver display reduce the distance to the stove measured temperature is too high misplacement of the SmartSpot avoid direct sun the im...
Page 11: ...Grâce à lui vous pouvez mesurer la température de l air là où vous le souhaitez dans votre pièce à vivre La connexion au poêle se fait par technologie sans fil Bluetooth Selon le modèle le fonctionnement du SmartSpot peut nécessiter l installation d un récepteur SmartSpot Caractéristiques techniques Dimensions 84 x 28 mm Poids 100 g Piles 2 piles AAA incl Durée de vie des piles 1 an Portée du sign...
Page 12: ...à partir de 2020 ne nécessitent pas de récepteur SmartSpot Le capteur SmartSpot peut en effet être connecté directement à l écran Dans les réglages sélectionnez appareils bluetooth Lancez la fonction ajouter appareil Appuyez sur connecter pour lancer la recherche d un nouvel appareil Appuyez alors brièvement sur la touche marquée d un 1 à l intérieur du capteur SmartSpot La connexion est confirmée...
Page 13: ... comme suit 4 Connexion du capteur SmartSpot au récepteur Le récepteur SmartSpot doit être raccordé à la commande du poêle et alimenté en courant CONTRÔLE clignotement vert lent de la LED du récepteur Les piles du capteur SmartSpot doivent être installées correctement Appuyez alors brièvement sur la touche marquée d un 1 du capteur SmartSpot La LED clignote alors vert Appuyez ensuite sur la touche...
Page 14: ...epteur ou de l écran La LED clignote jaune Pile faible Niveau de charge 20 La LED clignote rouge Pile déchargée Niveau de charge 10 Aucune ou mauvaises températures Le SmartSpot n est pas connecté Connectez le SmartSpot conformément aux instructions Pas de connexion Le SmartSpot est trop éloigné Rapprochez le du poêle Température mesurée trop élevée Mauvais emplacement du SmartSpot Évitez d expose...
Page 15: ...rare la temperatura ambiente laddove preferite trascorrere il vostro tempo Il collegamento con la vostra stufa avviene via Bluetoooth In funzione del modello di stufa il funzionamento dello SmartSpot potrebbe richiedere l installazione di un ricevitore SmartSpot Dati tecnici dimensioni 84 x 28 mm peso 100 g batteria 2 x batterie AAA incl Durata batteria 1 anno Portata del segnale fuori dentro 40 m...
Page 16: ... non necessitano di ricevitore Lo SmartSpot può essere collegato direttamente con il display Nelle impostazioni sotto Dispositivi Bluetooth scegliete la funzione aggiungi dispositivo Bluetooth Premete su connessione Viene avviata la ricerca di un nuovo dispositivo Ora premete leggermente il tasto 1 all interno dello SmartSpot Dopo alcuni secondi la connessione viene confermata E quindi possibile s...
Page 17: ...llo come indicato di seguito 4 Collegamento dello SmartSpot con il ricevitore Il ricevitore dello SmartSpot deve essere collegato con il pannello di controllo della stufa la quale deve essere collegata alla presa di corrente PROVA sul ricevitore la luce verde LED lampeggia lentamente Le batterie dello SmartSpot devono essere inserite correttamente Ora premete rapidamente il tasto 1 dello SmartSpot...
Page 18: ...so batterie scariche status batterie 10 Mancata visualizzazione o visualizzazione errata della temperatura Lo SmartSpot non è connesso connettete lo SmartSpot seguendo le istruzioni Non connesso Lo SmartSpot è troppo lontano da ricevitore display Riducete la distanza dalla stufa La temperatura misurata è troppo elevata Lo SmartSpot non è posizionato correttamente Evitate l esposizione diretta al s...
Page 19: ......
Page 20: ...Austroflamm GmbH Austroflamm Platz 1 4631 Krenglbach Austria Stand 03 2020 ...