17
Power Sources
The device can be powered from the following sources:
• DC power from a USB power source, such as a computer
•
AC power by adding a USB to AC adaptor (optional)
•
DC car charger by adding a USB to DC car adaptor (optional)
• Solar power
• Hand crank power
• Three AAA batteries (optional)
NOTE: There is a charging LED on the back of the unit. The LED lights RED during charging.
When fully charged, the LED turns GREEN.
DC and AC Power
Prior to using the appliance, we recommend you fully charge the rechargeable battery through the USB
power input. This may take up to four hours.
Connect the DC power input cable (not included) to the USB mini jack, and the other end to the USB
power source. The red battery charge indicator light will illuminate when charging. Continue to charge
the radio for several hours or until the charging light turns from red to green. The radio is now ready
for use.
Note: Use 5.0 V USB power source (not included)
(from a computer or appropriate AC or DC adaptor).
Over-voltage may result in damaging the device.
Solar power
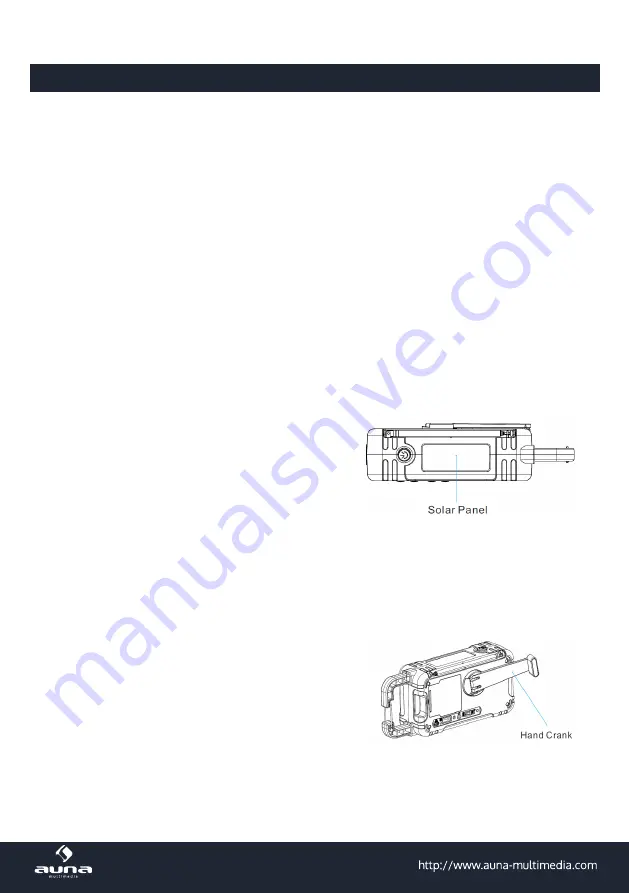
Place the device in direct (or indirect) sunlight with the
solar panel facing upwards. The green battery charging
light may illuminate when charging.
NOTE: There is not enough solar energy to turn on the red charging light. Thus, no light or
a faint green light (which consumes less energy) may be present during solar charging. If
the display heats up outside the operational range, the display will fade. For solar charging,
partial sunlight or shade is sufficient.
Hand-crank power
1. Lift the hand crank from the cradle, as shown in
Figure 2.
2. Turn the hand crank either clockwise or counter-
clockwise at about two cranks per second for 3-5
minutes to activate the internal battery for initial
use, or when the unit has not been used for more
than 60 days. The red battery charging light illumi
-
nates when charging.


