Audiovox ACAM350 Installation & User Manual Download Page 1


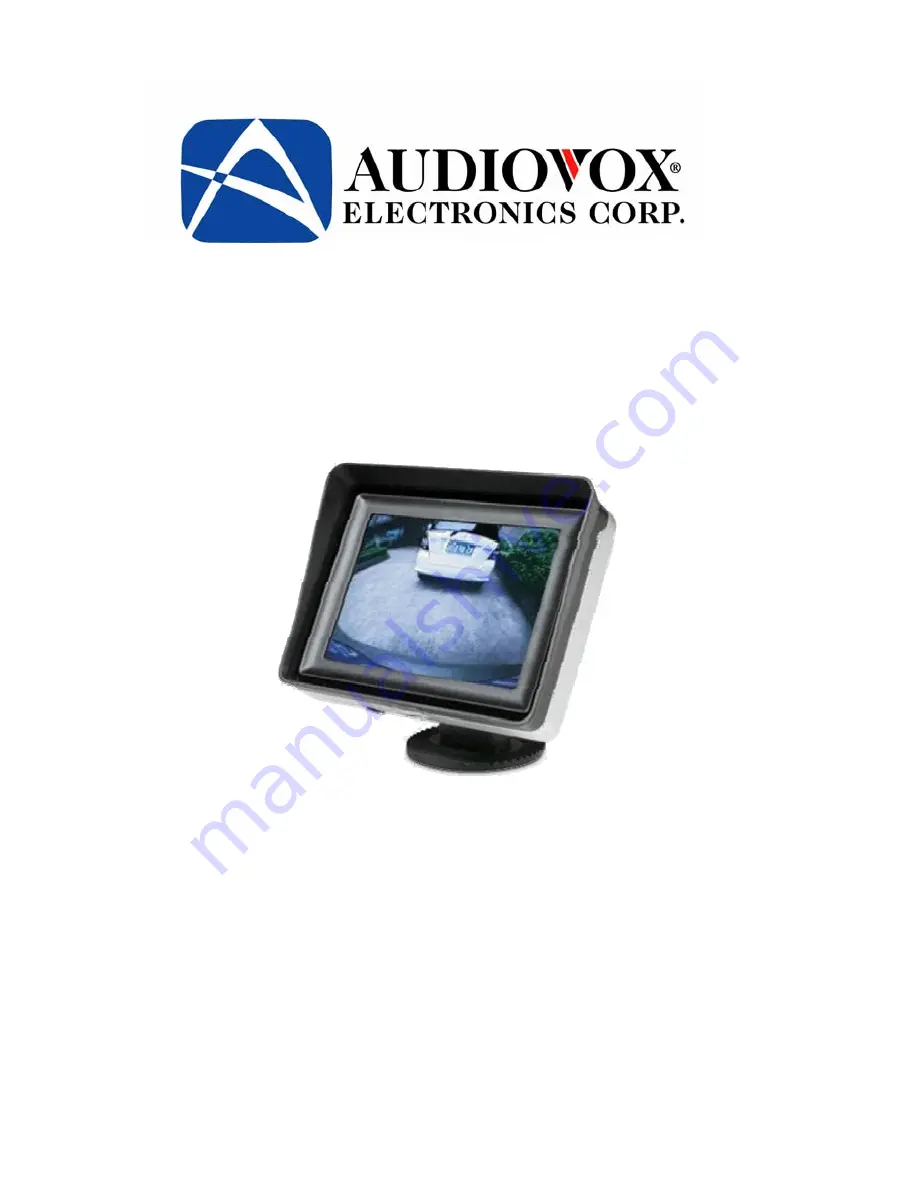
3.5” LCD Backup Monitor  

Model:  ACAM350  


Installation/User’s Manual 


Features: 


3.5” TFT color LCD display 


Flexible mounting pad with 3M tape monitor mounts on either 
vehicle windshield or dashboard  


Rearview camera input 


Automatically displays backup camera image when vehicle is in 
reverse 

Summary of Contents for ACAM350

Page 1: ...tallation User s Manual Features 3 5 TFT color LCD display Flexible mounting pad with 3M tape monitor mounts on either vehicle windshield or dashboard Rearview camera input Automatically displays backup camera image when vehicle is in reverse ...

Page 2: ...omponents and cabling 2 You are responsible for ensuring that the installation of this product does not void or affect the vehicle manufacturer s warranty Audiovox Electronics Corporation or its subsidiaries are not liable in full or in part for improper installation resulting in loss or damage to your property or for voiding all or part of the vehicle manufacturer s warranty 3 Do not apply excess...

Page 3: ...ed with a backup camera is designed to assist the driver by providing a clear and wide image of the area behind the vehicle whenever the vehicle is shifted into reverse Never rely solely on this product to ensure the area is clear of children and or obstructions Use your monitor and look both ways This is not intended to replace existing safety procedures but to add an additional safety tool for y...

Page 4: ...Packing List Description Figure 3 5 Monitor Power Cable Tap Connectors Alcohol Wipe 3 ...

Page 5: ... with the alcohol wipe provided 3 Remove the protective film from the 3M flexible adhesive mounting pad on the bottom of the monitor and carefully press into place Note Once pressed into place the pad cannot be easily moved Be sure of the position before mounting 4 Connect the power cable to the Monitor cable 5 Place hide the monitor cable behind the windshield trim piece and continue along under ...

Page 6: ...he plastic insulator iv Close the top hinged cover until latched b Attach the black wire to the ground i Place the un stripped ground lead wire on the run channel ii Insert the un stripped black ground wire completely iii Fold the tap connector back over the wires and make the connection by crimping the u contact down flush with the plastic insulator iv Close the top hinged cover until latched c C...

Page 7: ... maintain its condition and performance following the procedures below Keep your system away from excessive moisture extreme heat or cold and magnetic fields Keep liquids away from the display monitor To avoid damage do not place auxiliary devices or other objects on the top of the monitor Occasionally clean the surface of the monitor with soft cloth moistened with water or window cleaner 6 ...

Page 8: ...rol box is connected properly No video signal appears while reversing the car 1 Verify that the LCD Contrast Brightness control knob is not set too low 2 Check the rearview Camera lens 3 Check the rearview Camera wiring and connection 4 Confirm that the cable from the monitor is connected properly Video image is not sharp enough Clean the camera lens 7 ...

Page 9: ...8 ...

Page 10: ... 2008 Audiovox Electronics Corp 150 Marcus Blvd Hauppauge N Y 11788 9 ...

Reviews: