Audiomatica CLIO FW-02 Installation Manual Download Page 1

3 CLIO INSTALLATION

 3.1 MINIMUM PC CONFIGURATION

The CLIO FW-02 USB interface running the CLIO 12 software can be installed in any

personal computer with the following minimum system requirements:
– Processor: single-core @ 2GHz clock or dual-core (suggested)

– One free USB 2.0 port
– 1024x786 video adapter

– Microsoft Windows XP, Vista, 7, 8 or 10

BE SURE TO HAVE ADMINISTRATIVE RIGHTS WHEN INSTALLING!

 3.2 FW-02 DRIVERS INSTALLATION

To install the FW-02 drivers in your computer you should follow the instructions
presented below:

1) Connect the FW-02 to a free USB 2.0 port on your PC and power it with its 12V

supply. You should hear the classical sound of plug and play devices. 
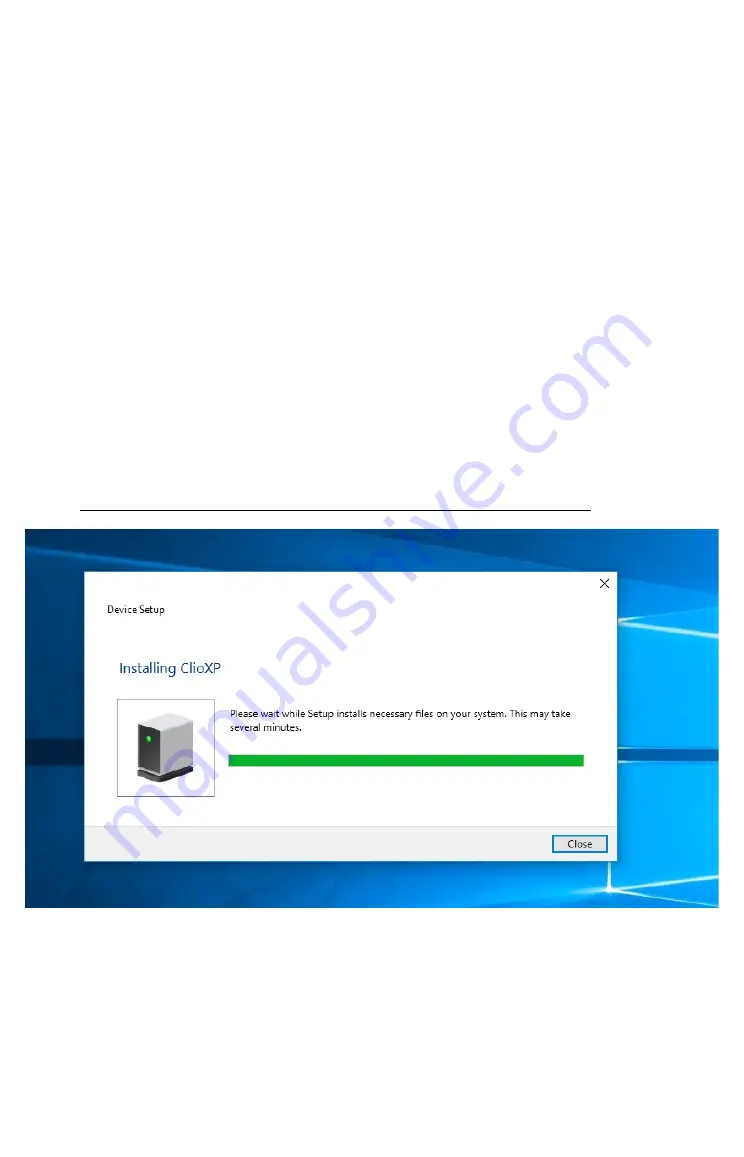
NOTE: ClioXP is the nickname of the FW-02 device seen by Windows.

2) After the initial automatic driver detection only one device should be found amd

properly installed by Windows, the USB Composite Device; two more devices,

named ClioXP will need to be installed manually. Open Device Manager (type

devmgmt.msc

  from   Run   prompt   or   click   Control   Panel>System>Device

Manager); you should find this situation:

3 CLIO INSTALLATION

1

Summary of Contents for CLIO FW-02

Page 1: ...drivers in your computer you should follow the instructions presented below 1 Connect the FW 02 to a free USB 2 0 port on your PC and power it with its 12V supply You should hear the classical sound of plug and play devices NOTE ClioXP is the nickname of the FW 02 device seen by Windows 2 After the initial automatic driver detection only one device should be found amd properly installed by Windows...

Page 2: ...Click on each ClioXP device under Other Devices and choose Update Driver Software At the successive prompt 5 Browse your computer and point to the folder inside the installation CD where the proper drivers are located for example Driver 10 2 3 CLIO INSTALLATION ...

Page 3: ...message about Digital Signature or Publisher and reach the end of the wizard 6 Inspecting again the Device manager confirms you the proper ClioXP Control and ClioXP Stream entries under USB controllers category 3 CLIO INSTALLATION 3 ...

Page 4: ...your PC and power it with its 12V supply You should hear the classical sound of plug and play devices NOTE ClioXP is the nickname of the FW 02 device seen by Windows 2 The Found New Hardware Wizard detects the CLIO XP device As the CLIOXP drivers are unknown to Windows you will be prompted with this search window 4 3 CLIO INSTALLATION ...

Page 5: ...3 Insert the CLIO 12 installation CD ROM in the PC Search in the proper CD folder for example Drivers XP 5 Do not stop to Microsoft Warning about Windows Logo testing 3 CLIO INSTALLATION 5 ...

Page 6: ...u should find this situation Your driver installation was successful 3 5 SOFTWARE INSTALLATION This paragraph deals with software installation Be sure to have administrative rights when installing CLIO The CLIO software is provided either on its own CD ROM SD card or in electronic 6 3 CLIO INSTALLATION ...

Page 7: ...e procedure is completely automatic and will only request you to accept the Software End User s License Agreement and input some information in order to correctly install CLIO 12 the software installer will also check your operating system version After successfully completing this procedure take note of the installation directory of CLIO usually C Program Files Audiomatica CLIO12 or C Program Fil...

Page 8: ...w shows where is located your CLIO system serial number The CLIO serial number is very important and should be mentioned each time you get in contact with Audiomatica either for technical support or for software upgrade Also the CLIO system accessories have their serial numbers keep track of those but mention to technical support ONLY UPON REQUEST When using your CLIO system you will normally use ...

Page 9: ...he troubleshooting section 3 6 3 INITIAL TEST MEASUREMENT Let s now execute our first test measurement play and capture a 1kHz sinusoid First of all click on the In Out Loop button for channel A in this way the CLIO Box connects output A with input A with an internal relay This connection is very important as it lets you capture and analyze a signal generated by CLIO without the need for an extern...

Page 10: ...f the 1kHz sinusoid one spectral line 1kHz at 0dBV and its time representation given by its oscillogram Both Multimeter and FFT results must present stable and repeatable the oscillogram should display a sinusoid without spikes or drops of any kind IMPORTANT NOTE Only if these two initial tests gave correct results as described go to the following paragraph and execute the system calibration if yo...

Page 11: ... carry out measurements Software won t allow calibration if internal temperature lies outside a predetermined range between 30 to 45 degrees So it is normal to receive a message like It is also normal to receive the following message This is normally due to the calibration parameters that do not match the internally stored parameters that have been measured at Audiomatica laboratory and that ensur...

Page 12: ...urces demanding task Your computer would be best operated at high performance level When using a notebook never run on batteries always hook it to AC mains as power saving schemes greatly reduce performances As ultimate resource these are Recommended Advanced Power Settings i e set 100 the Minimum processor state 12 3 CLIO INSTALLATION ...

Page 13: ... first check that the generator output level is set to 1V refer to chapter 4 for details Press the channel A In Out Loop button Then click on the MLS LogChirp button to invoke the MLS LogChirp control panel Press the Go button to execute a LogChirp frequency response measurement after about 1 second you should obtain the desired result a straight line black as in Figure You can click on the graph ...

Page 14: ...ings in this case should be around zero degrees in both cases As a final test click on the In Out Loop button for channel A then click on the In Out Loop button for channel B then be sure that both input sensitivity are at 0dBV click on the generator icon to play the 1kHz sinusoid at last press the F4 keystroke to invoke again the Multi Meter the expected result is shown now 14 3 CLIO INSTALLATION...

Page 15: ... PC where the CLIO hardware is not installed while still allowing you to perform post processing and other off line jobs 3 9 TROUBLESHOOTING CLIO INSTALLATION To receive assistance please contact Audiomatica at support audiomatica com or connect to our website www audiomatica com NEVER FORGET TO SIGNAL PROPER SERIAL NUMBER OF YOUR CLIO When getting in contact with us please always send as attachme...

Reviews: