Audio international DVD-201-01-1 Installation And Operation Manual Download Page 19

Audio International, Inc.


          DVD-201-01(-02, -03)-x Installation & Operation Manual 


Document # 540211, Rev C, 05/2002  


Page 18 of 24 


3.0 Basic 

Playback 


3.1 

To open the disc tray, press the 

OPEN / CLOSE

 button.  The disc tray will 

slide forward. 

 
3.2 

To play a DVD or CD disc, place the desired disc on the disc tray with the 
playback side down.  Since the DVD will accept either an 8 or 12 cm disc, 
ensure that the disc is placed on the correct guide.  Press the 

OPEN / 

CLOSE 

button.  When the disc tray closes, the CD or DVD will be loaded 

immediately.  CD playback will begin as soon as the disc is loaded.  DVDs 
will either begin playback or go to the Main Menu, depending upon the 
configuration of the DVD. 
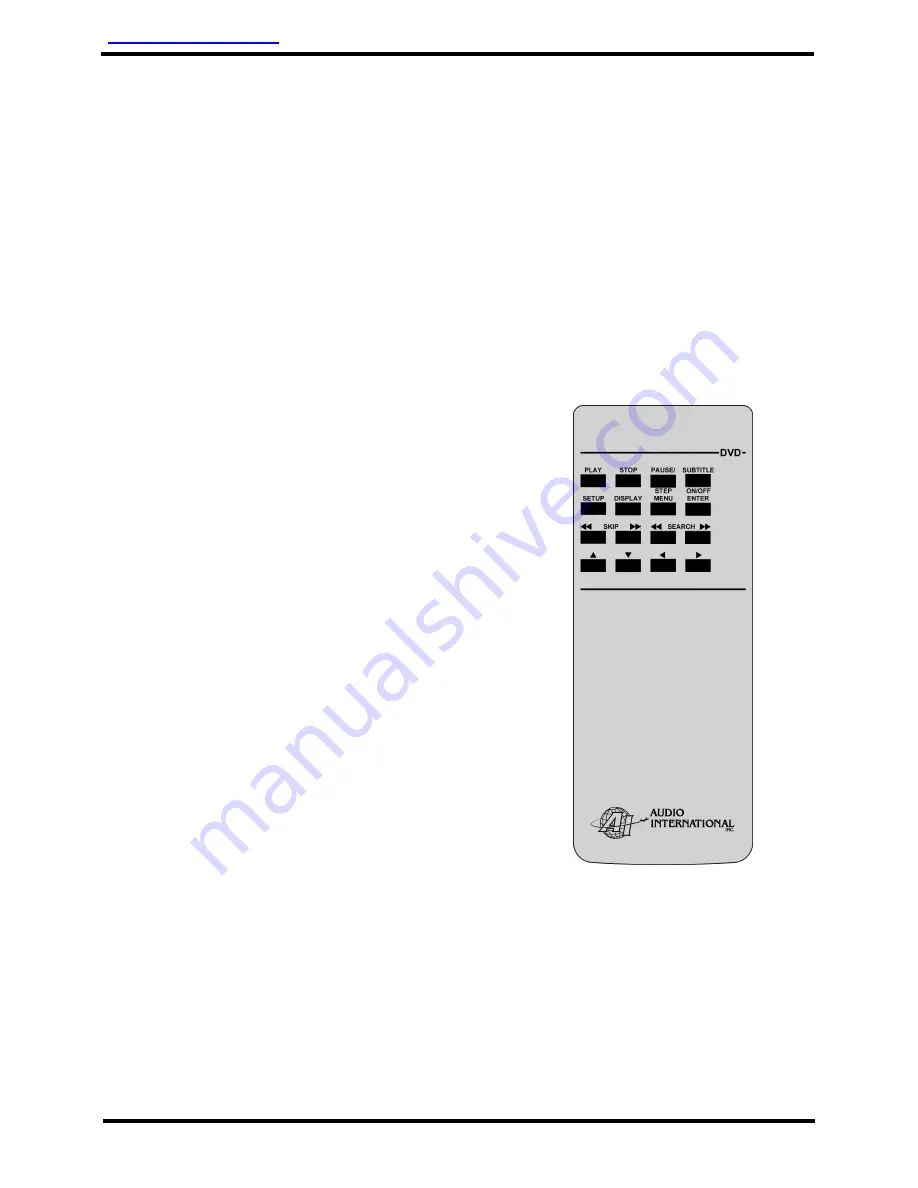


4.0 

Infrared Remote Control 


ILLUSTRATION 
OF TYPICAL DVD  
REMOTE CONTROL 
BUTTONS 


4.1 

Remote Control User Special Instructions 


4.1.1  In case batteries begin to lose power, all indicators will flash when 

any button is pressed. 


4.1.2  To replace batteries, remove the battery compartment cover on the 

back of the unit.  Load four (4)


AAA size Alkaline Manganese 

batteries ensuring the positive (+) and negative (-) terminals on the 
battery ends match the markings inside the remote control unit.  
Service life of the batteries is approximately six (6) months 
depending on the frequency of use. 

Summary of Contents for DVD-201-01-1

Page 1: ...orth Little Rock AR 72117 Phone 501 955 2929 Fax 501 955 2988 www audiointl com Installation and Operation Manual DVD 201 01 x DVD 201 02 x DVD 201 03 x Digital Video Disc Player Document 540211 a DeC...

Page 2: ...DVD 201 02 x Outline Drawing 523784 Rev A DVD 201 03 2 Outline Drawing Service Bulletin List Service Bulletin Subject Manual Revision Revision Date Table of Illustrations PROPRIETARY INFORMATION NOTI...

Page 3: ...4 5 0 Technical Specifications 4 6 0 Application 5 7 0 Video Audio Disc Care 6 II Installation 7 1 0 Prior to Installation 7 2 0 Unpacking and Inspection 7 3 0 Cautions Warnings 8 4 0 Wiring Requirem...

Page 4: ...full motion video on a 5 Multi Regional DVD compact disc In addition the DVD unit plays standard 5 Multi Regional audio CDs 2 2 The DVD 201 01 02 03 x can be mounted in a cabinet or bulkhead A unique...

Page 5: ...s of 8 or 12 cm G Standard plating options for front bezel G Easy to mount and connect G AI s proprietary RS 485 data bus compatible G Compact lightweight package G Digital audio fiber optic output ca...

Page 6: ...ce of not less than 600 with an output level rating 2 VRMS factory preset for each output channel 6 2 Typical Application 6 2 1 This system is fully compatible with Audio International s proprietary R...

Page 7: ...ly tape to either side of the disc 7 3 Do not store discs in hot locations or in areas exposed to direct sunlight Do not store in damp moist areas 7 4 Do not stack loose discs or prop them against any...

Page 8: ...9 0 for mounting hole diameters and configurations 1 4 All headphone amplifiers and line level amplifiers should be located no more than three 3 feet away from source equipment 1 5 The DVD 201 01 x a...

Page 9: ...connect or disconnect the unit while power is applied 3 3 DO NOT remove any factory installed screws Damage to the unit may result and void any warranties 3 4 DO NOT drop the unit or subject it to str...

Page 10: ...ntrol cables Maintain a minimum clearance of three 3 inches from any control cable If wiring is run parallel to combustible fluid or oxygen lines maintain a separation of six 6 inches between the line...

Page 11: ...shall be connected in a daisy chain configuration AI s proprietary RS 485 data bus specification is available upon request 4 5 Digital Audio Lines All digital audio wiring shall be 100 140 m core cla...

Page 12: ...ying and ground when device is not playing 6 3 Standard configuration requires no infrared strap pins to be connected Each different type of AI source equipment can be configured to accept one 1 of fo...

Page 13: ...VDC 2 Ground 2 Ground 3 R Audio Output 3 R Audio Output 4 R Audio Output 4 R Audio Output 5 L Audio Output 5 L Audio Output 6 L Audio Output 6 L Audio Output 7 Data Bus A 7 Data Bus A 8 Data Bus B 8...

Page 14: ...illoscope or other voltage instrument verify proper input voltage on the data bus pins to check data bus integrity Typical measurements are as follows A to Ground 4 0 to 4 5 VDC B to Ground 0 1 to 0 2...

Page 15: ...sc not in the disc tray Disc upside down or not aligned in guide Incompatible disc in tray Dirty Disc Parental lock activated Menu on the monitor Insert a disc in the tray Reposition disc Replace disc...

Page 16: ...01 01 02 03 x Installation Operation Manual Document 540211 Rev C 05 2002 Page 15 of 24 9 0 Reference Drawings The following diagrams show the unit dimensions mounting locations and connector location...

Page 17: ...h front button control remote or touch screen include play skip pause and stop 1 3 Before setup or playing a disc ensure that aircraft power is applied to the player There are no on off controls on th...

Page 18: ...CD is PAUSED pressing PLAY continues playback of a DVD disc or audio CD Skip backward button During movie or audio play press to skip to the beginning of the current chapter or CD track Press SKIP tw...

Page 19: ...CD playback will begin as soon as the disc is loaded DVDs will either begin playback or go to the Main Menu depending upon the configuration of the DVD 4 0 Infrared Remote Control ILLUSTRATION OF TYPI...

Page 20: ...4 2 1 Basic Playback Playing Back a Disc To start playback from a menu screen press one 1 of the UP DOWN LEFT or RIGHT arrow buttons on the Menu Selection keypad to select the desired title Press the...

Page 21: ...the arrow keys to select the desired chapter or track Press ENTER again If the title menu is displayed during playback and MENU is pressed again without selecting any title the DVD resumes playback fr...

Page 22: ...the disc can be viewed on the monitor screen Press DISPLAY during the stop mode The current title number first chapter number in the current title time elapsed in the current DVD chapter or CD track a...

Page 23: ...GUAGE TV CONTROL AUDIO CONTROL and DONE The selected category will provide the setting details using the succeeding screen s Choose among the selections using the arrow keys Press ENTER when the desir...

Page 24: ...DVD discs contain closed captioning information When the DESCRIPTIVE SERVICE option is set to ON the DVD displays the closed captioning information When SUBTITLE is selected choose a preferred langua...

Page 25: ...to select The Parental Control option may be used to lock out disks from certain countries or those of certain rating levels PG 13 or R rated movies for example 4 2 5 4 Audio Settings Digital Out It i...

Reviews: