USB DVI Secure KVM Switch
CS1182 / CS1184
User Manual
www.aten.com
Page 1: ...USB DVI Secure KVM Switch CS1182 CS1184 User Manual www aten com...
Page 2: ...s no guarantee that interference will not occur in a particular installation If this equipment does cause harmful interference to radio or television reception which can be determined by turning the e...
Page 3: ...ective following their purchase the buyer and not the manufacturer its distributor or its dealer assumes the entire cost of all necessary servicing repair and any incidental or consequential damages r...
Page 4: ...dures carefully to prevent any damage to the switch or to any other devices on the CS1182 CS1184 installation Features may have been added to the CS1182 CS1184 since this manual was published Please v...
Page 5: ...nformation viii Chapter 1 Introduction Overview 1 Features 2 Requirements 3 Console 3 Computers 3 Cables 3 Operating Systems 4 Components 5 Front View 5 Rear View 5 Chapter 2 Hardware Setup Before You...
Page 6: ...CS1182 CS1184 User Manual vi General 13 Consignes de s curit 15 G n ral 15 Technical Support 18 International 18 North America 18 Specifications 19 Limited Warranty 20...
Page 7: ...w Overview Chapter 1 Introduction introduces you to the CS1182 CS1184 System Its purpose features and benefits are presented and its front and back panel components are described Chapter 2 Hardware Pr...
Page 8: ...in Indicates keys you should press For example Enter means to press the Enter key If keys need to be chorded they appear together in the same bracket with a plus sign between them Ctrl Alt 1 Numbered...
Page 9: ...and tamper proof hardware while software security includes restricted USB connectivity non HIDs Human Interface Devices are ignored when switching an isolated channel per port that makes it impossible...
Page 10: ...sis intrusion detection if the cover is removed from the switch the unit becomes inoperable and the LEDs flash Tamper proof hardware all integrated circuits are soldered directly to the circuit board...
Page 11: ...be using on any computer in the installation USB mouse USB keyboard Microphone and speaker Computers A DVI card USB Type A ports keyboard and mouse ports Cables The DVI D KVM cable sets which are spec...
Page 12: ...Linux Kernel 2 6 and higher OS Version Windows 2000 2003 2008 XP Vista Linux RedHat 9 0 and higher Fedora Core 4 and higher SuSE 10 and higher Debian 3 1 4 0 Ubuntu 7 04 7 10 UNIX AIX 4 3 and higher...
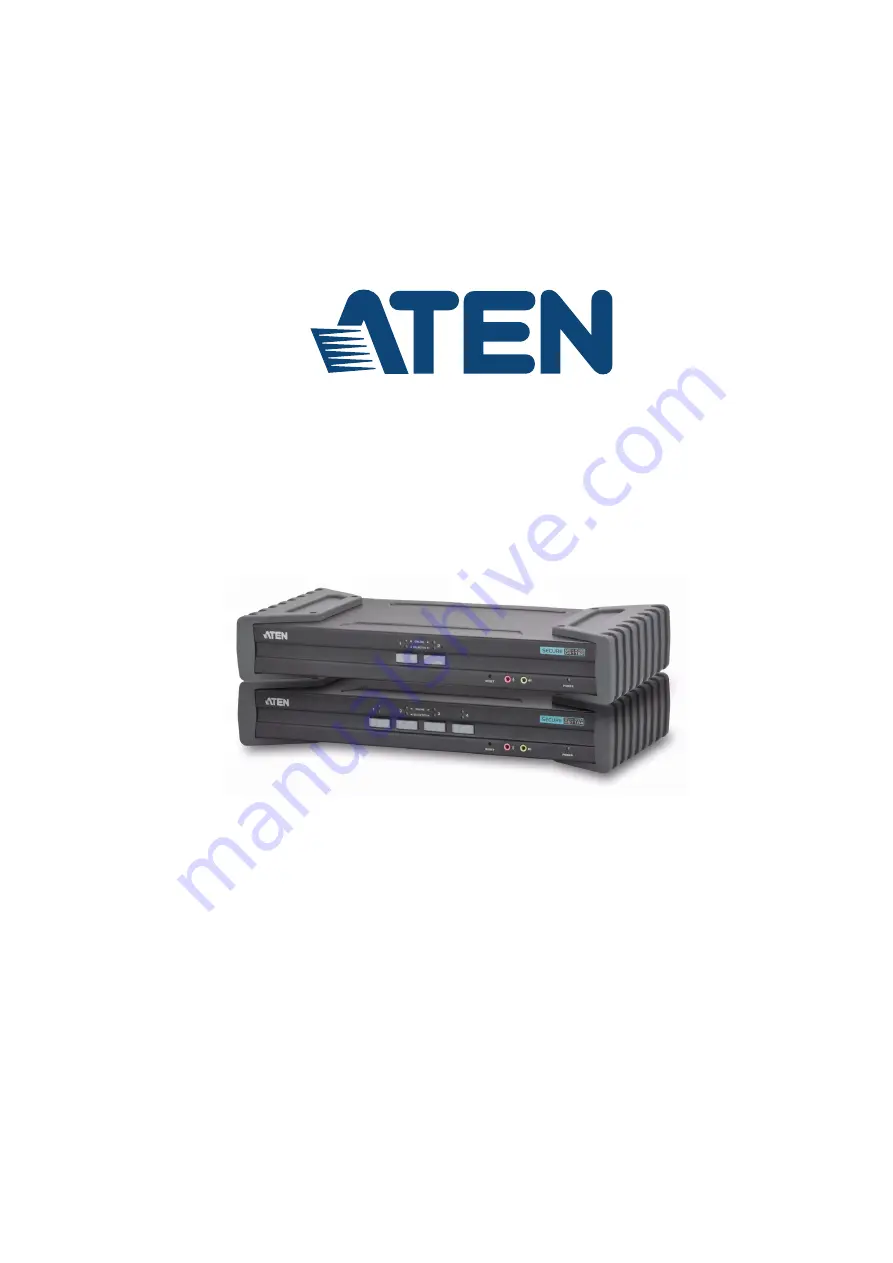
Page 13: ...ew Rear View Note The CS1184 has been used in these illustrations The front and rear panels of the CS1182 and the CS1184 are the same except the CS1182 has two ports port selection pushbuttons and the...
Page 14: ...details 3 Reset Button Press this to reset the CS1182 CS1184 to the default settings 4 Audio Ports The cables from your main speakers and main microphone plug in here The speakers and microphone plug...
Page 15: ...e that the surface is clean and free of materials that can block the exhaust vents or otherwise interfere with normal operation of the KVM switch 1 Important safety information regarding the placement...
Page 16: ...amage to your installation it is important that all devices are properly grounded Use a grounding wire to ground the CS1182 CS1184 by connecting one end of the wire to the grounding terminal and the o...
Page 17: ...4 Using a KVM cable set not supplied in the package and should be purchased separately plug the DVI connector into any available DVI socket in the KVM port section of the switch then plug the accompa...
Page 18: ...CS1182 CS1184 User Manual 10 Installation Diagram 1 3 7 2 6 Rear View Front View USB DVI KVM Cable Set 4 5 USB DVI KVM Cable Set 8...
Page 19: ...t selection pushbuttons located on the unit s front panel Press and release a port selection pushbutton to bring the KVM focus to the computer attached to its corresponding port see Port ID Numbering...
Page 20: ...in this evaluation Make sure the USB seal is in place to maintain the integrity of this device LED Indication Power Lights blue to indicate that the CS1182 CS1184 is powered on Online Lights green to...
Page 21: ...ntilation has been provided Never spill liquid of any kind on the device Unplug the device from the wall outlet before cleaning Do not use liquid or aerosol cleaners Use a damp cloth for cleaning The...
Page 22: ...s They may touch dangerous voltage points or short out parts resulting in a risk of fire or electrical shock Do not attempt to service the device yourself Refer all servicing to qualified service pers...
Page 23: ...ntilation se trouveraient bloqu es De m me l unit ne doit pas tre plac e dans un meuble ferm moins qu une ventilation adapt e ne soit assur e Ne renversez jamais de liquides de quelque sorte que ce so...
Page 24: ...bles du syst me et les c bles d alimentation avec pr caution veillez ce que rien ne repose sur aucun des c bles Lors du branchement ou du d branchement des blocs d alimentation permettant la connexio...
Page 25: ...pas normalement bien que les instructions d utilisation soient respect es N utilisez que les commandes qui sont abord es dans le mode d emploi Le r glage incorrect d autres commandes peut tre l origin...
Page 26: ...and Product model number serial number and date of purchase Your computer configuration including operating system revision level expansion cards and software Any error messages displayed at the time...
Page 27: ...Mini Stereo Jack F Green 4 x Mini Stereo Jack F Green Microphone 2 x Mini Stereo Jack F Pink 4 x Mini Stereo Jack F Pink Power 1 x 3 prong AC Socket LEDs Power 1 Blue On Line 2 Green 4 Green Selected...
Page 28: ...rect vendor makes no warranty or representation expressed implied or statutory with respect to the contents or use of this documentation and especially disclaims its quality performance merchantabilit...
Page 29: ...e Partnership 1 NIAP 1 Normal Mode Powering On 11 Chassis Intrusion Detection 12 LED Display 11 Manual Switching 11 Port ID Numbering 11 O Online Registration iii P Port ID Numbering 11 Powering On 11...