Multi-View KVMP™ Switch User Manual
32
To switch stereo audio access to a computer, press
Mode
3 times, and then
press the
KVM
Port Selection
pushbutton that corresponds to the
computer.
To switch USB access to a computer, press
Mode
4 times, and then press
the
KVM
Port Selection
pushbutton that corresponds to the computer.
Press
KVM
Port Selection
pushbuttons
1
and
2
for 2 seconds to start
Auto Scan Mode. To stop auto scan, press and release either port selection
pushbutton.
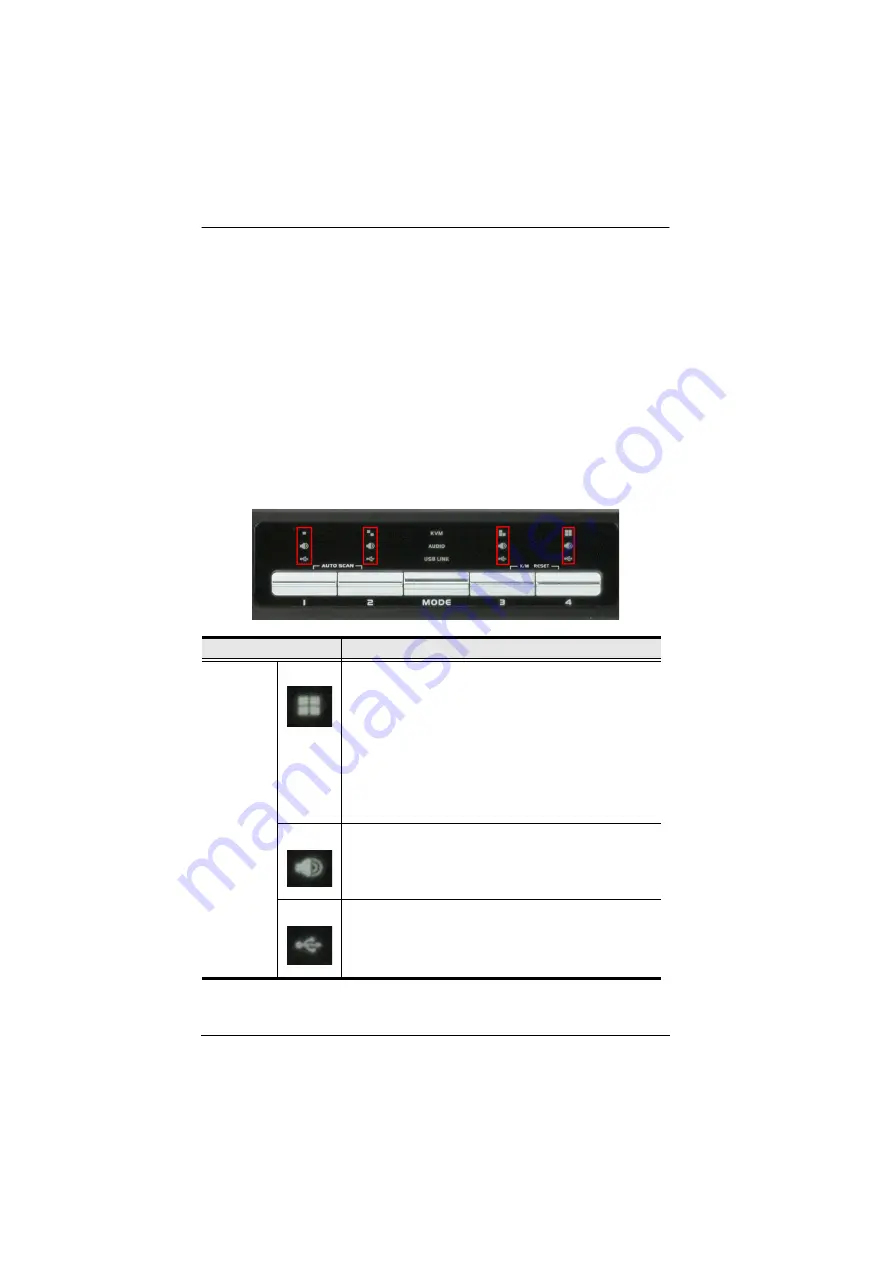
LED Display
The front panel has three LEDs that represent the KVM, Audio and USB
source. The LEDs light green or orange depending on which source is being
accessed on what computer, as explained in the table.
LED
Indication
Icon
KVM
Lights BRIGHT ORANGE to indicate KVM is selected.
Flashes ORANGE to indicate that the computer is being
accessed in Auto Scan Mode.
All flash ORANGE to indicate a firmware upgrade has
been invoked.
The corresponding port LED of the USB keyboard/
mouse flashes when Keyboard Bypass is enabled.
Lights a faint ORANGE to indicate that a computer is
powered on.
Audio
Lights BRIGHT GREEN to indicate Audio is selected.
Flashes GREEN to indicate that Audio is selected on a
computer in a Daisy Chain setup.
USB Link
Lights BRIGHT GREEN to indicate USB is selected.
Flashes GREEN to indicate that USB Link is selected on
a computer in a Daisy Chain setup.
Summary of Contents for CM1164A
Page 1: ...CM1164A CM1284 Mul View KVMP Switch User Manual...
Page 29: ...Chapter 2 Hardware Setup 17 Single Station Installation Diagram 7 8 2 4 3 DVI 7 4 5 9 6 1...
Page 40: ...Multi View KVMP Switch User Manual 28 This Page Intentionally Left Blank...
Page 76: ...Multi View KVMP Switch User Manual 64 This Page Intentionally Left Blank...
Page 132: ...Multi View KVMP Switch User Manual 120 This Page Intentionally Left Blank...


