3-26
Chapter 3: BIOS Setup
Chapter 3
•
This function can support devices such as a USB flash disk with FAT 32/16 format and
single partition only.
•
DO NOT shut down or reset the system while updating the BIOS to prevent system
boot failure!
Ensure to load the BIOS default settings to ensure system compatibility and stability. Select
the Load Optimized Defaults item under the Exit menu. See section
3.10 Exit Menu
for
details.
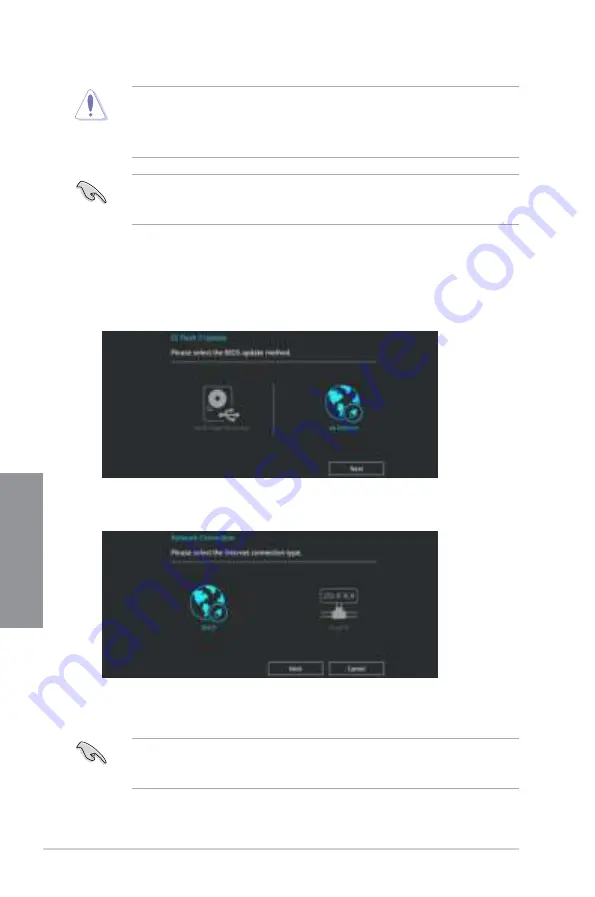
To update the BIOS by Internet:
1.
Enter the Advanced Mode of the BIOS setup program. Go to the Tool menu to select
ASUS EZ Flash Utility
and press <Enter>.
2.
Select
via Internet.
3.
Press the Left/Right arrow keys to select an Internet connection method, and then
press <Enter>.
Ensure to load the BIOS default settings to ensure system compatibility and stability. Select
the Load Optimized Defaults item under the Exit menu. See section
3.10 Exit Menu
for
details.
4.
Follow the onscreen instructions to complete the update.
5.
Reboot the system when the update process is done.
Summary of Contents for TUF Z390-PRO GAMING
Page 1: ...Motherboard TUF Z390 PRO GAMING ...
Page 36: ...1 22 Chapter 1 Product Introduction Chapter 1 ...
Page 39: ...TUF Z390 PRO GAMING 2 3 Chapter 2 To install a CPU heatsink and fan assembly ...
Page 40: ...2 4 Chapter 2 Basic Installation Chapter 2 AIO_PUMP CPU_OPT CPU_FAN To install an AIO cooler ...
Page 42: ...2 6 Chapter 2 Basic Installation Chapter 2 2 1 4 DIMM installation To remove a DIMM ...
Page 44: ...2 8 Chapter 2 Basic Installation Chapter 2 2 1 6 SATA device connection OR OR ...
Page 80: ...3 28 Chapter 3 BIOS Setup Chapter 3 ...
Page 82: ...4 2 Chapter 4 RAID Support Chapter 4 ...
Page 88: ...A 6 Appendix Appendix ...


