TUF Z390-PRO GAMING
3-11
Chapter 3
5.
After selecting the type of RAID, click
Next
then click
Yes
to continue the RAID setup.
6.
After the RAID setup is done, click
Yes
to exit the setup then click
OK
to reset your
system.
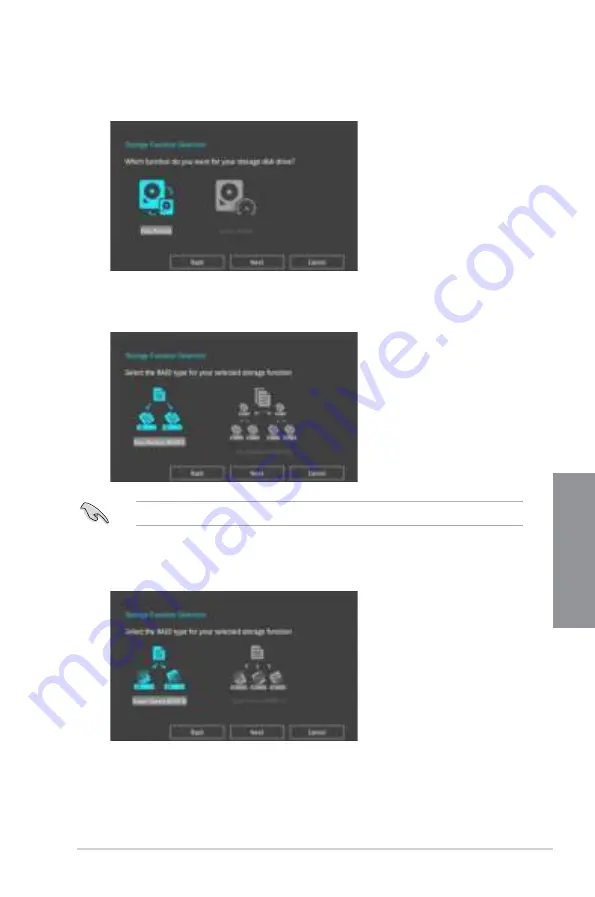
You can only select Easy Backup (RAID 10) if you connect four (4) HDDs.
b. For Super Speed, click
Next
then select from
Super Speed (RAID 0)
or
Super
Speed (RAID 5)
.
a. For Easy Backup, click
Next
then select from
Easy Backup (RAID 1)
or
Easy
Backup (RAID 10)
.
4.
Select the type of storage for your RAID,
Easy Backup
or
Super Speed
, then click
Next
.
Summary of Contents for TUF Z390-PRO GAMING
Page 1: ...Motherboard TUF Z390 PRO GAMING ...
Page 36: ...1 22 Chapter 1 Product Introduction Chapter 1 ...
Page 39: ...TUF Z390 PRO GAMING 2 3 Chapter 2 To install a CPU heatsink and fan assembly ...
Page 40: ...2 4 Chapter 2 Basic Installation Chapter 2 AIO_PUMP CPU_OPT CPU_FAN To install an AIO cooler ...
Page 42: ...2 6 Chapter 2 Basic Installation Chapter 2 2 1 4 DIMM installation To remove a DIMM ...
Page 44: ...2 8 Chapter 2 Basic Installation Chapter 2 2 1 6 SATA device connection OR OR ...
Page 80: ...3 28 Chapter 3 BIOS Setup Chapter 3 ...
Page 82: ...4 2 Chapter 4 RAID Support Chapter 4 ...
Page 88: ...A 6 Appendix Appendix ...


