


Chapter 2: Hardware Information
2-10
2.4
Storage devices
RS700A-E9-RS4
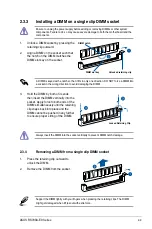
The system supports four (4) 2.5” or 3.5” hot-swap SATA/SAS storage devices. The storage
device installed on the storage device tray connects to the motherboard SATA/SAS ports via
the SATA/SAS backplane (SAS storage devices require an optional ASUS PIKE II card).
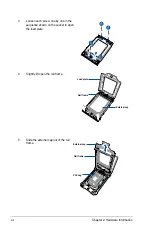
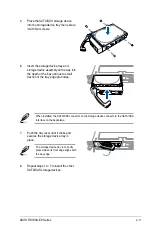
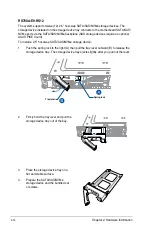
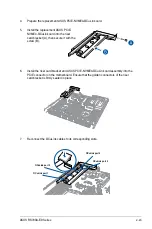
To install a 3.5” hot-swap SATA/SAS storage device:
1.
Push the spring lock to the right (A) then pull the tray lever outward (B) to release the
storage device tray. The storage device tray ejects slightly after you pull out the lever.
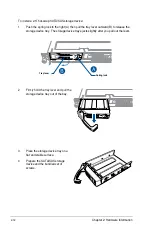
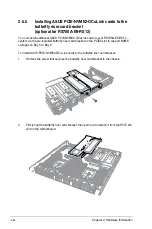
2.
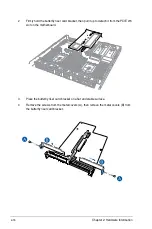
Firmly hold the tray lever and pull the
storage device tray out of the bay.
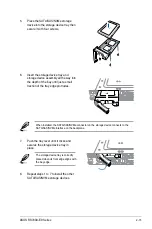
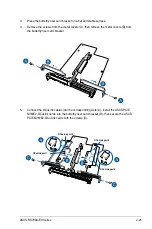
3.
Place the storage device tray on a
flat and stable surface.
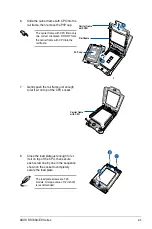
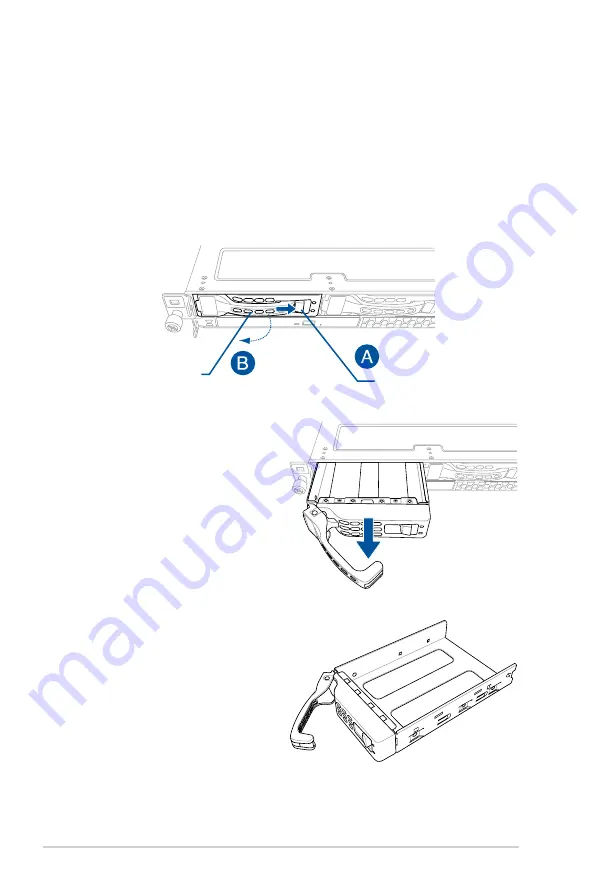
4.
Prepare the SATA/SAS storage
device and the bundled set of
screws.
Spring lock
Tray lever
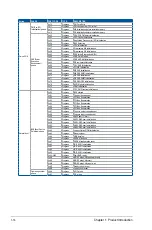
Summary of Contents for RS700A-E9-RS12
Page 1: ...1U Rackmount Server User Guide RS700A E9 Series RS700A E9 RS4 RS700A E9 RS12 ...
Page 70: ...Chapter 4 Motherboard Information 4 2 4 1 Motherboard layout ...
Page 92: ...Chapter 4 Motherboard Information 4 24 ...
Page 136: ...6 10 Chapter 6 Driver Installation ...
Page 138: ...A 2 Appendix KNPP D32 block diagram ...
Page 144: ...A 8 Appendix ...