


76
Notebook PC E-Manual
Windows
®
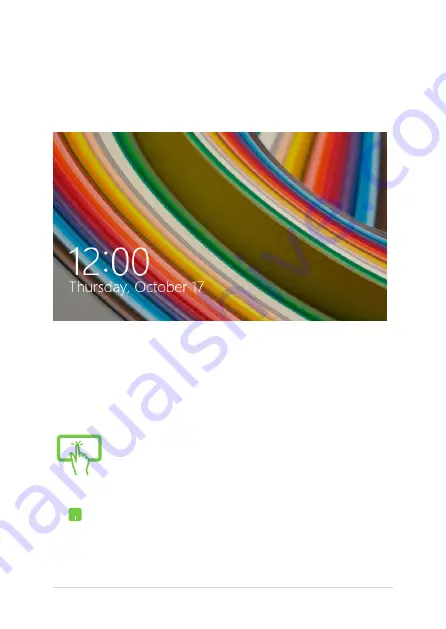
8.1 lock screen
The Windows® 8.1 lock screen appears when you wake your Notebook
PC from sleep or hibernate mode. It also appears when you lock or
unlock Windows® 8.1.
The lock screen can be customized to regulate access to your operating
system. You can change its background display and access some of your
apps while your Notebook PC is still locked.
or
1.
Tap/click on the touchpad or press any key on
your Notebook PC's keyboard.
2.
(optional) If your account is password-protected,
you need to key in the password to continue to
the Start screen.
To proceed from the lock screen
Summary of Contents for R751J
Page 1: ...Notebook PC E Manual First Edition July 2014 E9330 ...
Page 13: ...Notebook PC E Manual 13 Chapter 1 Hardware Setup ...
Page 27: ...Notebook PC E Manual 27 Chapter 2 Using your Notebook PC ...
Page 30: ...30 Notebook PC E Manual Lift to open the display panel Press the power button ...
Page 49: ...Notebook PC E Manual 49 Chapter 3 Working with Windows 8 1 ...
Page 79: ...Notebook PC E Manual 79 Chapter 4 Power On Self Test POST ...
Page 95: ...Notebook PC E Manual 95 Chapter 5 Upgrading your Notebook PC ...
Page 98: ...98 Notebook PC E Manual C Remove the screws securing the HDD bay to the compartment HDD bay ...
Page 100: ...100 Notebook PC E Manual E Use the flap on the HDD bay to pull it out of the compartment flap ...
Page 104: ...104 Notebook PC E Manual J Secure the HDD bay with the screws you removed earlier ...
Page 114: ...114 Notebook PC E Manual ...
Page 115: ...Notebook PC E Manual 115 Tips and FAQs ...
Page 122: ...122 Notebook PC E Manual ...
Page 123: ...Notebook PC E Manual 123 Appendices ...
Page 141: ...Notebook PC E Manual 141 German Greek Italian Portuguese Spanish Swedish ...
Page 145: ...Notebook PC E Manual 145 ...