2-8
Chapter 2: RAID configuration
2.2.3
Creating a Storage Configuration
This section explains how to use the WebBIOS CU Configuration Wizard to
configure RAID arrays and virtual drives.
Selecting the Configuration with the Configuration Wizard
Follow these steps to start the Configuration Wizard, and select a configuration
option and mode:
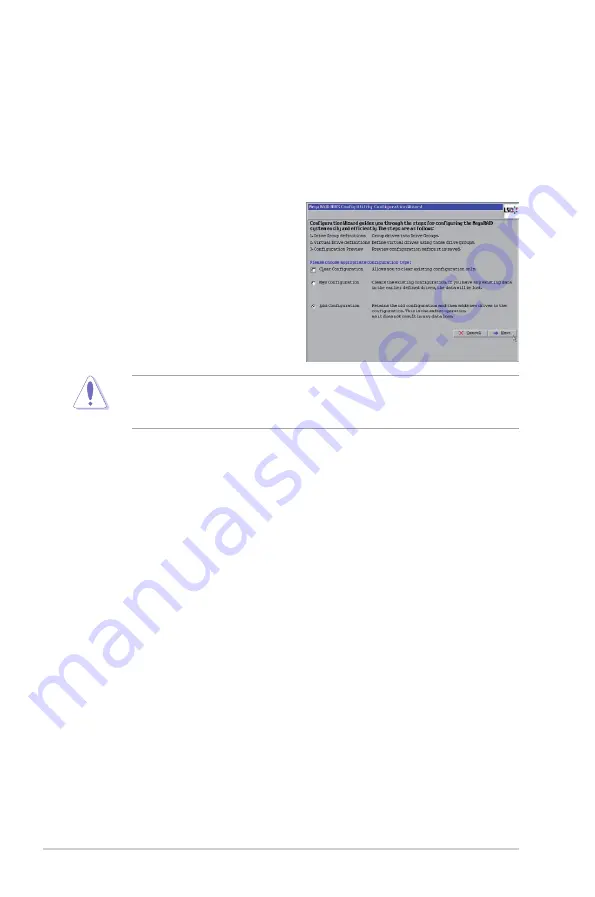
1. Click Configuration Wizard on
the WebBIOS main screen. The
first Configuration Wizard screen
appears, as shown in the right
figure.
2. Select a configuration option.
If you choose the first or second option, all existing data in the configuration will
be deleted. Make a backup of any data that you want to keep before choosing
these options.
•
Clear Configuration:
Clears the existing configuration.
•
New Configuration:
Clears the existing configuration and lets you
create a new configuration.
•
Add Configuration:
Retains the existing storage configuration and adds
new drives to it (this does not cause any data loss).
3. Click
Next
. A dialog box warns that you will lose data if you select Clear
Configuration or New Configuration.
4. On the next screen, select a configuration mode:
•
Manual Configuration: Allows you to control all attributes of the new
storage configuration.
•
Automatic Configuration: Automatically creates an optimal RAID
configuration.
If you select Automatic Configuration, you can choose the redundancy mode:
•
Redundancy when possible: Automatically creates an optimal RAID
configuration, providing data redundancy.
•
No Redundancy: Automatically creates a non-redundant RAID 0
configuration.
5. Click
Next
to continue.


