1-8
Chapter 1: Product Introduction
1.3.5
Color Calibration
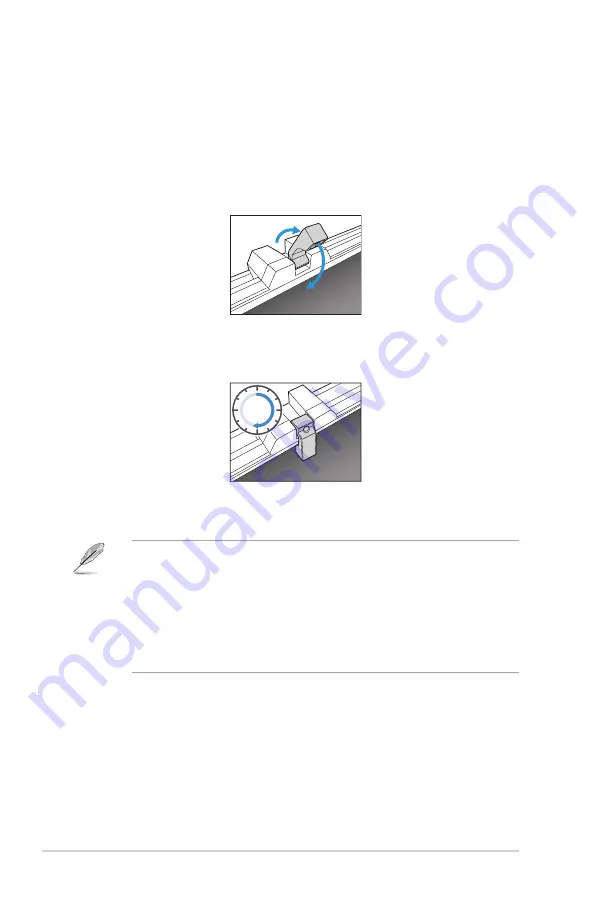
Users can use the ProArt tool with the color sensor that is embedded on the top of
the monitor for color calibration. Ensure that the protective film on the color sensor
has been removed before using the color sensor for calibration.
1. Open the ProArt tool to activate the color sensor to perform the color
calibration.
The color sensor starts moving from its original position towards the screen.
2.
When the color sensor reaches the edge of the screen, it will stop and start
the calibration process. The calibration time depends on the amount of preset
modes you select, the longest time might be 30 minutes.
30
min
3. After the calibration process is completed, the color sensor will automatically
return to its original position.
• When the device is turned on, the color sensor will return to its original
position and produce a sound while the motor is running during the
initialization process. This is a normal.
• When the hood is installed, the color sensor can also be used.
• Avoid pulling the color sensor to prevent damage.
• To ensure ProArt tool to perform the calibration smoothly, do not touch the
color sensor with your hands and there are no interfering objects during the
process.
Summary of Contents for PA32DC
Page 1: ...PA32DC OLED Monitor User Guide ...
Page 8: ...viii ...
Page 21: ...2 5 ASUS PA32DC OLED Monitor Figure 1 Figure 2 Figure 4 Figure 3 ...
Page 42: ...3 16 Chapter 3 General Instruction 3 3 Outline dimensions Monitor ...
Page 43: ...3 17 ASUS PA32DC OLED Monitor Monitor with mini stands ...
Page 44: ...3 18 Chapter 3 General Instruction Monitor with stand ...


