41
Using the Notebook PC
4
IMPORTANT! Do not use any objects in
place of your finger to operate the touch
-
pad or else damage may occur to the
touchpad’s surface.
Pointing Device
The Notebook PC’s integrated touchpad pointing
device is fully compatible with all two/three-but-
ton and scrolling knob PS/2 mice. The touchpad is
pressure sensitive and contains no moving parts;
therefore, mechanical failures can be avoided. A
device driver is still required for working with some
application software.
Using the Touchpad
Light pressure with the tip of your finger is all that is
required to operate the touchpad. Because the touch-
pad is electrostatic sensitive, objects cannot be used in
place of your fingers. The touchpad’s primary function
is to move the cursor around or select items displayed
on the screen with the use of your fingertip instead of
a standard desktop mouse. The following illustrations
demonstrate proper use of the touchpad.
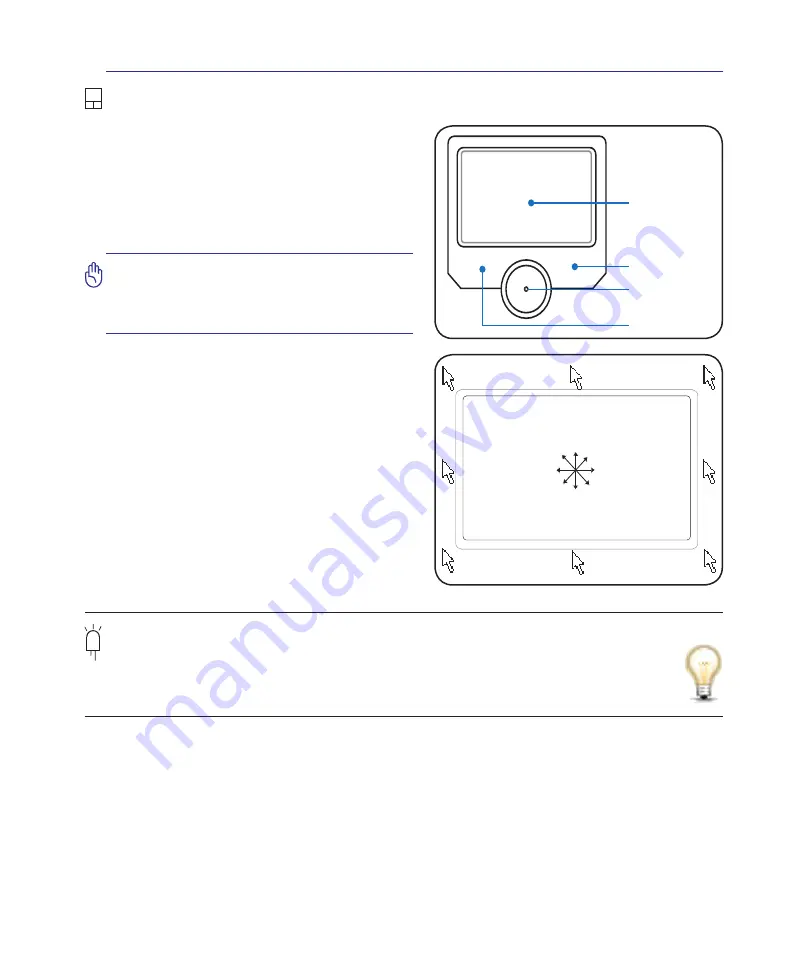
Moving The Cursor
Place your finger in the center of the touchpad and
slide in a direction to move the cursor.
Slide finger
forward
Slide finger
left
Slide finger
backward
Slide finger
right
Cursor
Movement
Right Click
Left Click
Pad-Lock
Indicator
Pad-Lock Indicator (between touchpad buttons)
This indicator will light when the built-in touchpad is UNLOCKED (enabled). When the built-in
touchpad is LOCKED (disabled), this indicator will not light. Locking the touchpad will prevent
you from accidentally moving the cursor while typing and is best used with an external pointing
device such as a mouse.
Summary of Contents for G2K
Page 1: ...Notebook PC Hardware User s Manual 5 3 8 E2815 Oct 2006 ...
Page 4: ... Contents ...
Page 10: ...10 1 Introducing the Notebook PC ...
Page 22: ...22 3 Getting Started ...
Page 38: ...38 4 Using the Notebook PC ...
Page 62: ...62 4 Using the Notebook PC ...


