Printer Maintenance
88
QL-800 User Guide
6
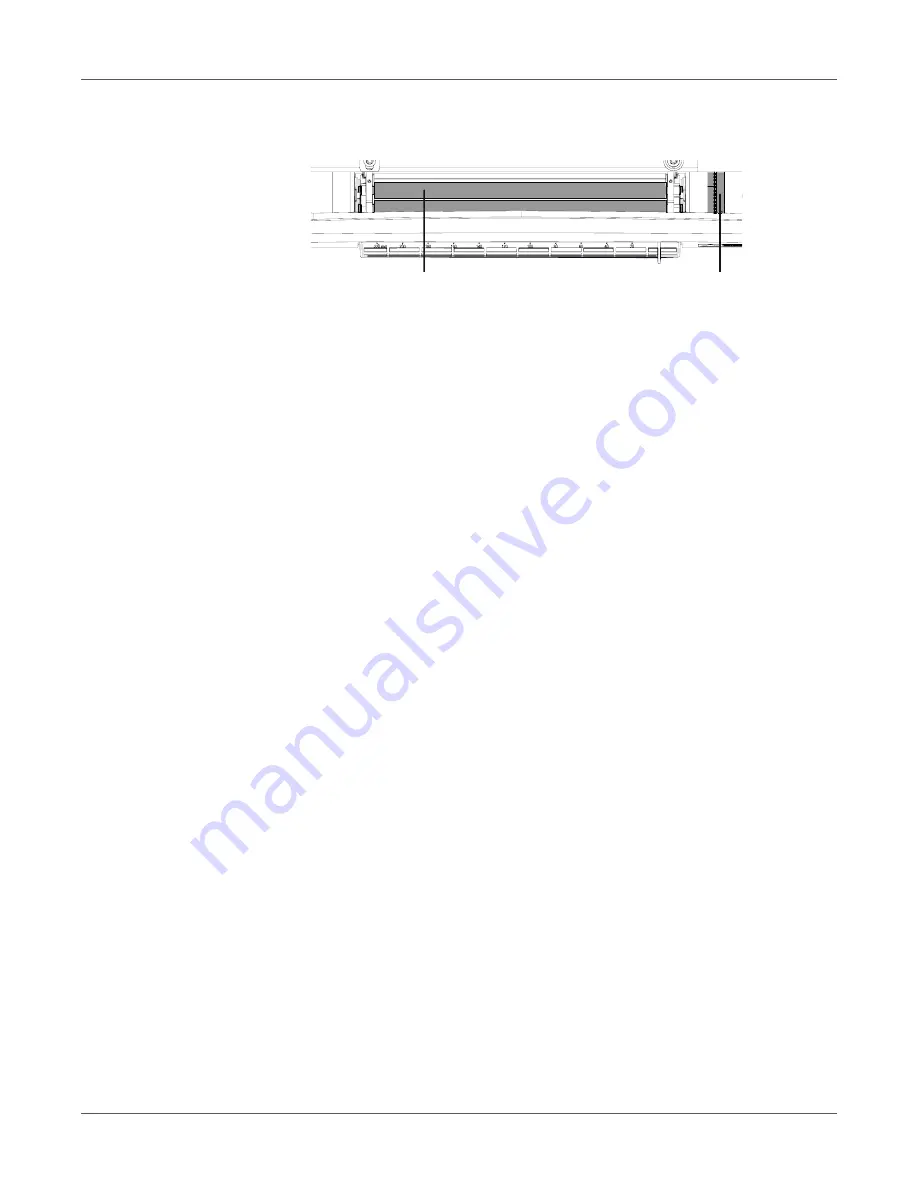
Use a clean, lint-free cloth dampened with isopropyl alcohol to clean the pinch rollers [3]. If
necessary, you can rotate the rollers by turning the drive pulley [4].
Note:
If isopropyl alcohol is insufficient, Goo Gone® may be used as an alternative.
7
Position the roller cover plate [2] in the mounting location and install the two screws [1].
Installing the plate may require a small amount of force because of the tight fit.
8
Close the top cover.
Cleaning the Maintenance Tray Area
During normal operation, waste ink is collected in the maintenance cartridge. Occasionally,
drops of ink may be deposited outside of the cartridge into the maintenance tray area. You can
temporarily remove the maintenance cartridge and clean the maintenance tray area as needed.
Note:
For safety, keep the maintenance cartridge out of the reach of children. If ink is
accidentally ingested, contact a physician immediately.
•
To prevent ink from leaking from a used maintenance cartridge, avoid dropping the
cartridge or storing it at an angle. Otherwise, ink may leak and cause stains.
•
Ink adheres to the maintenance cartridge after it has been used. Handle the maintenance
cartridge carefully. The ink may stain clothing.
Note:
Wear protective gloves to prevent ink from staining your hands during this procedure.
1
Power off the printer.
2
On the rear of the printer, turn the power inlet switch off.
3
Open the lower side door.
4
Grasp the maintenance cartridge and carefully slide it out of the printer. Put the
maintenance cartridge on a flat surface during the cleaning procedure.
5
Dampen a clean, lint-free cloth with deionized water.
Do not use paper towels, napkins, or any other material that may leave lint or debris behind
while cleaning. Problems can occur if lint enters the interior of the printer.
6
Use the cloth to clean the empty maintenance tray area inside the printer.
7
When you are finished cleaning the maintenance tray area, reinstall the maintenance
cartridge.
8
Close the lower side door.
[3]
[4]
Summary of Contents for QuickLabel QL800
Page 1: ...QL 800 User Guide ...
Page 2: ......
Page 38: ...Getting Started 38 QL 800 User Guide ...
Page 84: ...QL 800 Maintenance Utility 84 QL 800 User Guide ...
Page 96: ...Printer Maintenance 96 QL 800 User Guide ...
Page 128: ...Error Messages 128 QL 800 User Guide ...
Page 150: ...Rewinder 150 QL 800 User Guide ...
Page 158: ...Shipping Precautions 158 QL 800 User Guide ...
Page 168: ...Specifications 168 QL 800 User Guide ...
Page 172: ...Index 172 QL 800 User Guide ...


