Designing and Printing Labels
54
QL-800 User Guide
4
Select a sensor type.
•
Gap
- Choose this option if you are using gap media.
•
Reflective
- Choose this option if you are using reflective mark media.
•
None
- Choose this option if you are using media without gaps or reflective marks
(continuous media).
•
Hole or Notch
- Choose this option if you are using media with die-cut holes or
notches.
5
Select the cutter settings.
•
Check the
Cut at End of Job
option to enable the auto-cutter.
•
Use the
Labels Between Cut
field to indicate the number of labels to print between
each cut.
6
Choose
OK
.
Using Service Options
You can clean the printheads, launch the status monitor, order supplies, and contact technical
support using the printer driver.
1
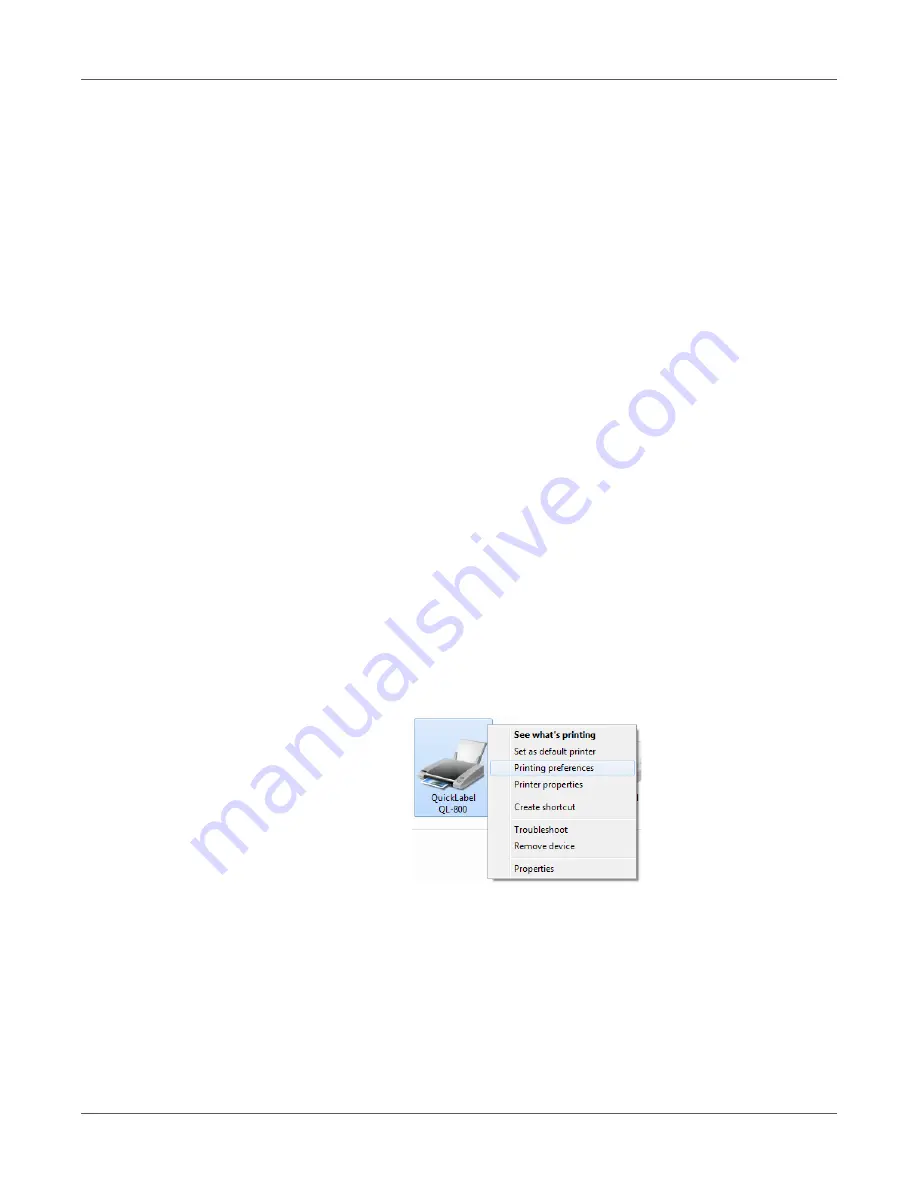
Open the appropriate printer window based on your version of Windows.
•
In Windows 7, choose
Start > Devices and Printers
.
•
In Windows 8 and 10, access the Search option by pointing to the upper-right corner of
the screen. Search for “Control Panel” and click the
Control Panel
icon. In the Control
Panel window, click
View Devices and Printers
.
Right-click the printer icon and choose
Printing Preferences
. The QL-800 Driver Printing
Preferences window will open.
Note:
You can also access the driver preferences via the application’s print dialog. From
the Print window in your software, select QuickLabel QL-800 from the printer list and
choose Properties or Setup (varies based on program).
Summary of Contents for QuickLabel QL800
Page 1: ...QL 800 User Guide ...
Page 2: ......
Page 38: ...Getting Started 38 QL 800 User Guide ...
Page 84: ...QL 800 Maintenance Utility 84 QL 800 User Guide ...
Page 96: ...Printer Maintenance 96 QL 800 User Guide ...
Page 128: ...Error Messages 128 QL 800 User Guide ...
Page 150: ...Rewinder 150 QL 800 User Guide ...
Page 158: ...Shipping Precautions 158 QL 800 User Guide ...
Page 168: ...Specifications 168 QL 800 User Guide ...
Page 172: ...Index 172 QL 800 User Guide ...


