23
MAIN MENU FUNCTIONS
Brightness of the Display Window
Use the <PREV and NEXT> buttons to adjust the brightness of the display to a bright or dim setting.
Note: Even when the keypad is set to the bright setting, it will be difficult to see during daylight hours. You will need to
shield it with your hands or drape a dark cloth over your head. This is an unfortunate drawback of the vacuum-fluorescent
window. We originally chose this display because of its excellent performance in cold weather down to -40º F (-40º C, yes,
the number is the same). Alternative displays scroll very slowly at temperatures below freezing and would not work well
at all in extreme temperatures. Since many of our customers (and ourselves) observe during the cold Midwestern winter
months, we opted for performance.
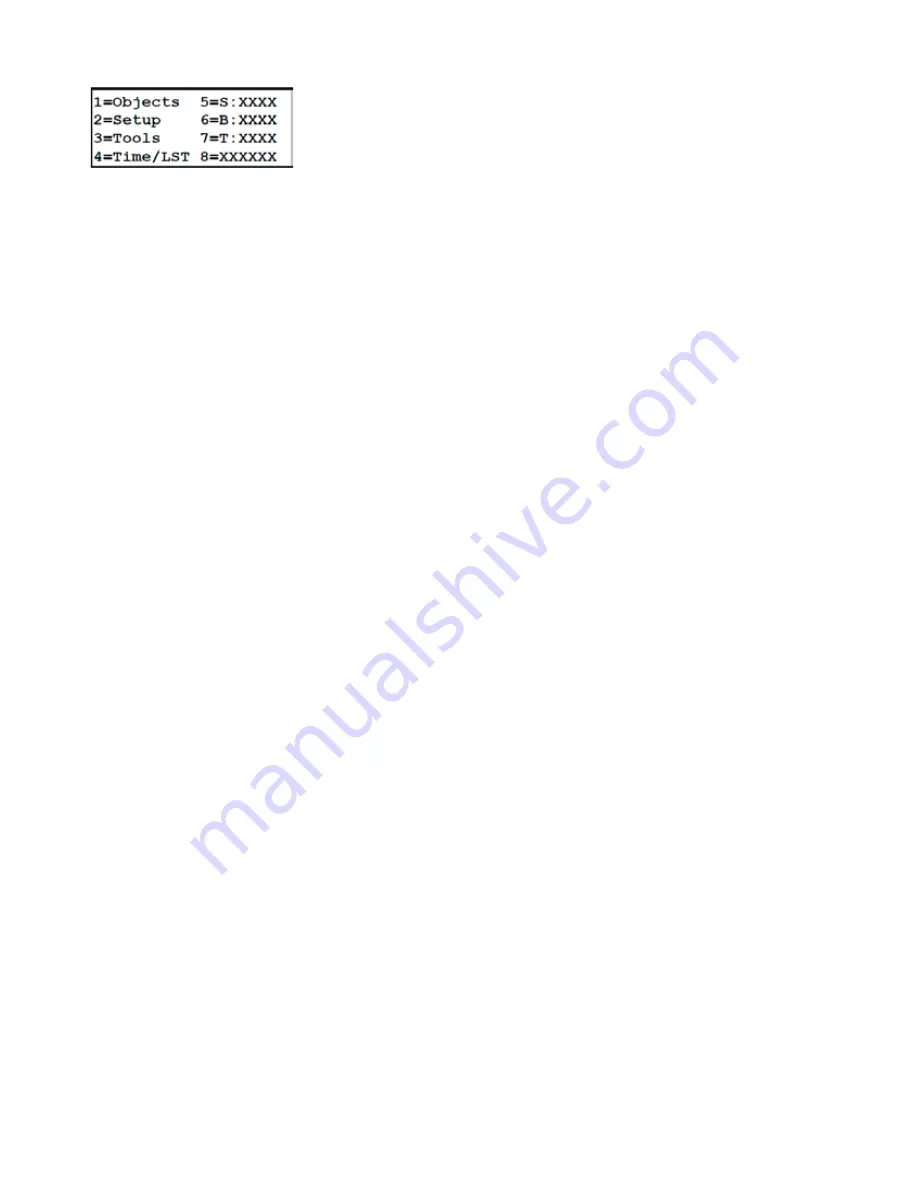
1=Objects
This is your gateway to all object databases, tour functions and the RA/Dec coordinate entry window. Refer to the Objects
2=Setup
Refer to the Setup Menu section on page 25 for a complete discussion of the available options.
3=Tools
Tools Menu offers a variety of handy routines to make your observing or imaging session easier and more pleasurable.
Refer to page 9 for a complete discussion.
4=Time/LST
This display window will show your local time, date, LST (local sidereal time, also known as the zenith hour) and UST
-Universal Standard Time (sometimes referred to as GMT - Greenwich Mean Time). Press and hold MENU button a
few seconds to exit window. In addition, the current selected location will appear in the lower right corner. For example,
LOC=1 indicates that location 1 is currently selected.
Notice that the display will appear to skip a second once in a while. This happens because the display does not update
exactly in sync with the clock. As a result, it gets slightly behind and has to skip a second to catch up. This is not a
problem.
This is a display window only. You must go into the Location and Time menu to change the data, time and location.
5=Slew Rate for GoTo Slew Commands
Press 5 on your keypad to change the slew rate that will be used when issuing a GoTo command. Note that the selection
changes (toggles) each time you press the button. We recommend that you use slower rates in cold weather.
GTOCP5: 600x, 1000x or 1800x; when using 12V. The maximum rate will be 1200x (but display as 1800x)
GTOCP4 : 600x, 900x or 1200x.
6=Button Rate
Press 6 on your keypad to change the rate that will be used when you press the N-S-E-W buttons. Available rates include:
0.25x, 0.5x, 1x, 12x, 64x, 200x, 600x, or 1200x. Press the 6 button to toggle between these rates. The displayed rate will
be active. This rate can also be changed on a display window accessed by the
±
button. The keypad buttons are useful for
centering an object, cruising over the lunar surface or moving to another part of the sky.


