


Notice in the image above that some of the assignable controls appear in red whereas
others are in purple. Purple controls are unassigned whereas red ones have already been
assigned to an external MIDI control.
3.4.2. Assigning / Un-assigning controls
When MIDI Learn mode is switched on, click on any purple control to select it. Then turn
a knob, move a slider or push a button on your MIDI controller. Your selected on-screen
control will change from purple to red, indicating that a link has been made between your
hardware control and the on-screen software parameter.
!: Pitch Bend is a reserved MIDI controller that cannot be assigned to other controls.
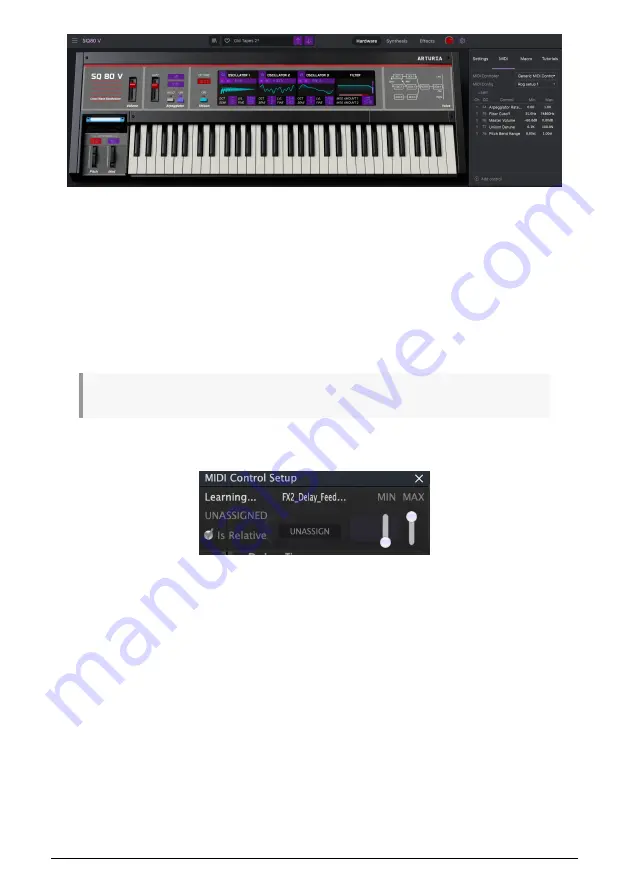
A popup window appears providing additional information and various adjustable
parameters about the newly "learned" connection.
3.4.3. Min / Max value sliders
By default, a hardware control will span the entire range of the on-screen control (i.e., from 0
to 100%). The minimum and maximum value sliders let you restrict the range to something
different than 0%-100%. For example you may want the Master Gain to be controllable via
hardware from 30% to 90%. To do this, set
Min 0.30 and Max to 0.90. The relationship
between the physical control and the on-screen control will now be scaled in such a way
that volume cannot go below 30% or above 90%. This is very useful for making sure you
cannot accidentally make the sound too quiet or too loud when performing.
Arturia - User Manual SQ80 V - The User Interface
16
Summary of Contents for SQ80 V
Page 1: ...USER MANUAL _SQ80 V...


