26
GRINDER MIXER ADJUSTMENTS
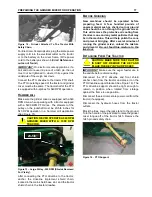
Figure 38 - Checking Belt Tension
IMPORTANT:
Proper alignment of the pulleys must
be maintained when adjusting belt tension.
Belts should be checked periodically for proper
tension and alignment, especially when the
machine is new or when a new set of belts are
installed (See Figure 39). During operation, if the
drive belts are very hot or are smoking due to being
loose, do not shut off the machine, but stop grinding
and allow the mill to continue to run for several
minutes until the belts have cooled. After the belts
have cooled, stop the machine to re-tension the
belts.
Figure 39 - Belt Pulley Alignment.
H
AMMER MILL
D
OOR
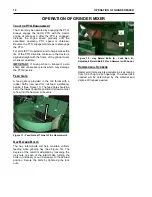
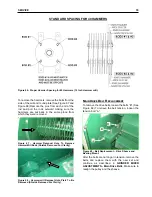
To increase the hammer mill door pressure on the
screen, adjust the length of the T-handle threaded
end. Check the adjustment and tighten the locking
nuts in place against the pivot block (See Figure
40).
Figure 40 - Hammer Mill Door Pressure.
D
ISCHARGE
A
UGER
D
RIVE
A
DJUSTMENT
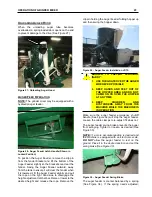
There is only one location for the Discharge Auger
Drive chains (See Figure 41). The Discharge Auger
Drive is located at the bottom of the Unloading
Auger at the rear of the machine.
Figure 41 - Discharge Auger Drive Chain (See
Arrows).
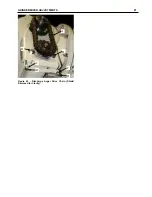
If ch
ain drive “A” (See Figure 42) for the Discharge
Auger Drive becomes loose. Loosen the Hydraulic
Motor bolts
“B” holding the Hydraulic Motor. Then
l
oosen nuts “C”. Screw in bolts “D” equally until
chain is tight. Retighten nuts to lock bolts in place.
Retighten Hydraulic Motor bolts “B”.


