OPERATION OF GRINDER MIXER
23
U
NLOADING
A
UGER
H
OOD
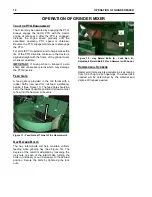
When the unloading auger tube becomes
overloaded, a spring loaded door opens on the end
to prevent damage to the drive (See Figure 27).
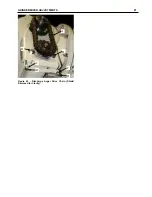
Figure 27 - Unloading Auger Hood.
A
UGER
F
EED
O
PERATION
NOTE:
The grinder mixer may be equipped with a
hydraulic auger feeder.
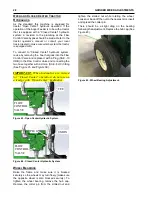
Figure 28 - Auger Feeder Latch Handle (Shown in
Locked Position).
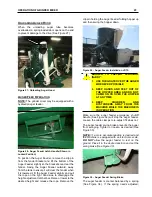
To position the Auger Feeder, remove the clip pin
from the fender bracket and lift the bottom of the
Auger Feeder slightly so the brackets can clear the
fender. Swing the Auger Feeder outward, away
from the tank to ensure it will clear the fender when
it is lowered. Lift the Auger Feeder slightly and pull
the rope on the right hand side to disengage the
height adjustment ratchet bar. Raise or lower to the
desired height and release the rope. Remove the
clip pin holding the Auger Feeder folding hopper up
and then swing the hopper down.
Figure 29 - Auger Feeder Installed on JR75.
DANGER: TO PREVENT PERSONAL
INJURY:
1.
USE THE GRATE OVER THE AUGER
WHENEVER POSSIBLE
2.
KEEP HANDS AND FEET OUT OF
THE HOPPER AREA AND DO NOT
CLIMB ON OR OVER THE HOPPER
AT ANY TIME.
3.
KEEP
CHILDREN
AND
BYSTANDERS AWAY FROM THE
MACHINE WHILE THE MACHINE IS
IN OPERATION
Make sure the auger feeder emergency shutoff
handle (See Figure 32) will stop the auger feeder.
Loosen the cable clamps to re-adjust if it does not.
The auger feeder swing brake prevents the auger
from swinging. Tighten or loosen as desired (See
Figure 30).
NOTE: If a more accurate reading is desired and
the machine is equipped with an electronic scale,
DO NOT allow the auger feeder to rest on the
ground. Place it in the desired position and set the
swing brake (See Figure 30).
Figure 30 - Auger Feeder Swing Brake.
The auger feeder is counter balanced by a spring
(See Figure 36). If the spring needs adjusted;


