Owner/Operator Manual Manuel du Propriétaire/Utilisateur
Models
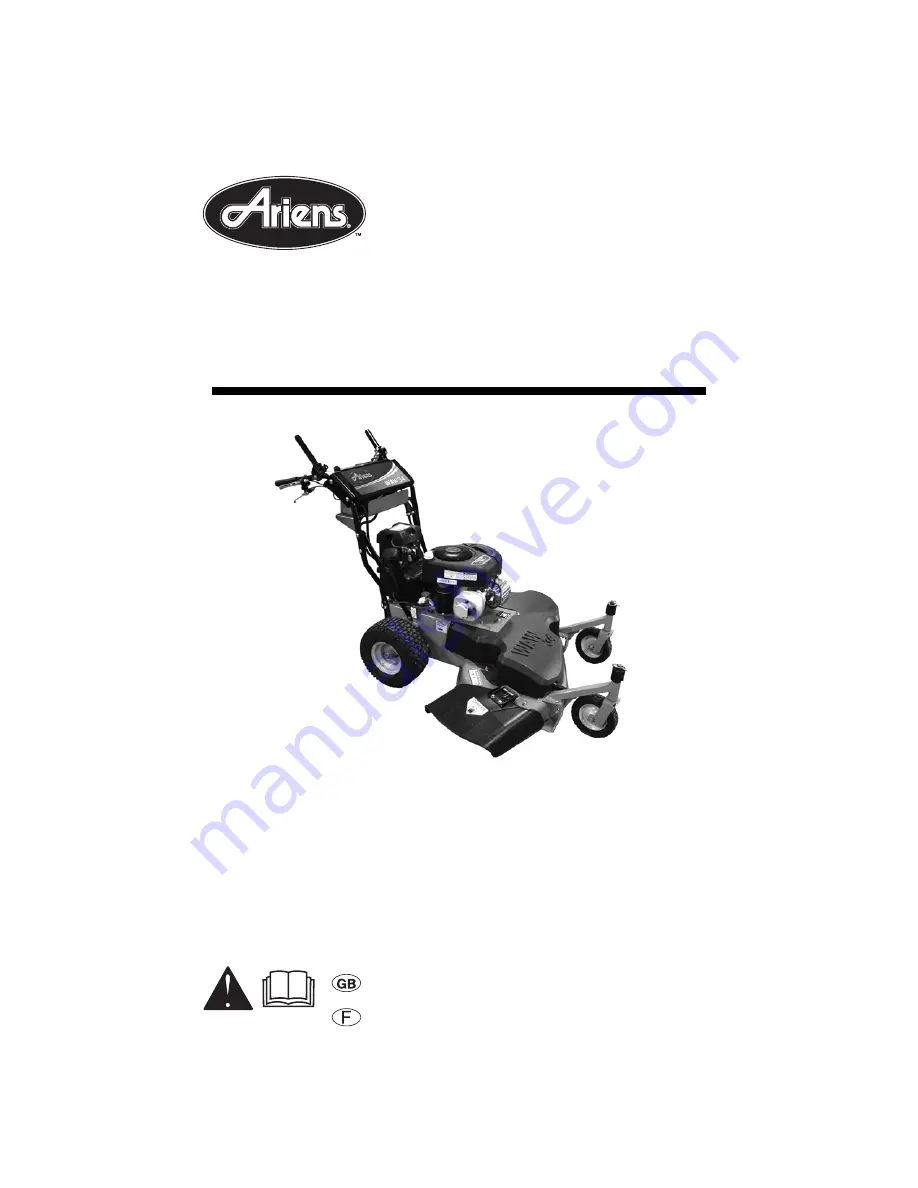
911413 – WAW 34
Wide Area Walk Mower
04081400A 11/10
Printed in USA
ENGLISH
FRENCH
Page 1: ...Owner Operator Manual Manuel du Propri taire Utilisateur Models 911413 WAW 34 Wide Area Walk Mower 04081400A 11 10 Printed in USA ENGLISH FRENCH...
Page 2: ...r la liste des langues disponibles pour votre quipement Les manuels imprim s dans des langues diff rentes de l anglais sont galement disponibles en t l chargement gratuit sur notre site Web http www a...
Page 3: ...r any claims or damages whether warranty property damage personal injury or death arising out of the use of unauthorized replacement parts To locate your nearest Ariens Dealer go to www ariens com on...
Page 4: ...than the original purchaser will use the unit ALWAYS provide this manual and any needed safety training before operation SAFETY WARNING This cutting machine is capable of amputating hands and feet and...
Page 5: ...ile operating Never direct discharge toward other people Thrown objects can cause injury OL1801 OL4370 OL0910 Do not operate mower unless guards are in operating position or entire bagger is attached...
Page 6: ...in Owner Operator Manual before beginning assembly Failure to follow instructions could result in personal injury and or damage to unit If the operator or the mechanic cannot read the manual it is the...
Page 7: ...when wearing open sandals or canvas shoes NEVER wear loose clothes long hair or jewelry that may get caught in rotating parts ALWAYS stand clear of discharge when operating unit NEVER direct discharge...
Page 8: ...inside a vehicle or on a truck or trailer bed with a plastic liner Always place containers on the ground away from your vehicle before filling When practical remove gas powered equipment from the truc...
Page 9: ...to trailer or truck Ensure all wheel blocks jack stands and tie downs will support unit during maintenance Replace worn out mufflers immediately Continued use could result in fire or explosion Sharp e...
Page 10: ...e to the negative battery terminal 8 Fill fuel tank DO NOT OVERFILL See FILLING THE FUEL TANK on page 14 NOTE After the first twenty five hours of operation belt wear may require the PTO clutch cable...
Page 11: ...rive Control 5 Handlebars 6 Fuel Tank and Cap 7 Height Adjustment Spacers 8 Muffler 9 Oil Fill Dipstick 10 Air Filter 11 Fuel Filter 12 Belt Cover 13 Ignition Key 14 Safety Start Switch 15 Throttle Ch...
Page 12: ...deck and increases the cutting height To change cutting height remove the lock pin from the top of the caster fork Raise the caster arm high enough to expose the flats and lower pin hole on the caster...
Page 13: ...e removed in the caster spindle above the support tube as shown Figure 8 Reinstall the lock pin into the top hole and flip over the lock ring to secure the remaining spacers and pin NOTE Set both whee...
Page 14: ...OVERFILL This equipment and or its engine may include evaporative emissions control system components required to meet EPA and or CARB regulations that will only function properly when the fuel tank...
Page 15: ...he clutch and parking brake levers are released ALWAYS shut off the engine with the ignition key and remove the key before leaving the operator s position To stop the mower in an emergency 1 Release t...
Page 16: ...t fires NOTE Do not spray the unit with water especially when the unit is warm from operation Water can seep into bearings and damage them CHECK ENGINE OIL IMPORTANT Maintain proper oil level at all t...
Page 17: ...an unthreaded bolt A balanced blade should remain in a horizontal position If either end of mower blade moves downward sharpen the heavy end until blade is balanced Figure 11 4 Install mower blade on...
Page 18: ...nit has sealed maintenance free spindles and transmission The unit should not require lubrication except for light oil or grease at pivot points CHECK SPARK PLUG Spark plug should be replaced every 10...
Page 19: ...drive control cable may need adjustment Adjust both drive controls the same way 1 Loosen the lock nut on the drive lever 2 Turn the cable adjuster to tighten or loosen the cable 3 Tighten the lock nut...
Page 20: ...t through the transmission idler arm and then install belt on the engine pulley See Figure 15 9 Install the idler arms on the transmission plate and install the belts on the transmission pulleys See F...
Page 21: ...lts on the engine pulley Deck Belt 1 Stop engine remove key wait for all moving parts to stop and hot parts to cool 2 Remove the two drive belts from engine pulley See Wheel Drive Belts on page 20 3 R...
Page 22: ...aning Battery and Battery Cables Figure 18 1 Remove the battery cover 2 Disconnect negative cable first then positive cable 3 Clean battery cable ends negative terminal and positive terminal with a wi...
Page 23: ...and low pressure water Brush off dirt and debris from all surfaces Touch up all scratched surfaces to prevent rust Matching touch up paint is available from your Ariens Dealer Do not use abrasives sol...
Page 24: ...ing too low 5 PTO belt is slipping 1 Clean the deck cutting chamber 2 Sharpen or replace blades 3 Wait for grass to dry 4 Raise cutting height and cut grass in two or more passes 5 Adjust or replace P...
Page 25: ...umber Description 03746500 Blade 03797300 Mulching Blade 07200529 Forward Traction Belt 07200506 Reverse Traction Belt 07243300 PTO Belt 07234300 Deck Belt 21534100 Spark Plug ACCESSORIES See your aut...
Page 26: ...ent Cu In cc 21 344 Cylinder Bore Aluminum Engine Oil Type See Engine Manual Crank Case Capacity Oz Liter 48 1 4 Oil System See Engine Manual Spark Plug Gap in mm See Engine Manual Fuel Type See Engin...
Page 27: ...d lawn mowers labeled or designated by Ariens as a Professional Commercial prod uct put to any business use agricultural commercial or industrial are warranted to the original pur chaser to be free fr...
Page 28: ...tines brushes headlights light bulbs knives cutters Any misuse alteration improper assembly improper adjustment neglect or accident which requires repair is not covered by this warranty Disclaimer Ar...
Page 29: ...amount of time not to exceed 30 days If you have a question regarding your warranty coverage you should contact Ariens Company Technical Service Center at 1 920 756 2141 DEFECTS WARRANTY REQUIREMENTS...
Page 30: ...is article The manufacturer issuing the warranty will not be liable under this Article to warrant failures of warranted parts caused by the use of an add on or modified part Evaporative Emission Warra...
Page 31: ......
Page 32: ...Ariens Company 655 West Ryan Street Brillion WI 54110 920 756 4688 Fax 920 756 2407 www ariens com...