395/8953
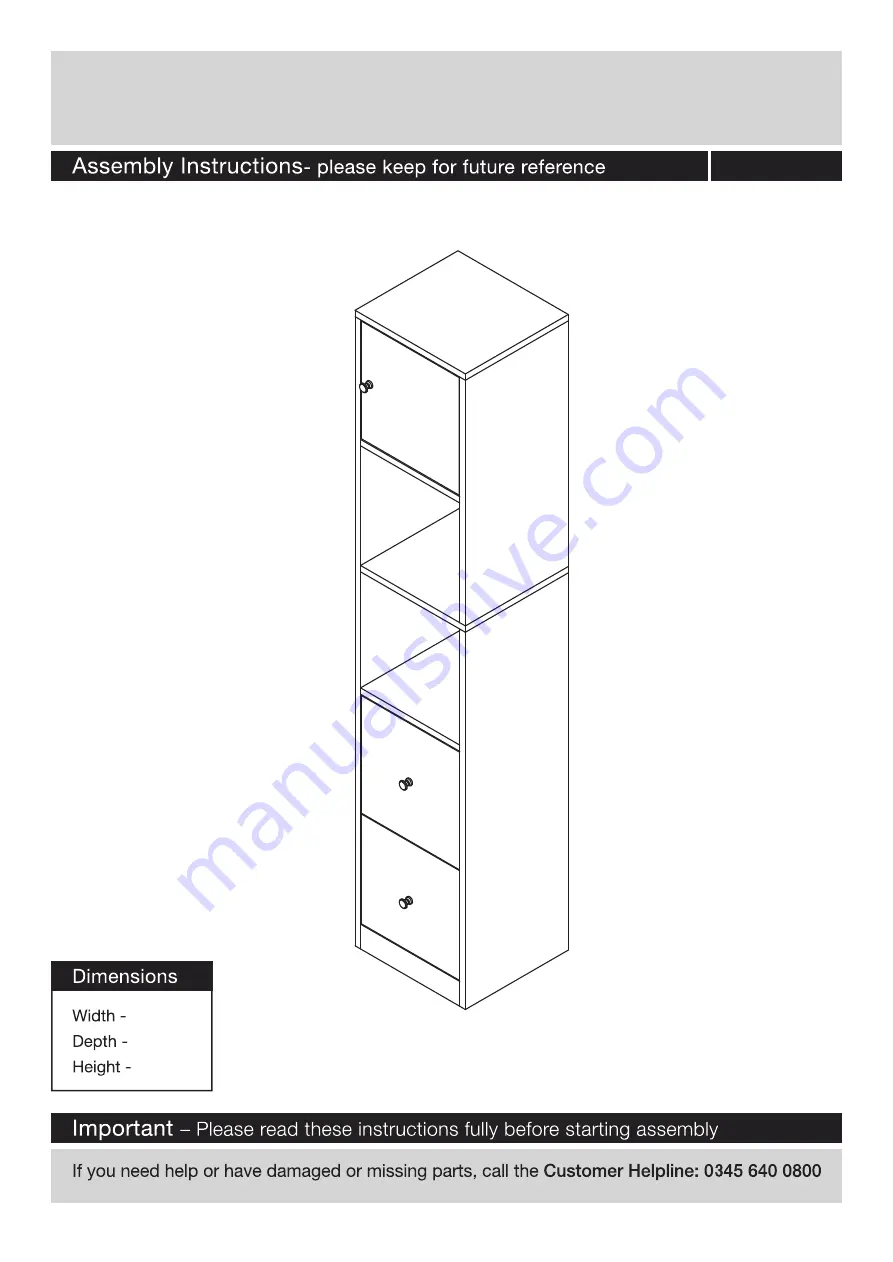
30cm28cm
150cm
BASIC CABINET DRAWERS AND SHELVES
Issue 1- 30/03/15
Page 1: ...395 8953 30cm 28cm 150cm BASIC CABINET DRAWERS AND SHELVES Issue 1 30 03 15 ...
Page 2: ...oduct this could cause damage Assemble the item as close room as possible Assemble on a soft level surface to avoid damaging the Parts of the assembly will be easier with 2 people Only clean using a damp cloth and mild detergent do no use bleach or abrasive cleaners From time to time check that there are no loose screws on this unit This product should not be discarded with household waste Take to...
Page 3: ... panel x 1 30 w cm x 28 d cm 7 Shelf panel x 2 27 9 d cm x 27 w cm 8 Cross bar x 2 27 w cm x 4 d cm 10 Drawer left side panel x 2 Drawer front panel x 2 26 w cm x 20 d cm 11 Drawer right side panel x 2 26 w cm x 20 d cm 12 Drawer back panel x 2 24 w cm x 20 d cm 9 27 5 d cm x 26 5 w cm 2 Upper left side panel x 1 57 w cm x 28 d cm 3 Upper right side panel x 1 57 w cm x 28 d cm 3 Lower left side pa...
Page 4: ...e x 2 Magnetic catch x 1 Magnetic catch plate x 1 14mm Screw x 2 Wall plug x 1 Drawer rail 250mm x 4 12mm Screw x 1 12mm Screw x 18 15mm Female camlock x 20 12mm Female camlock x 8 30mm Wooden dowel x 4 Knob x 3 N P Q Safety strap x 1 O 12mm Screw x 22 Drawer limiter x 4 20mm sticker x 4 R T U S V ...
Page 5: ...ntry hole lnsert the female camlock as shown in the instructions Note ensure that the Turn the female camlock clockwise with a arrow on the top of the camlock points towards the entry hole for the male camlock screwdriver You should feel a click when the camlock is locked in place The joint is now secure Using Camlocks ...
Page 6: ...male camlock into upper left side panel and upper right side panel as shown Insert 8 x male camlock into lower left side panel and lower right side panel as shown Fix 4 x drawer rail to them using 8 x 12mm screw on them as shown A 1 6 9 A A Q G 2 3 4 5 A T U 1 A 6 A 9 A 3 A 2 A G Q 5 A G Q 4 x 2 ...
Page 7: ...tach upper left side panel to shelf panel using 2 x 15mm female camlock as shown Tighten female camlocks with a screwdriver B 2 7 Attach top panel to the upper left side panel and the upper right side panel using 4 x 15mm female camlock as shown Tighten female camlocks with a screwdriver Attach shelf panel to the the upper left side panel and the upper right side panel using 4 x 45mm screw as show...
Page 8: ...e camlock as shown Tighten female camlocks with a screwdriver B C B 7 8 5 5 Insert 2 x wooden dowel into 2 x cross bar as shown Attach lower left side panel to assembled part using 4 x 15mm female camlock as shown Tighten female camlocks with a screwdriver Connect the assembled upper part to the assembled lower part using 4 x 15mm female camlock as shown Tighten female camlocks with a screwdriver ...
Page 9: ...drawer bottom panel into the grooves of the drawer left side panel and the drawer right side panel and slide it into the groove of the drawer back panel as shown Attach 1 x drawer front panel to the assembled part of drawer using 4 x 12mm female camlock as shown Tighten female camlocks with a screwdriver Attach 1 x knob to the drawer front panel using 1 x bolt as shown Repeat above steps to assemb...
Page 10: ...crew as shown drawers into the chest and make sure 4 x drawer rail inserted into the grooves of the drawer side panel and then insert 4 x drawer limiter into the holes of the drawer side panel and as shown Gently tighten the middle 4 x female camlocks and paste 4 x 20mm sticker over the holes of them as shown 10 11 10 11 Q K If you need help or have damaged or missing parts call the Customer Helpl...
Page 11: ......