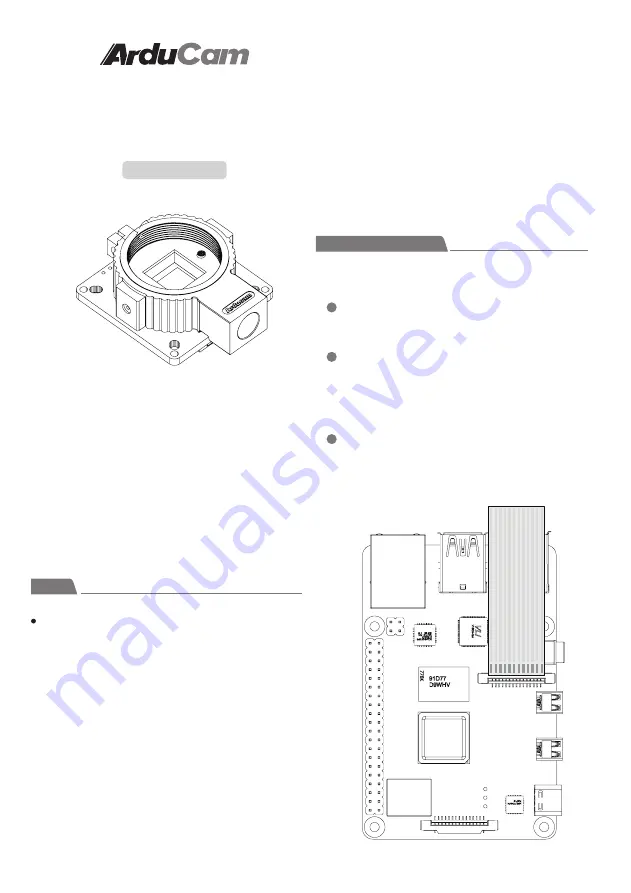
12MP IMX477 HQ Camera
Board with Tripod Mount
for Raspberry Pi
QUICK START GUIDE
This Arducam IMX477 High-Quality Camera board is
designed for Raspberry Pi, no lens is included in this
product, and we recommend you use a C- or
CS-mount lens with it.
High Quality Camera Board
SETUP
CONNECT THE CAMERA
Fitting the lens
1. Identify your lens mount Type
You should prepare a lens for this camera board. 3
kinds of lenses are used most for embedded
cameras - M12 lens, C-Mount Lens, and CS-Mount
Lens. Make sure which kind of lens you are using
before proceeding.
2. For CS-Mount Lens
CS-mount is the stock mount of this camera module,
and it won’t focus properly if any other adapter is
fitted, so remove it if there is one. Then rotate the
CS-Mount lens into the CS camera mount.
3. For C-Mount Lens
Thread the C-CS adapter that comes with the lens
first. C-mount lens has a longer back focus length
,
and therefore requires the adapter. Then rotate the
C-Mount Lens into the C-CS adapter.
Locate the camera port near the USB C power
connector, and gently pull up on the plastic edge.
Push in the camera ribbon and make sure the
silver connector is facing the Raspberry Pi camera
MIPI port. Do not bend the flex cable and make
sure it is firmly inserted.
Push the plastic connector down while holding
the flex cable until the connector is back in place.
4. For M12 Lens
Thread the M12-CS adapter that comes with the lens
first. Then rotate the M12 Lens into the M12-CS
adapter.
SKU:
B024001
You need to connect the camera module to the
Raspberry Pi’s camera port.
1
2
3


