


- 47 -
Installation & Maintenance
4.4. Mount the Computer
4.4.1 VESA Mounting
The computer supports 75mm and 100mm VESA mount so you can attach the
computer to a VESA mount kit. The installtions of ASLAN-W810C and ASLAN-
W812C are similar and the following descriptions will use ASLAN-W810C as
example.
To integrate the computer to a VESA arm:
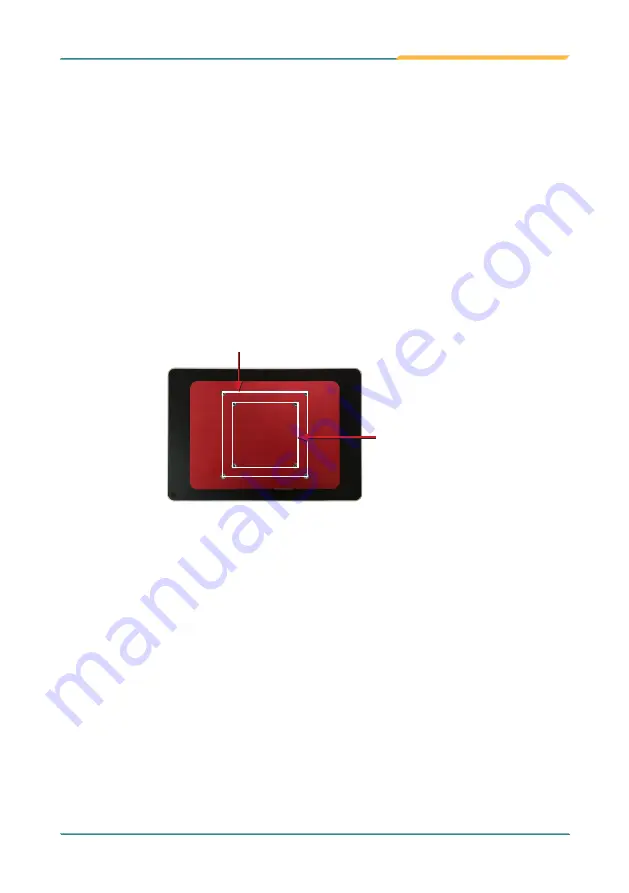
1. Find the VESA mounting holes on the rear of the computer.
100 x 100mm VESA
mounting holes
75 x 75mm VESA
mounting holes
2. Attach your VESA mount kit to the rear of the computer by matching the
mounting holes with the VESA mount kit.
3. Fix the assembly with four screws.
4.4.2 Panel Mounting
The ASLAN-W810/812C comes with optional panel mounting brackets for
panel mounting. Follow the steps below to mount the computer on a panel.
The installation procedures for ASLAN-W810C and -W812C are similar. This
section will use the ASLAN-W812C to illustrate the procedures
Summary of Contents for ASLAN-W810-2930G2
Page 10: ... viii This page is intentionally left blank ...
Page 11: ... 1 1 Chapter 1 Introduction Chapter 1 Introduction ...
Page 16: ... 6 This page is intentionally left blank ...
Page 17: ... 7 2 Chapter 2 Getting Started Chapter 2 Getting Started ...
Page 20: ... 10 Getting Started 2 2 2 Rear View ASLAN W810C ASLAN W812C ...
Page 22: ... 12 This page is intentionally left blank ...
Page 23: ... 13 3 Chapter 3 Engine of the Computer Chapter 3 Engine of the Computer ...
Page 47: ... 37 4 Chapter 4 Installation Maintenance Chapter 4 Installation and Maintenance ...
Page 60: ... 50 This page is intentionally left blank ...
Page 61: ... 51 Installation Maintenance 5 Chapter 5 BIOS Chapter 5 BIOS ...
Page 76: ... 66 This page is intentionally left blank ...
Page 77: ... 67 Appendices Appendices ...


