3.3.3.
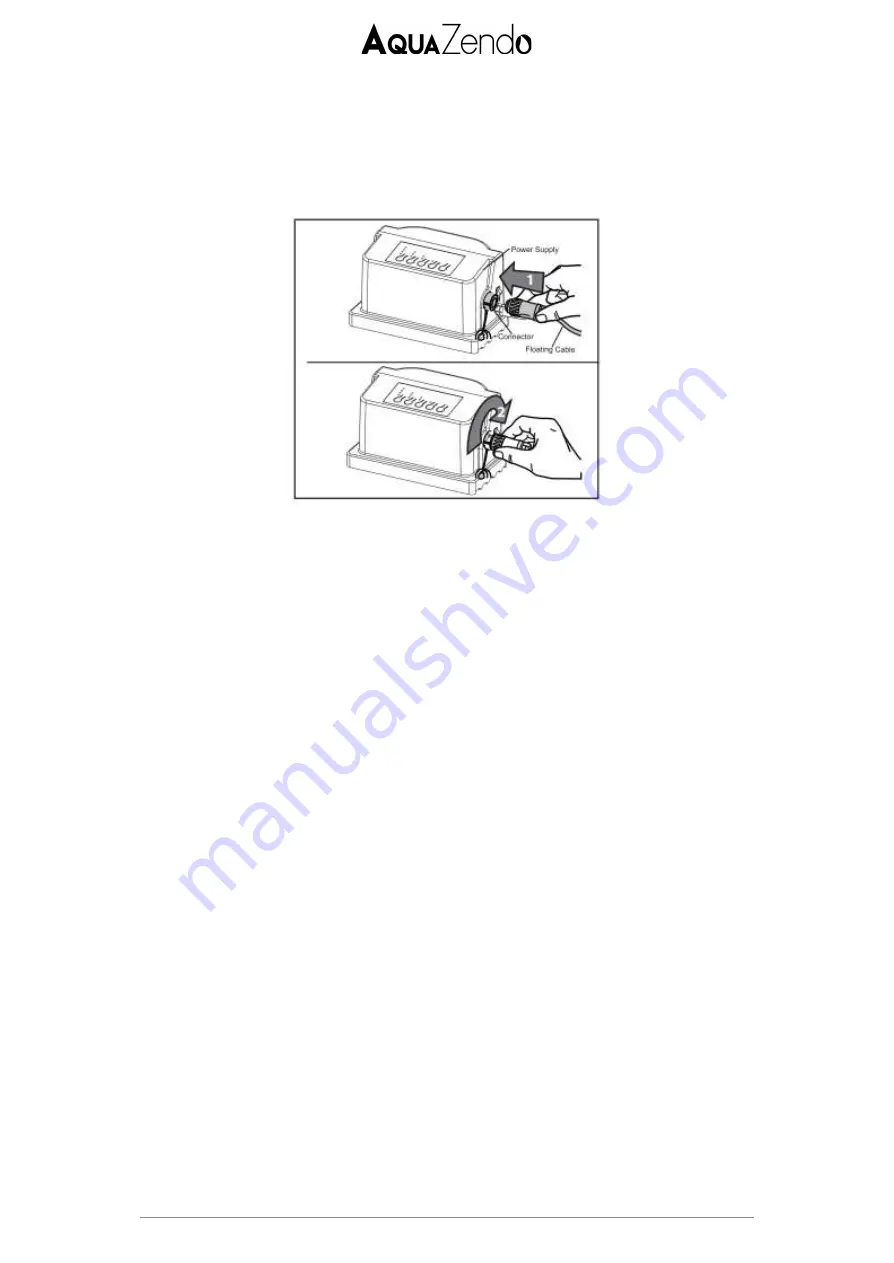
Connecting the floating power cable
Plug the cable into the connector on the side of the control box. Once the plug is
inserted, turn it to the right (clockwise) to lock it. To disconnect the cable, first rotate
the plug to the left to unlock it, then pull it out.
3.3.4.
Immersion of the robot
●
Position yourself above the pool water with the robot, ideally at an angle.
●
Drop the robot into the water. It will slowly sink to the bottom as the air
inside is released. You will see bubbles appear, which is quite normal.
●
Extend the floating power cable on the surface of the water as evenly as
possible, for example along the length of the swimming pool.
3.3.5.
Starting the robot
●
On the side of the control box, press the button with the symbols “0” and “I”,
placing it on “I”, in order to turn on the device.
●
Select one of the two cleaning cycles. Each of them is determined by the size
of the pool and its degree of cleanliness, as well as for how long you would
like to run the cleaning cycle. You have the choice between these options:
○
CYCLE I: for a small pool (1 hour cleaning cycle).
○
CYCLE II: for a large swimming pool (2 hour cleaning cycle).
●
To start the robot, press the “START” button once and release it. The robot
begins its cleaning cycle.
●
Notes:
○
The robot can stop in the middle of the pool and turn around during
the cleaning cycle. It's part of the program.
○
The robot can be lifted during cleaning to free itself, for example at
the level of the stairs.
3.4.
Changing the program while the robot is working
●
If you want to change the cycle while the robot is working, first press "STOP".
●
Then select the cycle mode you need.
●
Wait 5 seconds.
10


