IMPORTANT!
Do not change E-Signature settings during a spectral calibration.
IMPORTANT!
If you change polymer type, spectral calibrations for the original
polymer type are not retained.
1.
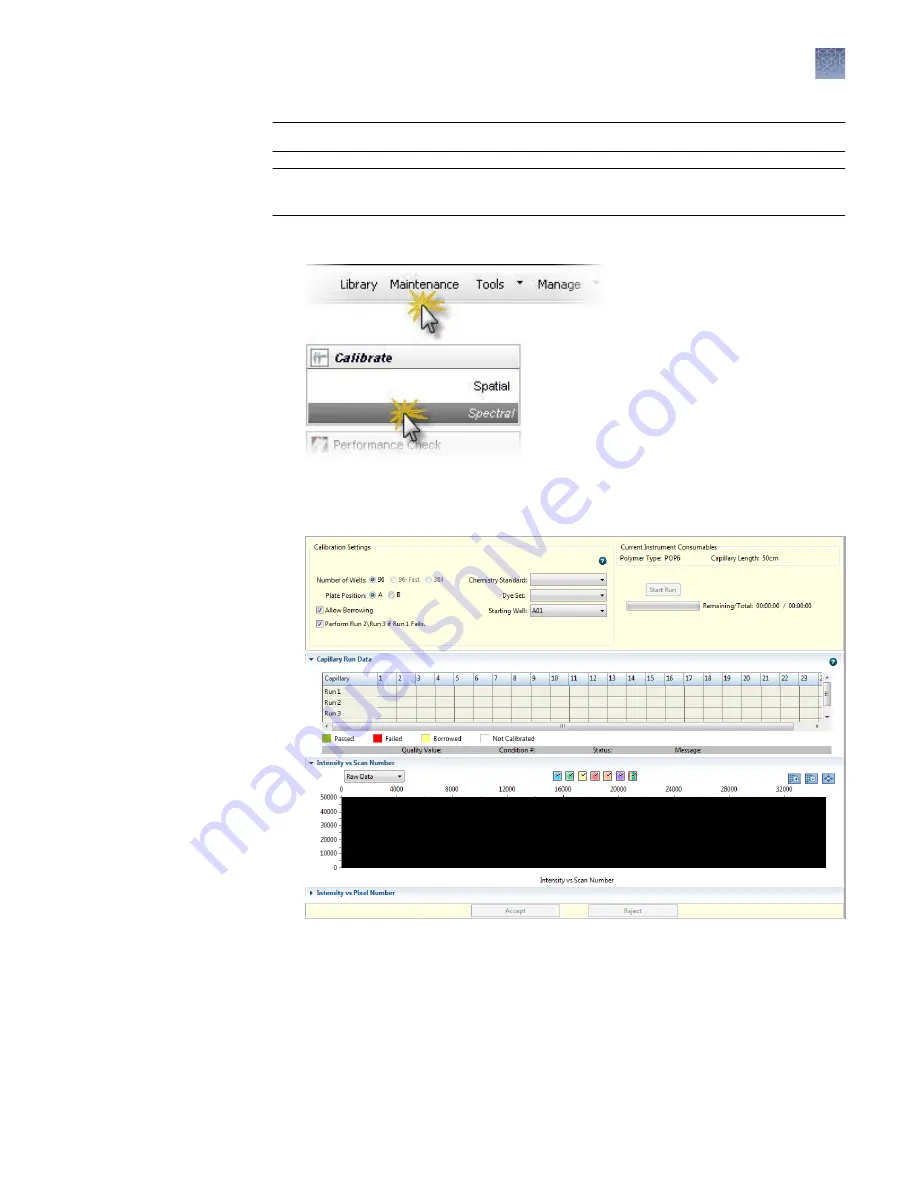
Access the Spectral Calibration screen.
Note:
The screen does not display results until you perform a spectral
calibration. To view previous calibration data, click History View.
2.
Select the number of wells, standard, and dye set.
3.
Select the plate position for the plate loaded in the instrument.
Note:
You do not create a plate in the software for the calibration.
4.
Specify the starting well for the injection position in which you loaded the
standard in the plate.
Perform a
spectral
calibration
Chapter 6
Run calibrations and install checks
Run a spectral calibration
6
3500/3500xL Genetic Analyzer User Guide—Data Collection Software v3.1
111


