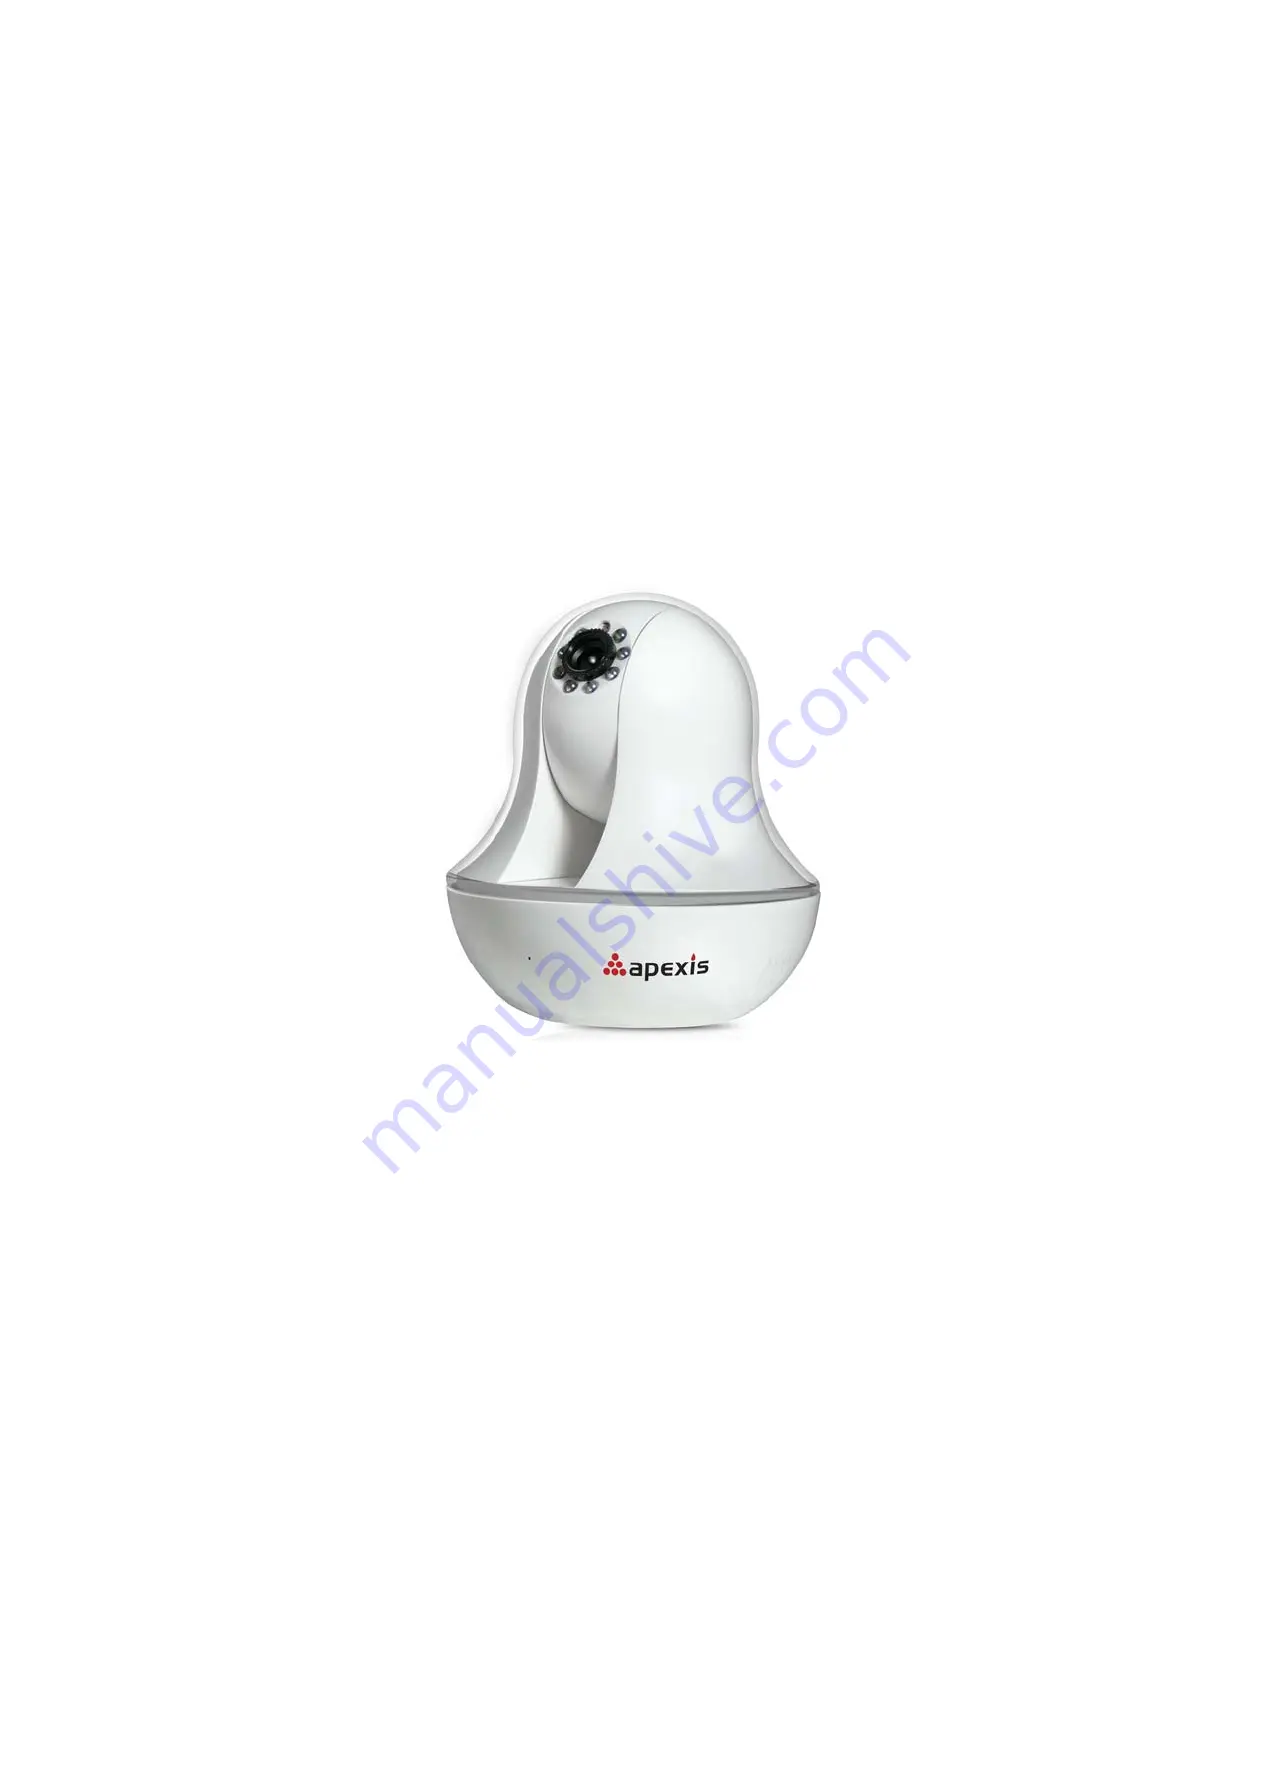
IP Wireless / Wired Camera
REMOTE PAN/TILT ROTATE
User Manual
Page 1: ...IP Wireless Wired Camera REMOTE PAN TILT ROTATE User Manual...
Page 2: ...FOR ADMINISTRATOR 22 3 SETTINGS AS ADMINISTRATOR 23 3 1 MULTI DEVICE SETTINGS 23 3 2 NETWORK SETTINGS 28 3 3 BASIC NETWORK SETTINGS 28 3 4 WIRELESS LAN SETTINGS 30 3 5 ADSL SETTINGS 32 3 6 UPNP SETTIN...
Page 3: ...re You can use this IP Camera to monitor some special places such as your home and your office Also controlling and managing images are simple by clicking the website through the network 1 1 Features...
Page 4: ...se T Power DC 5V 2A power supply I O PINS 1 Output A 2 Output B 3 Alarm input 4 Input GND Network Light Green LED turn on when connect to the network yellow LED will blink when data transferred Audio...
Page 5: ...ra and router switch 4 It takes approx 30 seconds to boot up the camera then you will find the IP address from IP Camera Tool Figure 2 1 5 When the power on and network cable connected the green led o...
Page 6: ...ence www apexis com cn www apexis cc Shenzhen Apexis Electronic Co Ltd Tel 86 755 26509025 Fax 86 755 26509229 6 Figure1 6 Figure1 7 Figure1 8 After this done the icon IP Camera Tool will be displayed...
Page 7: ...t may cause damage to internal components of the Pan Tilt For firmware upgrading or connection with an external refer to detailed instructions contained in the CD 2 SOFTWARE OPERATION 2 1 IP Camera To...
Page 8: ...s some device information in the Basic Properties such as Device ID System Firmware Version Web UI Version Figure 2 1 The Device ID just is the camera s MAC ID which should be the same as showed on th...
Page 9: ...in IP from DHCP server In other words the camera will have a dynamic IP Make sure the Router which the camera connects has DHCP function and DHCP is enabled Figure 2 2 Figure 2 3 IP address Fill in th...
Page 10: ...doesn t match double chick to change appeared please set the IP Address Subnet Mask Gateway DNS Server once again or enable Obtain IP from DHCP server 2 1 1 3 Upgrade Firmware Enter the correct User...
Page 11: ...trol Version here 2 2 Camera Login You can access the camera through IP Camera Tool or IE Firefox Safari Google Chrome or other standard browser directly 1 Double click the IP address of the IP Camera...
Page 12: ...explorer 2 Server Push Mode available in Firefox Safari and Google Chrome browser 3 Sign in mobile phone available in Mobile phone 2 3 For IE Browser Choose Active Mode For IE Browser and sign in Figu...
Page 13: ...even just a black screen please try to enable the ActiveX options of IE security settings Please do the follow steps 1 Close the firewall of your computer 2 Change the ActiveX settings IE browser Too...
Page 14: ...u Internet Explorer choose Internet attributes to enter or via Control Panel Internet Explorer enter to Security setting If you allowed the ActiveX running but still could not see live video only a Re...
Page 15: ...lock the software or ActiveX If you couldn t see live video please close your firewall or anti virus software and try again 2 4 For Safari Firefox Google Browser Choose Server Push Mode For Safari Fir...
Page 16: ...phone 3G phone etc Normally if the mobile phone supports network video then it can work with our IP Camera Figure 3 4 2 6 ActiveX Mode For IE Browser Login the camera in ActiveX mode the main User Int...
Page 17: ...ou can view 9 Channels of cameras which connected from CH1 to CH9 NOTE If you want to view 4 9 channels you should set the Multi Device firstly See 3 1 Multi Device Settings Status of Channels There a...
Page 18: ...he OSD Color Can set the OSD text color as black yellow red white blue etc Add time stamp on record Click this there will be time OSD on record video files Figure 3 7 Rate and Resolution Rate Set vide...
Page 19: ...be saved to the folder you set Figure 10 8 Figure11 0 Click it to collect the sound around the camera if you plug a earphone or a speaker in the computer which you are using you will hear the sound a...
Page 20: ...ons which for Visitor and also supports these functions as below Figure 4 1 Audio Video Settings Figure 4 2 Audio buffer Click this icon it will show five numbers which means 1 2 3 4 5 seconds buffer...
Page 21: ...he parameters back to factory setting to get live video Pan Tilt Control Figure 4 4 Click this icon the camera will pan tilt and then stop at the center Normally it will rotate 1 circle Click this ico...
Page 22: ...ferent positions with a same number camera will record the last position setting only Call Preset Position It supports 15 preset positions If operator wants to monitor an important area quickly and pr...
Page 23: ...4 6 3 1 Multi Device Settings Multi Device Settings This camera can support max 9 channels device at the same time 3 1 1 Set Multi Device in LAN In the Multi Device Settings page you can see all devic...
Page 24: ...enience www apexis com cn www apexis cc Shenzhen Apexis Electronic Co Ltd Tel 86 755 26509025 Fax 86 755 26509229 24 Figure 4 7 Click Live Video and then select to see four channels or click to see ni...
Page 25: ...e Make sure all these cameras you want to add have been set DDNS successfully View 3 7 DDNS Service Settings And also these cameras work well with DDNS Login the first camera by DDNS domain name and p...
Page 26: ...optional you can set the alias as per your wish The Host must be the camera s DDNS domain name and without http it s not the Lan IP address If you have several cameras you can use the same DDNS domain...
Page 27: ...era DDNS to view all the devices via internet Figure 5 3 3 1 3 Upgrade Device Firmware If you want to upgrade the camera please upgrade Device Firmware first then upgrade Web UI Click Browse and choos...
Page 28: ...meter will be returned to factory settings and the device will reboot Figure 5 5 3 1 5 Reboot Device Click Reboot the device will pop up a prompt select OK then the device will reboot Figure 5 6 3 2 N...
Page 29: ...5 7 If you don t know Subnet Mask Gateway DNS Server Please check the Local Area Connection Status of your computer it contains all these information steps as below 1 Control Panel Network Connection...
Page 30: ...ge it to another port number such as 85 3 4 Wireless Lan Settings Figure 6 1 1 Make sure the router is wireless router 2 Make sure the Wi Fi antenna installed 3 Make sure whether there is encryption o...
Page 31: ...More Security More Convenience www apexis com cn www apexis cc Shenzhen Apexis Electronic Co Ltd Tel 86 755 26509025 Fax 86 755 26509229 31 Figure 6 3 Figure 6 4 Figure 6 5...
Page 32: ...ure 6 8 Select it and click Submit then the camera will support UPnP port forwarding automatically It s helpful for using DDNS if your router support UPnP then you no need do port forwarding in router...
Page 33: ...domain is provided by the 3rd party such as Dyndns Oray 3322 etc Figure 7 1 Third Party DDNS If you use third party DDNS please choose the server you use such as 3322 org or dyndns org as below Figur...
Page 34: ...Forwarding in the router This is the most important step Set port forwarding in router refer to the IP of your camera correctly then the DDNS will work Because there are so many kinds of routers from...
Page 35: ...k save NOTE The port and IP address should be the same as Camera Figure 7 6 DLINK 1 Login the router 2 Choose Advanced select Virtual Servers 3 Input the port IP address Protocol then click save NOTE...
Page 36: ...Ltd Tel 86 755 26509025 Fax 86 755 26509229 36 Step Login System Device Info Figure 7 8 Figure 7 9 3 8 System Settings Figure 8 0 3 8 1 Device Info You can find the information about Device ID Firmwa...
Page 37: ...29 37 Figure 8 1 3 9 Alias Settings Default device name is anonymous You set any new name for your camera here then click Submit Figure 8 2 3 10 Date Time Settings Set the date and time for your camer...
Page 38: ...e acceptable for this system Here you can set the user names and password as Administrator Operator or Visitor the permission for them as below z Visitor In this mode you can only view Details 2 7 z O...
Page 39: ...g leftward 6 Rightward patrol speed Set the speed of cruising rightward NOTE Value 0 means the fastest value 10 means the slowest In order to protect the camera s motor we recommend that setting the s...
Page 40: ...e all the current settings that you have set already you can click Submit then all the parameters you set will store as a parameters bin file 2 Restore Restore IP Camera all the Parameter if you want...
Page 41: ...r name and password add the MSN buddy max upto 10 friends after submit the user will be shown in your MSN friend list Click System Device Info to check the MSN status After it run your MSN open the ch...
Page 42: ...o SMTP limitation SMTP Server The sender s SMTP Server SMTP Port The sender s SMTP Port usually is 25 some SMTP server have its own port such as 587 Need Authentication If there is SMTP user password...
Page 43: ...message is denied by the server Maybe because of the anti spam privacy of the server 8 The server does not support the authentication mode used by the device Report Internet IP by Mail If select it y...
Page 44: ...You will see the following picture Figure 9 5 If it prompts error information as follows 1 Can not connect to the server Please check FTP Server is correct or not 2 Network Error Please try later 3 S...
Page 45: ...ction 3 18 1 Motion Detect Armed If enable Motion Detect Armed it will record and make a sound of alarm when there is motion detection triggered Figure 9 7 After enable motion detect armed if there is...
Page 46: ...put Armed to enable it when it s an output device choose IO Linkage on Alarm to enable it Figure 10 0 There are two options for Trigger Level Figure 10 1 High When the external alarm device is close t...
Page 47: ...Armed Figure 10 0 external alarm is enabled Output pins The output pins can be enable IO linkage on alarm You can also use to control IO output Switch ON OFF See Figure 4 4 NOTE All the pins work as...
Page 48: ...t here Figure 10 6 Once alarm occurred there will be some representation 1 The corresponding status light turns Red and keeps blinking Figure 10 7 2 If you set Sound on Alarm plug an earphone or a spe...
Page 49: ...you can set the alarm record path When the motion triggered and record enable it will start alarm record automatically the record file will be saved to the specified path here set Figure 11 0 NOTE If...
Page 50: ...oose Server Push Mode login the camera you will see the main user interface as below Figure 11 2 NOTE Server Push Mode does not support ActiveX Play Stop Record Audio Talk Multi device settings Path s...
Page 51: ...obile phone If you are using a mobile phone choose Sign in mobile phone login the camera you will see the main user interface as below Figure 11 3 NOTE Mobile phone Mode doesn t support ActiveX In mob...
Page 52: ...l area connection of your computer change subnet gateway of the camera Keep them in the same subnet of your computer Figure 2 3 4 1 3 IP Address configuration Check whether IP address of the IP camera...
Page 53: ...sites Sites Add 2 You can also run the IE as administrator input the IP address of the camera manually 4 1 9 I can t find multi device settings and record icon Record and multi device function are con...
Page 54: ...many visitors will slow down the image frame rate 4 Choice of switch or hub Use a switch for multiple IP Camera Servers rather than a HUB 4 1 15 How to register an account from DDNS web You can enter...
Page 55: ...rast Audio talk back Built in Mic Communication System Interface 10Base T 100Base TX Ethernet Port Supported Protocol TCP IP DHCP SMTP HTTP DDNS UPNP PPPoE FTP DNS UDP GPRS Wireless LAN Support wirele...
Page 56: ...e undesired operation Warning Changes or modifications not expressly approved by the party responsible for compliance could void the user s authority to operate the equipment NOTE This equipment has b...
Page 57: ...at may cause undesired operation of the device This equipment should be installed and operated with a minumum distance of 20 cm between the radiator and your body Avis d Industrie Canada Cet appareil...