AD8556-EVALZ/AD8556CP-EBZ User Guide
UG-896
Rev. A | Page 5 of 9
SOFTWARE
INSTALLATION
To install the evaluation software on the PC,
1.
Insert the CD-ROM into the CD drive on your PC. After a
few moments, a message for the installation appears.
2.
Double-click
setup.exe
. (For Windows® 7 onwards, right-
click and select
Install
as a system administrator.)
3.
Follow the instructions until the software installation is
complete.
The evaluation software is developed in LabVIEW®. The
software requires a LabVIEW® runtime engine and USB drivers
for the SDP (both included in install). Install the software with
administrator access, before plugging in the SDP board. The
install detects if the SDP board has been installed previously.
The default install location is
C:\Program Files (x86)\Analog
Devices\AD855x
.
For the most current data sheet, visit
REMOVING THE EVALUATION SOFTWARE
To remove the evaluation software modules,
1.
Go to
Start
>
Settings
>
Control Panel
.
2.
Double-click
Add/Remove Programs
and select
AD855x Evaluation Software
.
RUNNING THE SOFTWARE
To run the evaluation software application:
1.
After the SDP board is plugged intothe PC via the USB
cable and into the
evaluation board via the P1 socket, run the evaluation
software. From the
Start
menu, click
AD855x Eval
, and
then click
AD855xEVAL
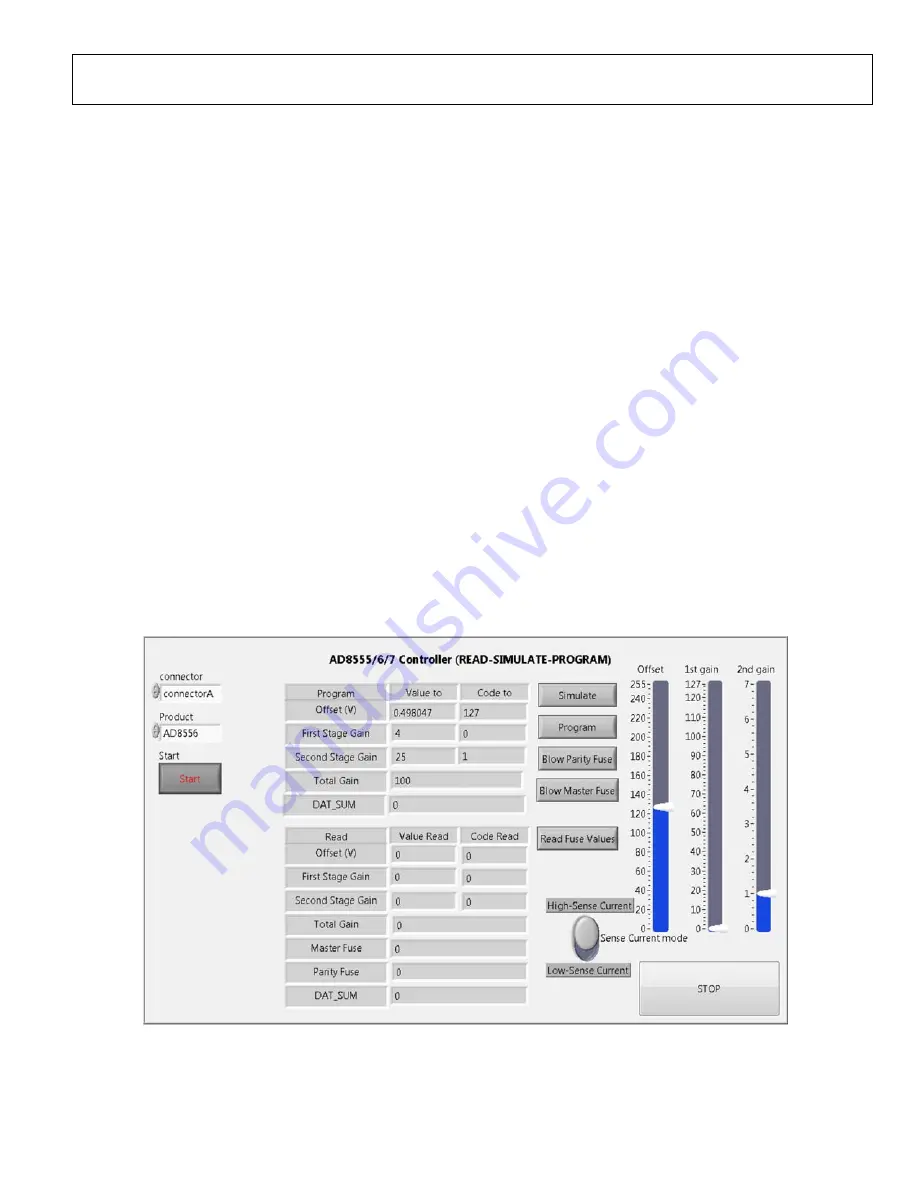
. The graphical user interface
(GUI) opens.
2.
Select the product for which you have samples and the
connector used, and then click
Start
.
3.
Set the appropriate gain and offset values, and then click
Simulate
. Monitor the output as the offset is changed to
verify communication.
4.
Program the gain between 70
and 1280 and the offset
between 0 V and 5 V. Click
Simulate
to load these values
into the
and monitor
the output.
5.
The output is input × gain and responds to the specified
configuration.
6.
After the
has been
simulated to the final values, click
Program
to
permanently blow the internal fuses to the values in the
GUI.
1188
6
-0
0
2
Figure 3. No Programming Dialog Box


