AMX PTM-D15, Instruction Manual
The AMX PTM-D15 is a versatile control panel ideal for managing AV systems. For easy installation and setup, it comes with a comprehensive Instruction Manual. Download the manual for free from manualshive.com, and make the most of your PTM-D15's features with step-by-step guidance.
Share
Download


Reviews:
No comments
Related manuals for PTM-D15

PPS Solar case
Brand: a-TroniX Pages: 8

MXT-701
Brand: AMX Pages: 2

RI-1590
Brand: Risecom Pages: 36

P3300
Brand: Colormetrics Pages: 91

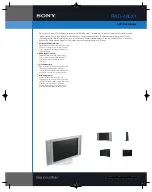
FWD-42LX1
Brand: Sony Pages: 4
FWD-40LX1
Brand: Sony Pages: 2

FWD-32LX1R Mounting Bracket
Brand: Sony Pages: 2

FWD-32LX1R Mounting Bracket
Brand: Sony Pages: 12
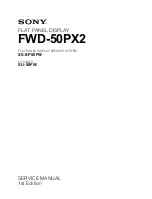
FWD-50PX2
Brand: Sony Pages: 48

FWD-42PV1A
Brand: Sony Pages: 50

FWD-50PX1 (English: pgs. 52-97)
Brand: Sony Pages: 112
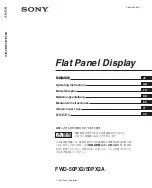
FWD-50PX2
Brand: Sony Pages: 352

FWD-32LX1R Mounting Bracket
Brand: Sony Pages: 142

FWD-40LX1
Brand: Sony Pages: 144

FWD-32LX1
Brand: Sony Pages: 304

FWD-40LX1
Brand: Sony Pages: 316

FWD-42PV1A
Brand: Sony Pages: 328

FWD-50PX1 (English: pgs. 52-97)
Brand: Sony Pages: 348


