Update the firmware
www.amulethotkey.com
| Page 37
7.2.6
Confirm that the firmware was updated
Check the log file to confirm that the firmware update was
successfully applied.
1.
The zero client restarts automatically after a successful
upgrade.
Note:
If the zero client was On and in a session while the
firmware was updated, it automatically restarts after the
session has ended. The zero client does not apply the new
firmware until it restarts.
2.
When the zero client restarts, log on to the Administrative
Web Interface (AWI); see
3.
From the home page, select
Diagnostics > Event Log
.
4. Click
View Event Log Messages
.
5.
When the log file displays, search for log entries that start
with ‘MCU’. Within this log entry, the FW: section (shown in red)
indicates the current BSM firmware version:
MCU :HWID: 0x85, Major/Minor FW: <0xNN>/<0xNN>, <MAC
address>
Your Amulet Hotkey contact can advise on the correct
firmware version number.
7.2.7
Deactivate the BSM network interface
Finally, you must deactivate the BSM network interface to free
up the IP address acquired and assigned in
1.
Verify that the target zero client is powered on.
2.
Log on to the Administrative Web Interface.
3.
In the AWI, choose
Configuration > Power.
4. Clear the
Enable Wake-on-USB
box.
5. Click
Apply
to deactivate the BSM network interface imme
-
diately.
The BSM firmware update is now complete.
7.2.8
Upgrading multiple units
If you are upgrading the firmware on multiple units you can
automate this process.
Example:
You can use a script to discover Amulet Hotkey BSMs
on your network, querying the Address Resolution Protocol
(ARP) cache for known MAC address patterns. Amulet Hotkey
Technical Support can offer guidance on this.
(The ARP cache is a collection of Address Resolution Protocol
entries that map IP addresses to MAC addresses.)
7.2.5
Transfer the firmware package to the target BSM
Use a TFTP server to transfer the .bsm file containing the
firmware package. As an example, these instructions use the
Tftpd32 utility, available from
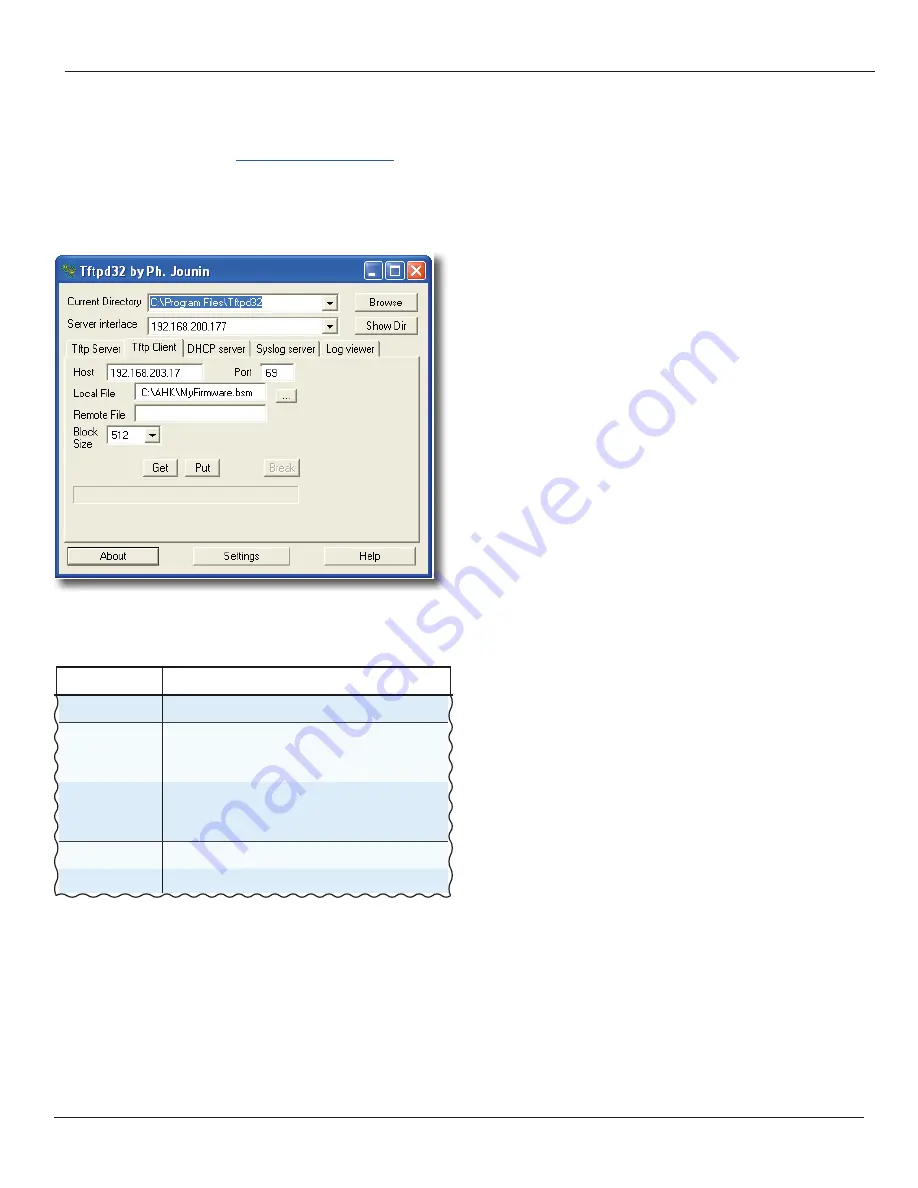
1. Verify that the target zero client is on or in standby.
2. Launch the
Tftpd32
utility.
3.
When Tftpd32 starts, go to the
Tftp Client
tab.
Figure 29:
TFTP.utility.client.settings.window.
4.
Enter the following settings:
Setting
Value
Host:
Enter the BSM IP address.
Port
Set to port 69. Note that port 69 on the BSM is
used to initiate the transfer. The actual port used
during the transfer is randomly assigned.
Local File:
Browse to the .bsm file containing the firmware
update. You can retrieve this file from anywhere
accessible on your network.
Remote File:
Leave this setting blank
Block Size:
Set to 512 bytes.
Table 10:
TFTP.utility.client.settings
5. Click
Put
to start the package transfer.
6.
After the BSM receives and validates the package, the BSM
restarts automatically.


