Revised: 12/22/2015
n:\amtryke\manuals and instructions\models\1412\proseries 1412 manual booklet style.docx
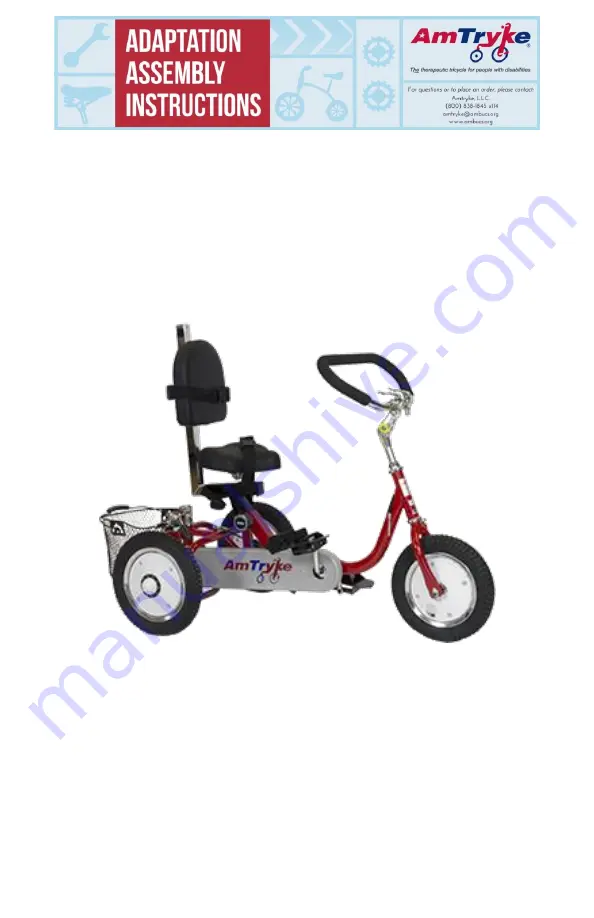
ProSeries Foot Tryke 1412
#50-FC-1412
Page 1: ...Revised 12 22 2015 n amtryke manuals and instructions models 1412 proseries 1412 manual booklet style docx ProSeries Foot Tryke 1412 50 FC 1412...
Page 2: ...rk 7 Handlebar 8 Loading Brake 9 Seat 10 Basket 11 Pedals 11 Steering Pin 12 Additional Assembly Instructions 13 Rear Steering Bar with Hand Brake Model 1512 13 Fitting AmTryke for Rider 16 Optional A...
Page 3: ...lebars 12 inch front and rear pneumatic wheels and pedals that are weighted and self righting A loading brake makes transfer of rider safe and easy In addition these trykes have a safety steering pin...
Page 4: ...yke for Rider in this manual for more information Here are some tips about riding safety AmTrykes should be used with close adult supervision Riders must wear helmets All our trykes include a free saf...
Page 5: ...features Consult AmTryke to find out the best solution for your rider Many riders do not have the motor skills required to be able to use the hand brake effectively Depending on trunk stability behavi...
Page 6: ...ur tryke use both brakes It is advisable to start braking by operating the rear brake slightly before the front brake Shift Gears If your tryke has shift gears use precaution when shifting gears When...
Page 7: ...d check that they have been put together correctly Tighten lock nuts by hand until snug then use proper tools to tighten nuts completely Getting Started Your AmTryke is shipped in parts Carefully remo...
Page 8: ...heel Chain guard Seat post bracket Seat securing knob Frame lever 2 Screws 4 for basket Safety pin Nut cover Pedals 1412 1512 parts Hand brake 1512 Rear steering bar 1512 Seat back Handlebar Quick rel...
Page 9: ...aring retainers onto the front wheel fork tube with ball bearings FACING UP and then insert the fork tube into the main frame tube Front fork inserted into main frame s fork tube 2 Slide the second ba...
Page 10: ...dlebar stem 1 Remove the black plastic cap from the handlebar stem and insert the stem into the fork head tube 2 Remove the gray plastic cover from the stem expander Allen head bolt and secure the ste...
Page 11: ...and easily To install it 1 Remove the two Allen bolts from the base of the parking brake 2 Place the brake over the right side of the rear axle housing 3 Align the two holes in the brake bracket with...
Page 12: ...seat assembly seat and seat post into the seat post bracket Pull back on the seat securing knob and place the pin into desired hole for seat height Seat post assembly NOTE Frame levers are spring load...
Page 13: ...n the basket mount onto it Pedals Pedals are mounted onto the pedal cranks The right pedal tightens clockwise and the left counterclockwise Hand thread until you are certain that they are threaded pro...
Page 14: ...steering straight Lower position Limits steering to 20 degrees in either direction No pin Free steering Jiggle the front wheel assembly as you push the pin into the hole and through the other side of...
Page 15: ...control arm to the rear of the tryke as show in the picture on the right 4 Attach the steering control arm to the front and tighten the securing knob 5 Turn the front wheel straight forward and now t...
Page 16: ...eeze the brake caliper arms so that the brake pad touches the front rim Position the brake pad until it is aligned with the rim and makes full contact 3 Retighten the acorn nut Step 1 Turn the Ferrule...
Page 17: ...her hand to remove any slack in the cable Retighten the cable clamp with an 8 mm wrench or socket 8 Lift the front tire off the ground and spin the tire to see if the brake is too tight 9 If the front...
Page 18: ...t in the lowest position and adjust upward if needed Tighten the seat securing knob securely 3 Adjust the seat back up down for the best support for your child s trunk Tighten the seat back knobs 4 Sl...
Page 19: ...pedals Pedal leveler pulley Knee adductor positioning strap Knee separator Push bar Pull bar Safety flag License plate For a complete and updated list of available accessories please visit our website...
Page 20: ...come with the repair kit Brakes Brake shoes wear out so inspect them at least every six months Make sure that they are properly aligned on the wheel rim for maximum braking power Make adjustments if n...
Page 21: ...k for slack frayed cable Every 6 months Brake arms Check mounting bolt tightness Every 6 months Brake levers Check tightness on handlebars Every 6 months Brake shoes Inspect for wear alignment Every 6...
Page 22: ...ude dealer service charges for parts replacement or shipping charges to or from AmTryke FRAME All AmTryke frames and forks are guaranteed to be free from defects in materials and workmanship for a per...
Page 23: ...to be age appropriate The AmTryke Road Trip brings the equipment to rehabs clinics and therapy centers Training or in services are offered to teach therapists about the AmTryke program These are often...
Page 24: ...ress for UPS FEDEX is AMBUCS Resource Center 4285 Regency Drive Greensboro NC 27410 Refunds After inspecting the returned merchandise we will reimburse the purchase price of the item less original shi...
Page 25: ...opriate sizes for AmTrykes and helmets See Rider s measurements on the next page for guidance on how the length is measured http www ambucs org s sizing chart Tools Refer to the photo below to identif...