Installation Guide
V1.2 Aug 2015
High Performance
Invisible Loudspeaker
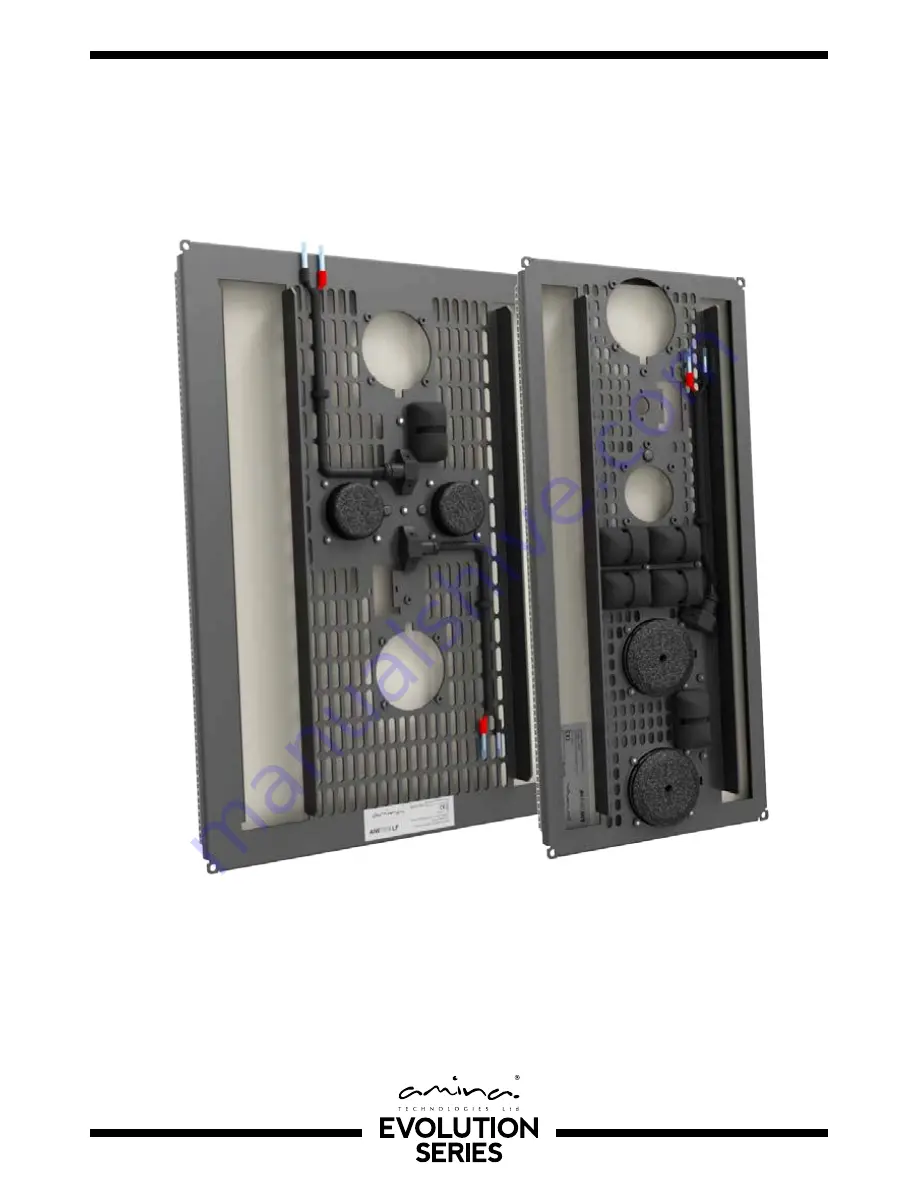
AIW750i
Products may vary from items pictured
Page 1: ...Installation Guide V1 2 Aug 2015 High Performance Invisible Loudspeaker AIW750i Products may vary from items pictured...
Page 2: ......
Page 3: ...r force dry the environment after installing speakers Force drying should only be used to ensure the entire environment and structural work is fully dry before installation of invisible loudspeakers T...
Page 4: ...and decorating steps 3 4 21 Setup tips 22 Setup tips 23 Set up tips 24 Further details 25 Troubleshooting 26 Specifications Evolution Series APU 27 Spacesaver information 28 Warranty copyright inform...
Page 5: ...ct to provide high quality high sound pressure levels from such a compact design Please take a moment to read this guide which will help you achieve the best possible performance from your product Tha...
Page 6: ...board Fixing options ordered separately The AIW750i has been designed to work optimally within BackboxCV products installed in plasterboard stud wall or ceiling installations Slightly less optimal mou...
Page 7: ...will position the speaker correctly and securely in the wall ceiling ready to be plastered over The details below and the flow chart on the opposite page will allow you to select the correct installa...
Page 8: ...stered Page 14 Full wet skim For walls ceilings that have already been plaster finished Page 15 Drywall patch plastered For new drywall walls ceilings that will be taped and jointed Page 16 Drywall fe...
Page 9: ...w cut an aperture with dimensions 455mm x 350mm 18 x 133 4 in your plasterboard wall or ceiling Ensure aperture is created between supporting joists or stud work We strongly advise that joists are not...
Page 10: ...material can rest against the back of the speaker but not so much as to put pressure on the panel Ensure the speaker cable is laid behind the material and can not rest against the rear of the panel A...
Page 11: ...between the speaker and the plasterboard If necessary increase the aperture size before mounting the speaker Using drywall screws fix the four corner points of the speaker to the fixing blocks Pilot h...
Page 12: ...ng it to the plasterboard A 75mm 3 cavity depth is required to fit a BackboxCV If a fire rating is required fit an Amina Firehood 200 345 first before fitting the BackboxCV200 345 Fix backbox Using a...
Page 13: ...See section B Amina backboxes BackboxCV200 and BackboxCV345 are designed for 12 5mm 1 2 plasterboard Shims can be supplied to adapt the backbox for different plasterboard thicknesses Contact your supp...
Page 14: ...der that will be applied to the wall ceiling prior to the finish plaster skim Subtract that thickness from 50mm 2 to calculate the minimum cavity depth you will need to create Create channel for cable...
Page 15: ...o add expanding foam around the sides and rear to prevent resonance and also to add mineral wool or natural fibre max 1 to the inside of the BackboxSW NB If there is a layer of render to be applied or...
Page 16: ...firm Continue on to Section C page 18 testing Reference page for correct retrofit alignment and plastering method 13 14 15 Top View 05 Solid wall installation with backbox continued 12 Securethespeak...
Page 17: ...e front face of the speaker should be flush with the paper face of the plasterboard To patch plaster Skim across the speaker front and blend with the existing finished plaster Amina recommend British...
Page 18: ...ainted plastered wall ceiling T ofeatherfinish Allowamuchlargerareaaroundthespeaker approx 1m2 39 tobeskimmed This 1 2mm 5 64 thickskimisthenfeathered outwardattheedgesandblendedinto the existingwall...
Page 19: ...redforplastering Usinga2 3mmshimset contactyour Amina supplier appliedbetweenthebackof the speakerand themountingsurfaceof the backbox orfixingblocks thefrontface of thespeakershouldbeflushwiththefron...
Page 20: ...required remove a section of drywall around the cutout 30 50mm 2 Fordrywallwalls ceilingsthatw illbetaped andjoined typicallyinNorthAmericabutbecoming commonelsewhere 4 T opatchplaster Applya2mmskima...
Page 21: ...drywall surface 17 Continue to section C B5 Speaker alignment required for plastering Using a 2 3mm shim set contact your Amina supplier applied between the back of the speaker and the mounting surfac...
Page 22: ...red together This can be achieved by applying drywall screws through the wall surface and through the metal joists If they are not secure this may well lead to audible vibrations and rattles If using...
Page 23: ...Easi fill IMPORTANT There MUST be a gap of 2mm 5 64 all the way around the speaker edge If there isn t simply remove the speaker and increase the aperture size accordingly plasterboard installations o...
Page 24: ...ised for three coats of emulsion once plastered Additional coats will cause very small reductions in the maximum sound pressure levels achievable Completed and fully dried plaster surfaces should be f...
Page 25: ...hat loudspeaker positioning is far less critical than with conventional speakers Additionally just like the acoustic musical instrument the AIW750i has excellent room filling abilities The AIW750i is...
Page 26: ...lling into walls Amina suggest portrait orientation for best sound quality For non critical listening in ceiling installations the orientation of the speaker is not crucial For critical listening in c...
Page 27: ...least 16AWG OFC oxygen free cable 14AWG for long runs to avoid any chance of reduced efficiency and audio bandwidth For 2 1 5 1 and 7 1 systems use the amplifier s crossover settings to divert frequen...
Page 28: ...ing the wall or ceiling listening for a hollow sound compared to the rest of the wall ceiling Then with a sharp chisel or decorator s scraper carefully chip into the plaster along the edge of the spea...
Page 29: ...dance at the speaker check your cables Cuts or nicks in the cable along its length can dramatically increase impedance or create a short circuit dramatically lowering the impedance Distortion buzzing...
Page 30: ...x 77 8 x 15 8 1 5Kg 3 31lbs 1 4Kg 3 09lbs 4 Ohms 50Hz 20kHz 6dB mounted in Backboxes APU750i connected 87 dB 1m 2 83Vrms APU750i connected Twin blue butt splice crimp terminal suitable for 1 5 2 5mm2...
Page 31: ...ate 1 Ascertain joist position behind plasterboard drywall 2 Ensure cut out dimensions fit between the joists 3 Use a knife to cut around the outside of the template Invisible Loudspeaker Cutout Templ...
Page 32: ...nt WEEE this product is to be returned to your supplier or directly to Amina for recycling If you have any questions please contact Amina Technologies Ltd Please refer to our full warranty statement f...
Page 33: ...sign allowing the product to be installed within joinery behind kick boards or within ceilings or other voids Highly discrete powerful and deep bass response is achieved with only a small opening for...
Page 34: ...30 Wiring Schematic Single Pair Connection Bi Wire Connection AMP L R In Out In Out APU 750i LF HF HF LF AMP L R In Out In Out APU 750i LF HF HF LF...
Page 35: ......
Page 36: ...rus House Glebe Road Huntingdon Cambridge PE29 7DL UK T 44 0 1480 354390 E inspired amina co uk W www amina co uk North America Direct 1 905 655 6411 Toll free 1 866 462 6462 Toll free Fax 1 888 329 2...