


Chapter 4. Administration
23
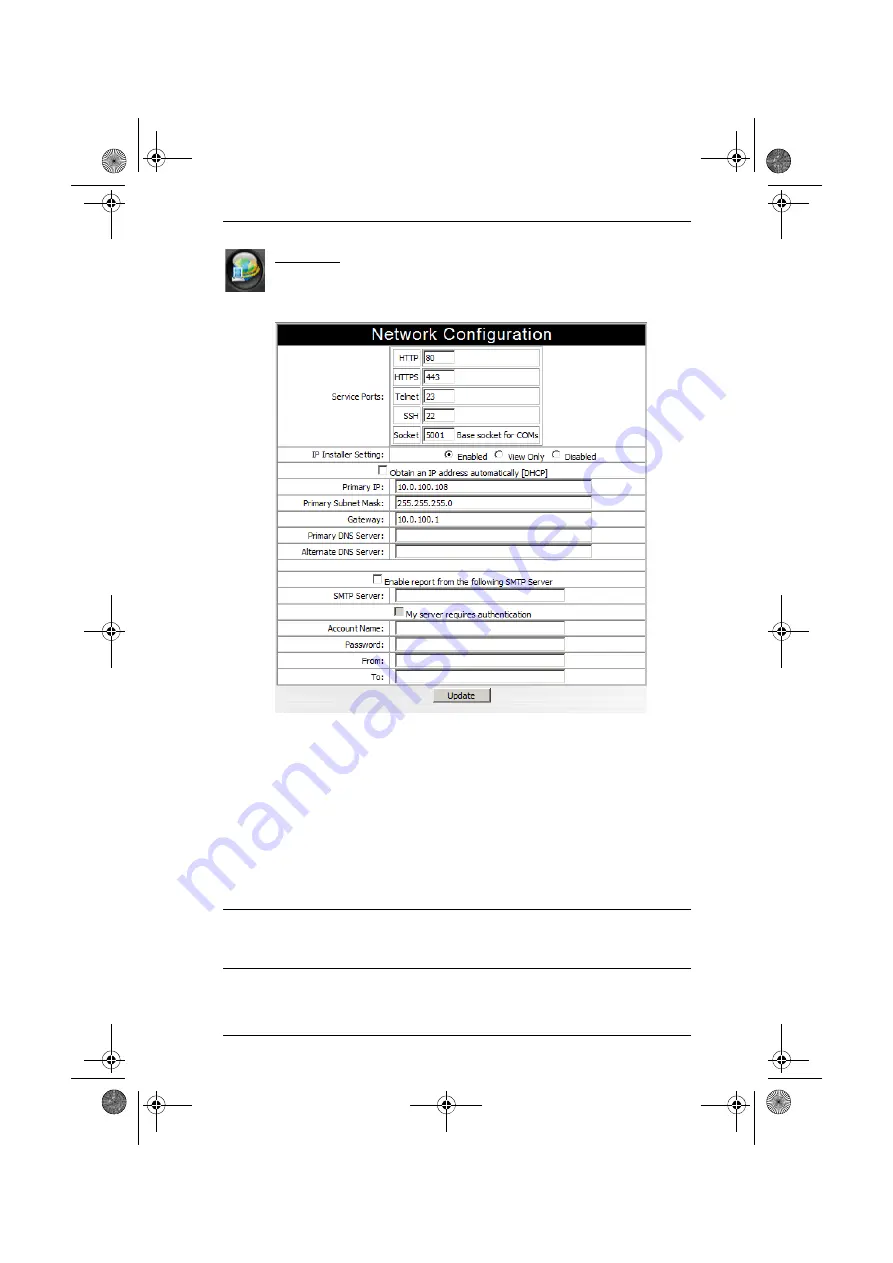
Network
Network Configuration allows you to set up the network parameters
for the SN0108 / SN0116:
Service Ports
Lets you select the service ports that the SN0108 / SN0116 listens for incoming
data on. Unless you have a specific reason for changing them, we recommend
you leave the default settings as they are.
IP Installer
Click a radio button to
Enable/Disable
the IP Installer utility (see
page 89, for IP Installer details).
Note:
If you choose
View Only
, the utility will be enabled as far as showing
the SN0108 / SN0116 in the Device List, but you will not be able to use
it to assign IP addresses.
sn816.book Page 23 Thursday, January 8, 2009 4:56 PM


