DXR Drainback
Page 8
The hot water output to the house from the tank should be connected to the port labeled "Hot Outlet" on the top of
the tank. Again, a dielectric nipple must be used where a connection is made between galvanized and copper pipes.
(Dielectric unions are not recommended.) A tempering valve must be installed at this point to limit the temperature
of water delivered to the home and prevent a scald hazard.
All hot water lines should be insulated to R2.6 with at least 1/2" thick heat elastomeric resistant rubber tubing
insulation such as Armstrong Armaflex. Insulation must be painted or covered with an all service jacket to prevent
UV degradation. The final 5 feet of the cold water supply should be insulated to R2.6. All rooftop components are to
be protected from ultraviolet radiation, either by design or as per the manufacturer’s recommendations. Components
requiring any maintenance should be installed free from of obstructions.
This system includes two isolation ball valves required for servicing the solar collector plumbing loop. These valves
should remain in the open position under normal operating conditions and should only be closed when maintenance
is being performed. The valves are located as to not disrupt the normal flow of water through the water heater.
In most instances, the solar collectors can be attached to the roof using the standard mounting hardware provided
with the solar system. Certain types of roofing will require special attention for proper mounting. For example, a
clay tile or cement tile roof. Complete roofing attachment methods of solar collectors for these various types of roofs
are beyond the scope of this manual. The manual will describe and illustrate some of these approved mounting
techniques. A competent contractor should be used to ensure that all roof penetrations and attachment points are not
a source of rainwater leakage later on. Standard plumbing roof jacks or solar industry copper flashings may be used
for plumbing penetrations in most cases.
The collectors should be canted slightly toward the inlet side to ensure they drain completely when maintenance is
required on the system.
Electrical connections should only be made after the plumbing system is fully installed and ready to be charged.
Insure that the controller is in the “OFF” position until you are ready to energize the pump. Remember to remove
collector coverings prior to energizing the system.
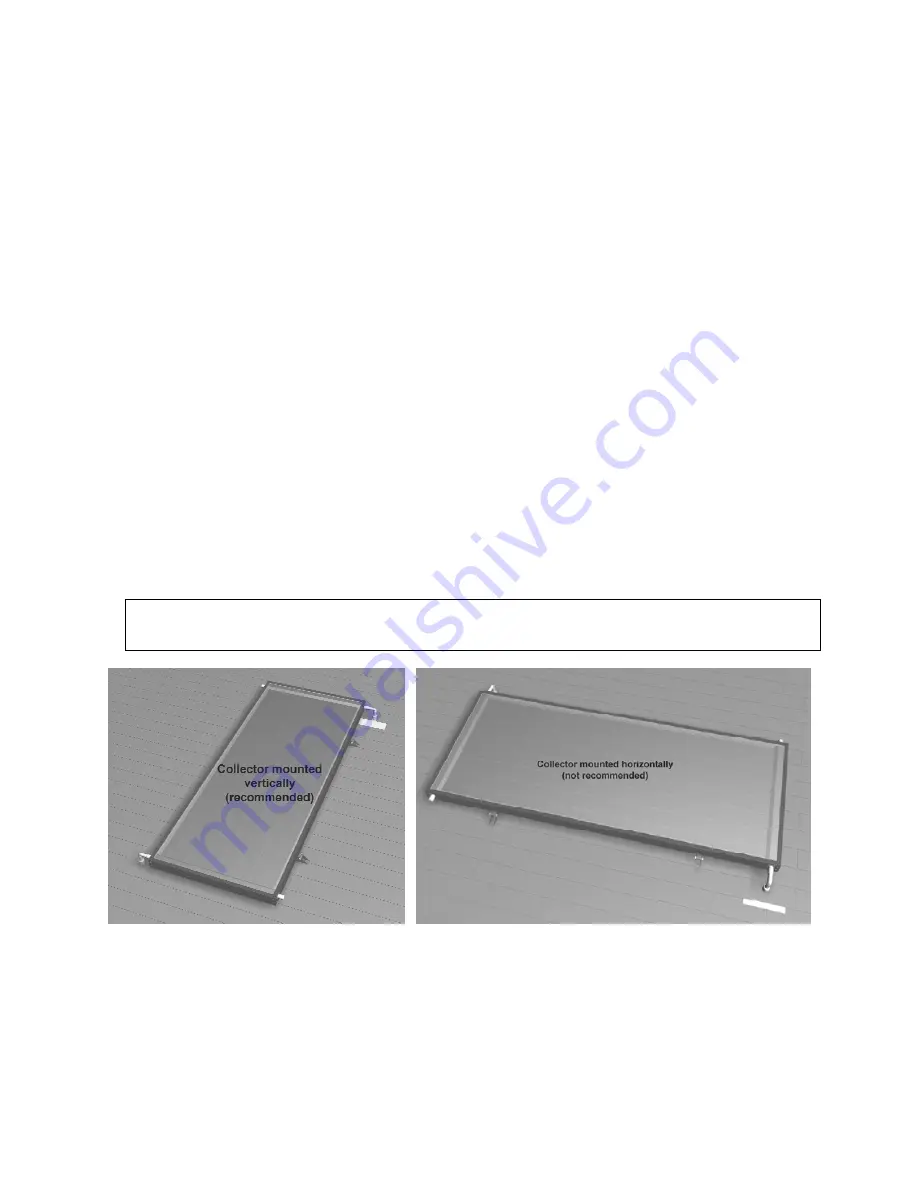
NOTE: All collectors are to be mounted vertically (see below), sloped in order to be completely void of
fluid when drained, and oriented in such manner as described below under COLLECTOR LOCATION.


