zones, these checkboxes lets you specify which zone(s) you want this master to display calls for.
»
Masters: Options
• Call tone is played on this Master
- Place a checkmark here to play the emergency sound when an emergency call is
received on this Master.
• Call tone can be silenced from this Master
- Place a checkmark here if you will like to give this master the ability to
silence the emergency tone on all masters that is played when a call is received.
• Calls can be closed from this Master
- Place a checkmark here if you would like to give this master the ability to close an
emergency call listed on all masters.
• Volume Level
- This lets you select the volume level (1-10) that emergency call tones are played on this master.
• Screen Layout
- On each master you can specify the orientation of the screen. This is used if you have a screen mounted
vertically or horizontally or you are using a desk or wall mount cabinet. Your options are
Portrait, Landscape, Portrait
Flipped and Landscape Flipped
»
Masters: Floor Plan
If you are using Floor Plans, you can specify where on the Floor Plan this master is located. Select the Floor Plan image from
the drop-down box, and then click on the map where that master is located. After setting the correct floor plan image and
clicking a coordinate, click on the
Save
button. See “Setup: Floor Plans” on page 23 for more information.
»
Masters: Administration
This area simply displays information about this master, including the device name, unique device ID, IP address and current
status.
After making any changes in the Master area you must click the ‘Save’ button to apply them to that Master.
»
uploading images to your master stations
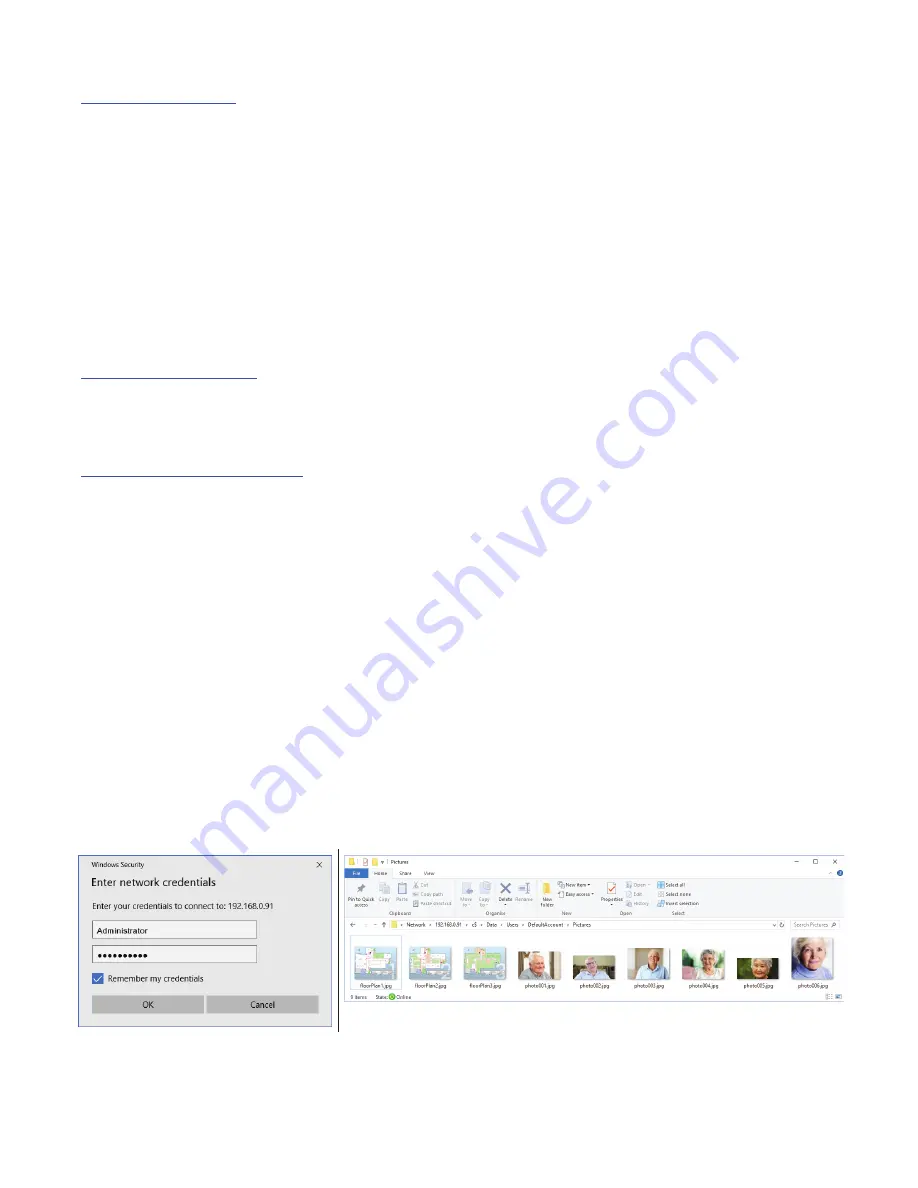
In order to use your custom images to AlphaECall™ 200 System, please follow the following steps. Custom images are used for both
Resident Photos as well as Facility Floor Plans.
• From any Windows based PC on the same local network as an AlphaECall™ 200 Series Master, click on the Windows Start
button and type in “run” and hit enter to bring up the Windows Run box. In the Run box type in two backslashes, then the
local IP address of a Master, another backslash followed by
c$
and hit enter. So, it would look something like the following:
\\192.168.0.100\c$\
• If you are prompted to login, use the username “Administrator” and the administrative password that was provided to you
from the factory. If you can not recall your login password, please contact Alpha Communications.
• Next, go into the “Data” folder, “Users”, “DefaultAccount”, and “Pictures”.
• This is the location where you can place any user images.
27
Summary of Contents for AEC200DM
Page 16: ...EPS339 Mushroom Button Emergency Push Switch EPS156 Code Blue Push Pull Switch 16...
Page 17: ...VSS110 Staff Station VPS101 VPS102 Patient Bed Stations 17...
Page 38: ...Figure RL 3 Arrange repeaters in triangle patterns to promote signal strength 38...
Page 39: ...Figure RL 4 Offset triangles from floor to floor for maximum signal strength efficiency 39...
Page 42: ...Figure RL 5 The Compass Method of Fingerprinting 42...


