7
Chapter 2
Installation
Quick Start
If you are an experienced network installer, the installation information in
the Quick Install portion of this chapter will probably be all that you need.
If this is your first installation, or if you would like more detailed
information during the installation process, you can skip to the “Complete
Installation Instructions” on page 11.
Read This First
All users should read the next portion as it contains information everyone
should have before installing an Allied Telesyn AT-TS90TR switch.
Check the shipping carton to make sure it contains:
❑
An AT-TS90TR
❑
One DB-9 to DB-25 converter
❑
Mounting hardware
Mounting
Your AT-TS90TR may be mounted:
❑
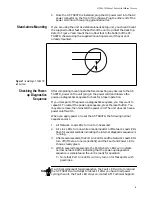
As a stand alone unit. (Refer to “Stand-alone Mounting” on page 9
for detailed information.)
❑
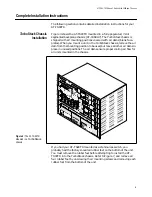
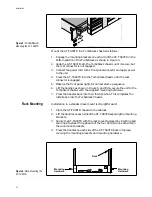
In an Allied Telesyn 7 position TurboStack rack. (See “Mounting in
a TurboStack Chassis” on page 8 for detail information.)
❑
In a standard 19 inch rack. (See “Mounting in a 19 inch rack” on
page 9 for detailed information.)
Only the bottom position in the 7 position TurboStack has the connector
correctly positioned for the AT-TS90TR. If you attempt to mount the AT-
TS90TR in any other position, or in another TurboStack rack, you may
damage either the mother board connector on the TurboStack chassis or
the rear connector on the AT-TS90TR.
!
Caution


