C313X
Quick Guide
b
Unpacking
Please make sure the package contains the following items:
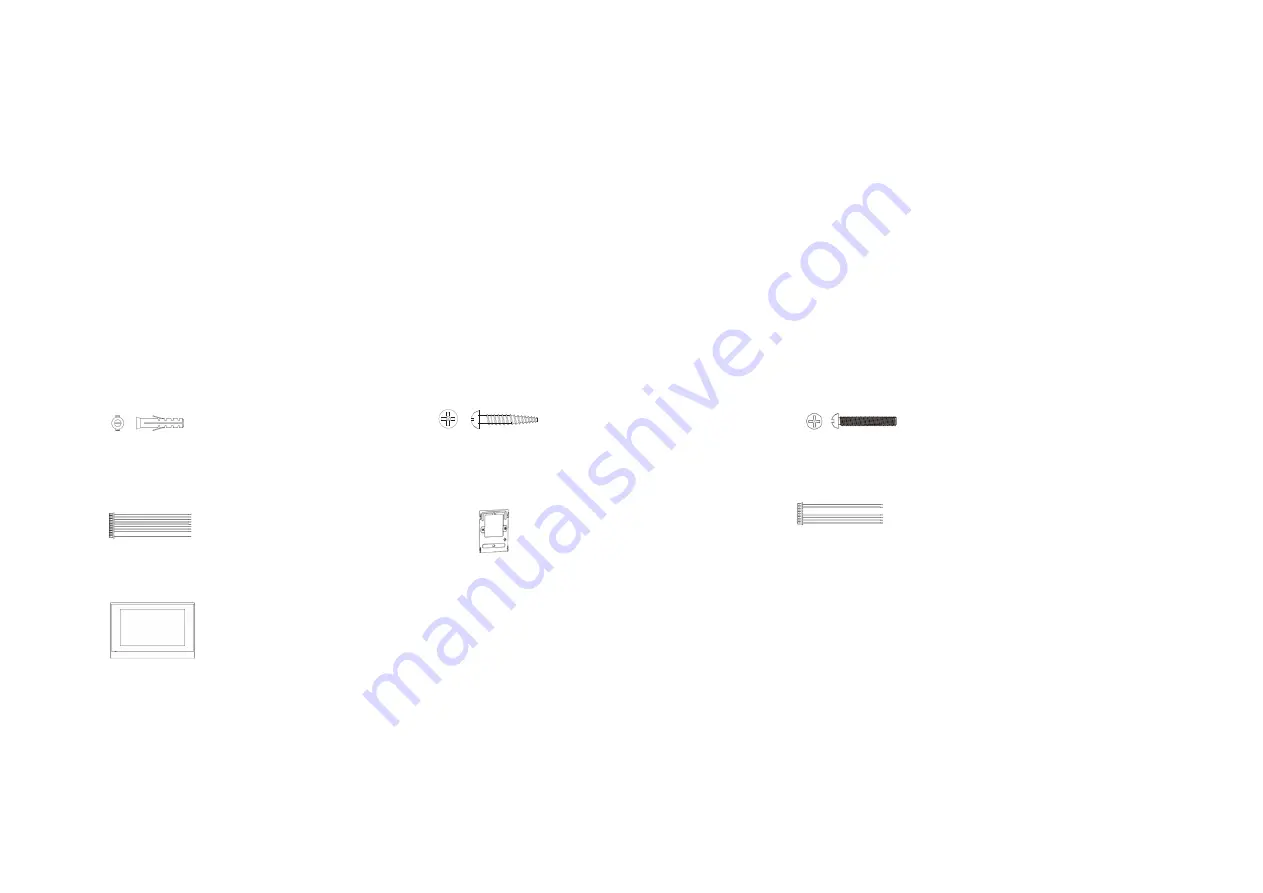
Screw fixing seat x 2
ST4X20 screw x 2
10 Pin cable x 1
11 Pin cable x 1
Wall bracket x 1
C313X x 1
M4X30 screw x 2
Page 1: ...313X Quick Guide b Unpacking Please make sure the package contains the following items Screw fixing seat x 2 ST4X20 screw x 2 10 Pin cable x 1 11 Pin cable x 1 Wall bracket x 1 C313X x 1 M4X30 screw x 2 ...
Page 2: ...C313X Front Panel Touch Screen Product Overview MIC C313X ...
Page 3: ...C313X Rear Panel RJ45 Interface 10 Pin Terminals Loudspeaker Network Interface Power in 11 Pin Terminals ...
Page 4: ...ables can be passed from the middle of wall bracket Take down the bracket then using a 5mm hand drill to make the two fixation holes on the wall you marked before Once the fixation holes are made insert the two screw fixing seats provided Use two ST4X20 screws to fix the wall bracket on the wall Without 86 embedded box in the wall ...
Page 5: ...C313X Device Mounting Push down to fix the device securely With 86 embedded box in the wall Make sure all cables in the 86 embedded box Fix the wall bracket on the 86 embedded box with two M4X30 screws ...
Page 6: ...ame and password admin by default 3 Register the device with your SIP account please refer to user manual for more information Make a call Press Intercom key enter the callee s number or room address then choose Audio or Video mode to call out Receive a call When receiving a video call users can choose Audio or Video mode to answer However if there is an audio call users can only press Audio mode ...
Page 7: ...k During the talk press the Open Door key in talking interface to unlock the door Monitor Press Monitor key to receive the video from indoor IPC or community IPC any time SOS Press SOS key in case of an emergency ...