iPod/iPhone/iPad Speaker
ASB8I
GB 2NL 16FR 30ES 44
DA 87
DE 58EL 73
User manualGebruiksaanwijzingManuel de l’utilisateurManual de instruccionesGebrauchsanleitung
Οδηγίες χρήσεως
Brugsanvisning
Page 1: ...od iPhone iPad Speaker ASB8I GB 2 NL 16 FR 30 ES 44 DA 87 DE 58 EL 73 User manual Gebruiksaanwijzing Manuel de l utilisateur Manual de instrucciones Gebrauchsanleitung Οδηγίες χρήσεως Brugsanvisning ASB8I ...
Page 2: ... use 4 2 1 Unpacking 4 2 2 Package contents 4 3 Installation 4 3 1 Connecting random equipment 6 3 2 Connecting to the mains 7 3 3 Remote control 8 4 Functions 9 4 1 iPod Music System 9 4 2 Remote control 10 5 Operation 10 5 1 General functions 10 5 2 iPod iPhone iPad functions 11 6 Cleaning and maintenance 13 7 Troubleshooting 13 8 Technical data 14 9 Disposal of used electrical and electronic eq...
Page 3: ...i A note gives additional information e g for a procedure General safety instructions 1 3 WARNING Do not put force on the appliance The appliance can fall and can cause serious injury CAUTION Do not spill any liquid on the appliance WARNING Do not insert any objects in the ventilation holes CAUTION Do not block the ventilation holes i This appliance is double insulated therefore no earth wire is r...
Page 4: ...u do dispose of the carton and the packing materials please remember to recycle with due care to the environment Package contents 2 2 The following items are included in the received package 1 iPod Music System 1 Remote control 1 Battery cell CR2032 1 AC DC adaptor cable 1 Operator manual i If any item is missing please contact your reseller Installation 3 Put the appliance on a horizontal flat su...
Page 5: ...terial specially formulated to avoid leaving any marks or stains on furniture However certain types of furniture polishes wood preservatives or cleaning sprays cause the rubber to soften and leave marks or a residue on the furniture and potentially risk the surface to become damaged To prevent damage to wooden surfaces we recommend that you apply self adhesive pads to the bottom of the rubber feet...
Page 6: ...you to receive audio signal from a connected CD DVD player or amplifier Insert a suitable cable into the AUX IN connection Video connections The video connections allow you to send to video signal still images or movies to a connected TV Connect a suitable cable to the Pr Y Pb channels of the COMPONENT VIDEO OUT connection ...
Page 7: ...7 ASB8I Connecting to the mains 3 2 AUX IN DC IN Pr Y Pb COMPONENT VIDEO OUT Connect the adaptor plug on the adaptor cable to the DC IN connection Connect the mains plug to a wall socket ...
Page 8: ...3 Installing the battery Press the catch and at the same time pull out the battery tray Insert 1 lithium battery type CR2032 3 V battery with the stamped mark facing upward Insert the battery tray into the remote control ...
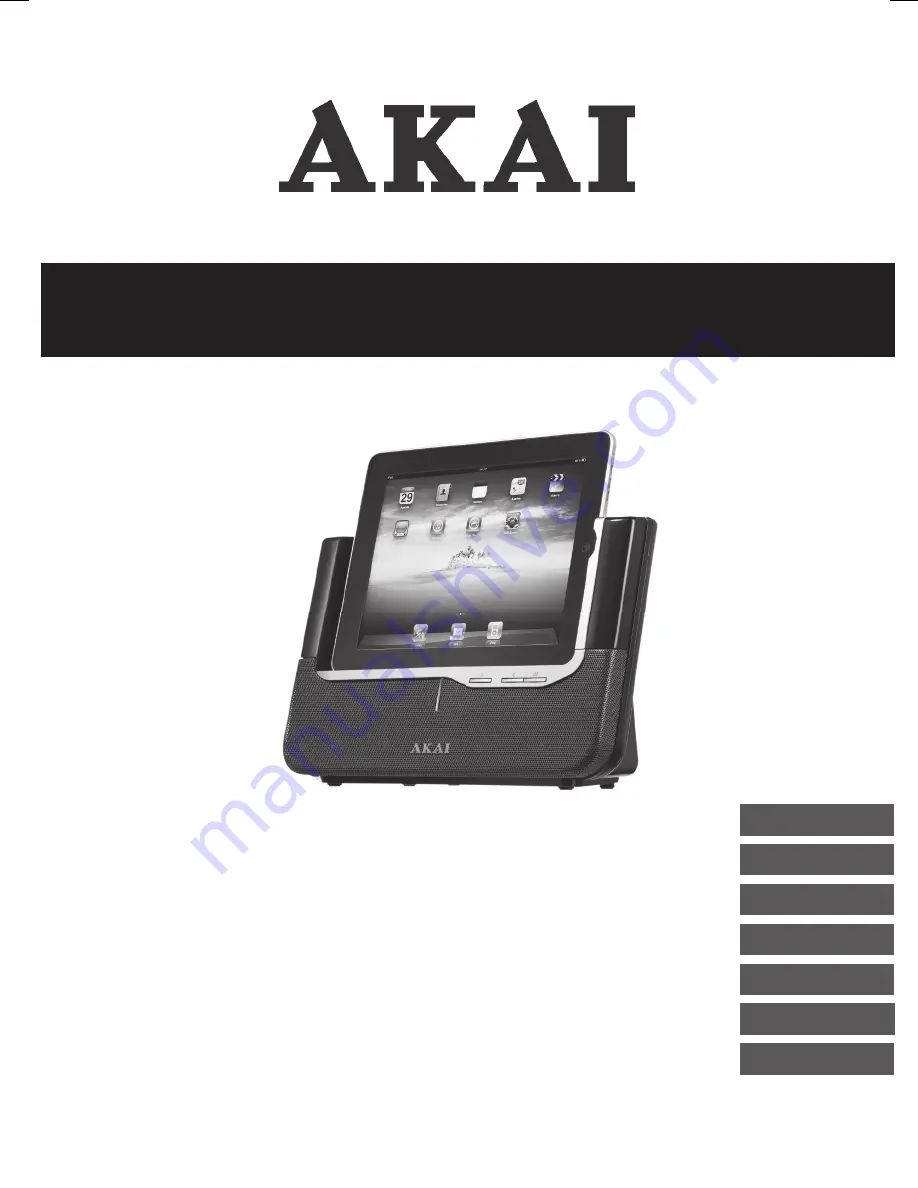
Page 9: ...ions 4 iPod Music System 4 1 7 5 6 1 3 2 4 1 Power Standby button 2 Docking station 3 Dock connector for vertical docking 4 LED indicator lamp 5 VOLUME button 6 VOLUME button 7 Dock connector for horizontal docking ...
Page 10: ...the iPod menus Operation 5 All functions of the appliance are accessible using the remote control All instructions refer to operation with the remote control unless indicated otherwise General functions 5 1 To switch on the appliance press the POWER button 8 To switch off the appliance press the POWER button 8 again To adjust the volume press the VOLUME button 6 or the VOLUME button 5 To create a ...
Page 11: ...cal position only To install a unit Place the unit in the docking station 2 For vertical docking the unit must be connected to dock connector 3 For horizontal docking the unit must be connected to dock connector 7 To remove a unit Pull the unit gently out of the docking station i When the unit is installed it will go into standby mode and then switch off Whilst the unit is docked in the system its...
Page 12: ...d or rewind the track press and hold the PREV button 10 or the NEXT button 12 To pause playback press the PLAY PAUSE button 13 once to resume playback press the button again Video playback i This function only works if the unit is installed in the vertical position This function does not work if the unit is installed in the horizontal position Press the VIDEO OUT button 14 then press the ENTER but...
Page 13: ...of the appliance with a soft cloth When the appliance is very dirty dampen the cloth slightly with water and a neutral solution Troubleshooting 7 Trouble Action No sound or incomplete audio Check if the correct source is selected Check volume or mute setting Check if the random equipment are switched on and set correctly Check cables for connection problems No power Check if the power cord has bee...
Page 14: ...hed on and set to the correct A V input Check cables for connection problems Check cables for damage Technical data 8 Parameter Value Voltage 10 VDC Input voltage 100 240 VAC 50 60 Hz Power consumption 30 W Max power output 2 x 10 W Dimensions W x H x D 310 x 200 x 121 mm Weight 1 65 kg Remote control Parameter Value Power consumption 3 V Battery size CR2032 ...
Page 15: ...and electronic product By ensuring the correct disposal of this product you will help prevent potentially hazardous to the environment and to human health which could otherwise be caused by unsuitable waste handling of this product The recycling of materials will help conserve natural resources Please do not therefore dispose of your old electrical and electronic equipment with your household wast...