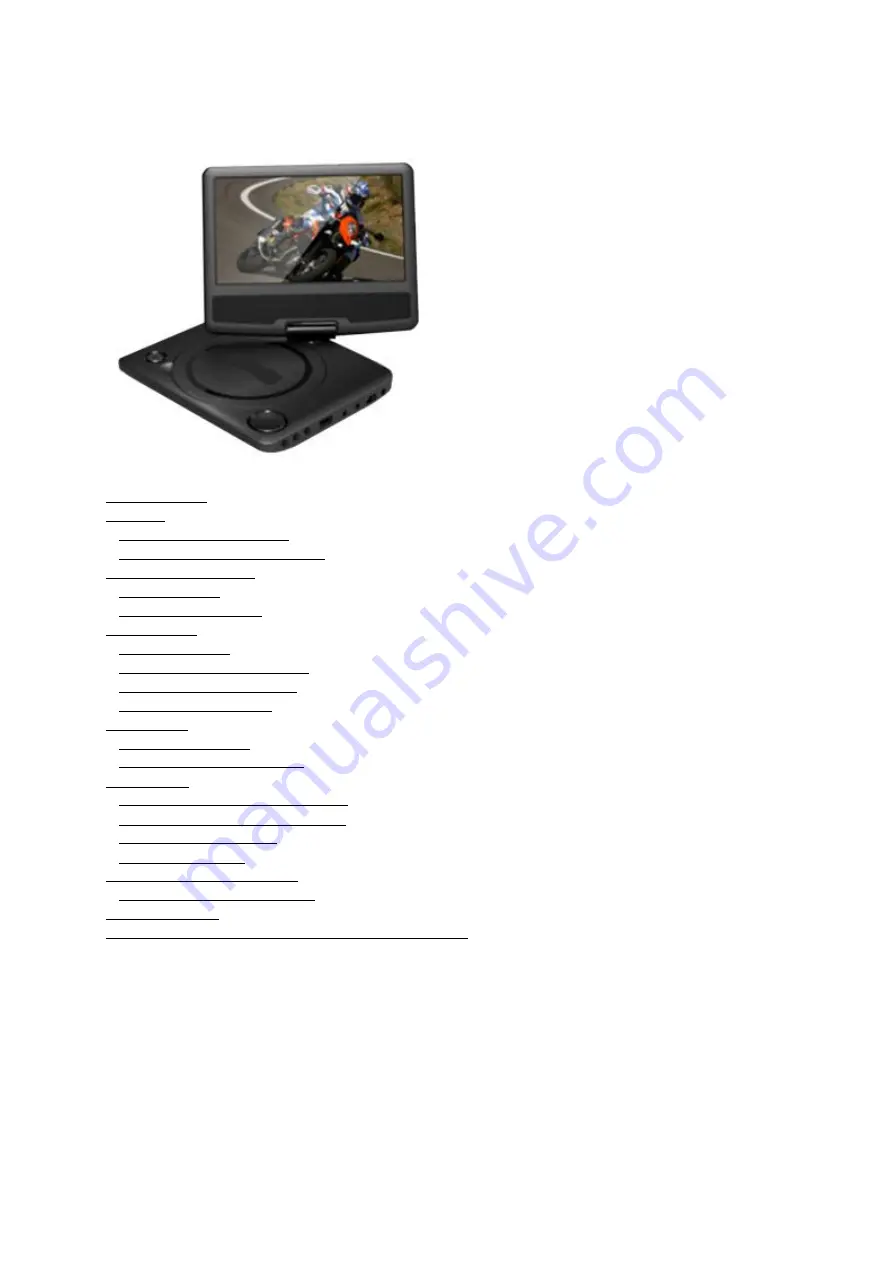
Summary of Contents for APD707

Page 1: ...o 4 2 Connecting to the mains o 4 3 Positioning the system o 4 4 Change the battery 5 Functions o 5 1 Remote control o 5 2 APD707 Portable DVD 6 Operation o 6 1 Turning the device on and off o 6 2 Ge...

Page 2: ...iance can be folded up and down as well as rotated This appliance lets you open music files MP3 WMA video files MPEG 4 and photo files JPEG These files can be accessed via DVD CD and USB The appliance...

Page 3: ...dure 2 2 General safety instructions This appliance employs a laser system To prevent direct exposure to the laser beam do not open the appliance Visible laser radiation when open and interlock defeat...

Page 4: ...s the only way to safely protect the product against damage in transit If you do dispose of the carton and the packing materials please remember to recycle with due care to the environment 3 2 Package...

Page 5: ...tion 4 1 Connections 1 USB 2 0 slot 2 Headphone jack 3 AV OUT input 4 DC IN input 4 2 Connecting to the mains Connect the female plug of the AC adapter to the DC IN jack Connect the mains plug to a wa...

Page 6: ...4 3 Positioning the system Open the display Rotating the screen...

Page 7: ...the battery Remote control Pull out the battery holder Insert 1 lithium battery type CR2025 3V battery When inserting the battery observe the and polarity markings Insert the battery tray into the rem...

Page 8: ...TER button 8 Arrow buttons 9 SETUP button 10 AB button 11 REPEAT button 12 PROGRAM button 13 DISPLAY button 14 MUTE button 15 SOURCE button 16 STEP button 17 AUDIO button 18 MENU button 19 STOP button...

Page 9: ...5 2 APD707 Portable DVD 1 PLAY PAUSE RETURN button 2 SETUP button 3 SOURCE button 4 On Off key POWER 5 Screen 6 PLAY PAUSE button 7 DVD compartment 8 Navigation button...

Page 10: ...switch in the ON position to turn the equipment on Set the switch in the OFF position to switch off the device 6 2 General setup menu operation This chapter explains a complete setup of the appliance...

Page 11: ...e video output format to match the appliance to the TV system PAL AUTO or NTSC Please note if the wrong option has been selected this may result in very poor image quality In that case select a differ...

Page 12: ...choose the audio language In the SUBTITLE LANG section choose the subtitle language Select the menu language in part MENU LANG STANDY SETTING Set STANDY SETTING after how many hours of inactivity you...

Page 13: ...the 10 button For example select track 12 first press 10 and then press number 2 button To pause playback press the PLAY PAUSE button 20 once to resume playback press the button again To stop playbac...

Page 14: ...ion repeatedly Navigation Press the MENU button 18 to return to the content menu during playback To view a specific title of a DVD press the TITLE button 6 Use the arrow buttons to select the title Us...

Page 15: ...will only recognise list and play one content type Normally if an MP3 disc is loaded the unit will take longer time to read the initial data 6 4 USB functions Insert the USB device in the slot The dev...

Page 16: ...ss the button again To stop playback press the STOP button 19 To adjust the volume press the VOL button or the VOL button 22 To remove the device gently pull it out of the slot Due to the great variet...

Page 17: ...care of a disc Hold the disc with fingers Hold the disc outer edge and or the centre spindle hole Do not touch the disc surface Do not bend or press the disc Do not expose the disc to direct sunlight...

Page 18: ...ries 12V Car adapter CINCH cable Quick start guide Disc output Television system PAL NTSC Frequency range 20Hz 20KHz Signal noise ratio 80dB ANALOG OUT connectors only Dynamic range 85dB DVD CD Remote...

Page 19: ...al of this product you will help prevent potentially hazardous to the environment and to human health which could otherwise be caused by unsuitable waste handling of this product The recycling of mate...

Reviews: