64
Checking the System with a Simple Test Project of Bars and Tone
To test that you’ve installed the KONA LHi drivers and have audio and video monitoring
correctly configured, try creating a simple Final Cut Pro project with bars and tone.
1.
Select an Easy Setup as previously discussed (go to the Final Cut Pro menu and select
Easy Setup
; then select a desired preset).
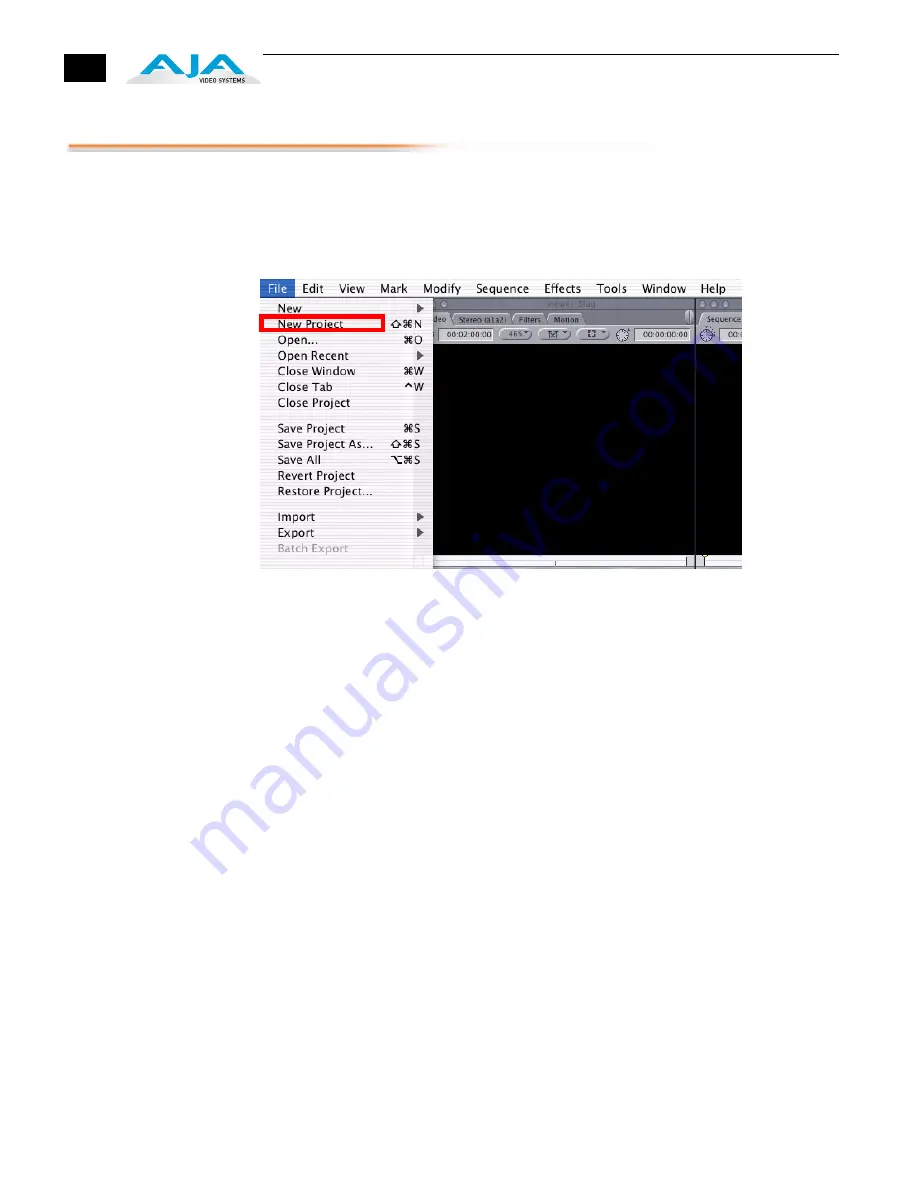
2.
Select
New Project
from the File menu.
Create a New Project
3.
The Sequence window will be at the bottom of the screen and a Browser window will
be at the top left. Look at the Browser window and locate the “Effects” tab at the top
right. Click on it.
4.
Locate the Viewer window in Final Cut and click on the Filmstrip pulldown menu
button (it’s a “filmstrip” icon with an “A” on it). Select “Bars and Tone NTSC” or “Bars and
Tone PAL”. The viewer window will display bars after you do this.
5.
Click the mouse cursor on the Bars and Tone in the Viewer window and drag it to the
beginning of the sequence window. You’ll see the bars and tone show up on the
sequence where it can be played.
6.
Go to the beginning of the sequence by clicking on the left-most icon and then click
the “Play” icon. You should see and hear the bars and tone on your video monitor and
audio monitoring system.
If you don’t see bars on the external video monitor and hear tone, check your connections and
ensure KONA LHi is selected in the Easy Setups and Audio/Video Settings as necessary.
Summary of Contents for KONA LHI
Page 4: ...iv ...
Page 18: ...12 ...
Page 24: ...18 ...
Page 74: ...68 ...
Page 78: ...70 ...
Page 82: ...A 4 ...
Page 86: ...I 4 Yellow 34 YPbPr 11 YUV 11 Z Zoom 14 9 38 Zoom Letterbox 38 Zoom Wide 38 ...


