


AirVelocity 1500 Installation Guide
DUG01560
Airspan Commercial and Internal Use
23
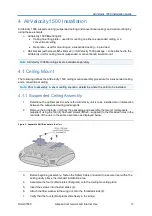
4.2 Wall Mount Assembly
The following defines the wall mounting procedure.
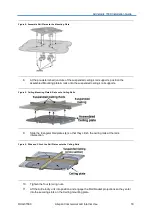
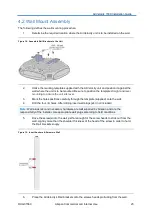
1.
Determine the required location where the AirVelocity unit is to be installed on the wall.
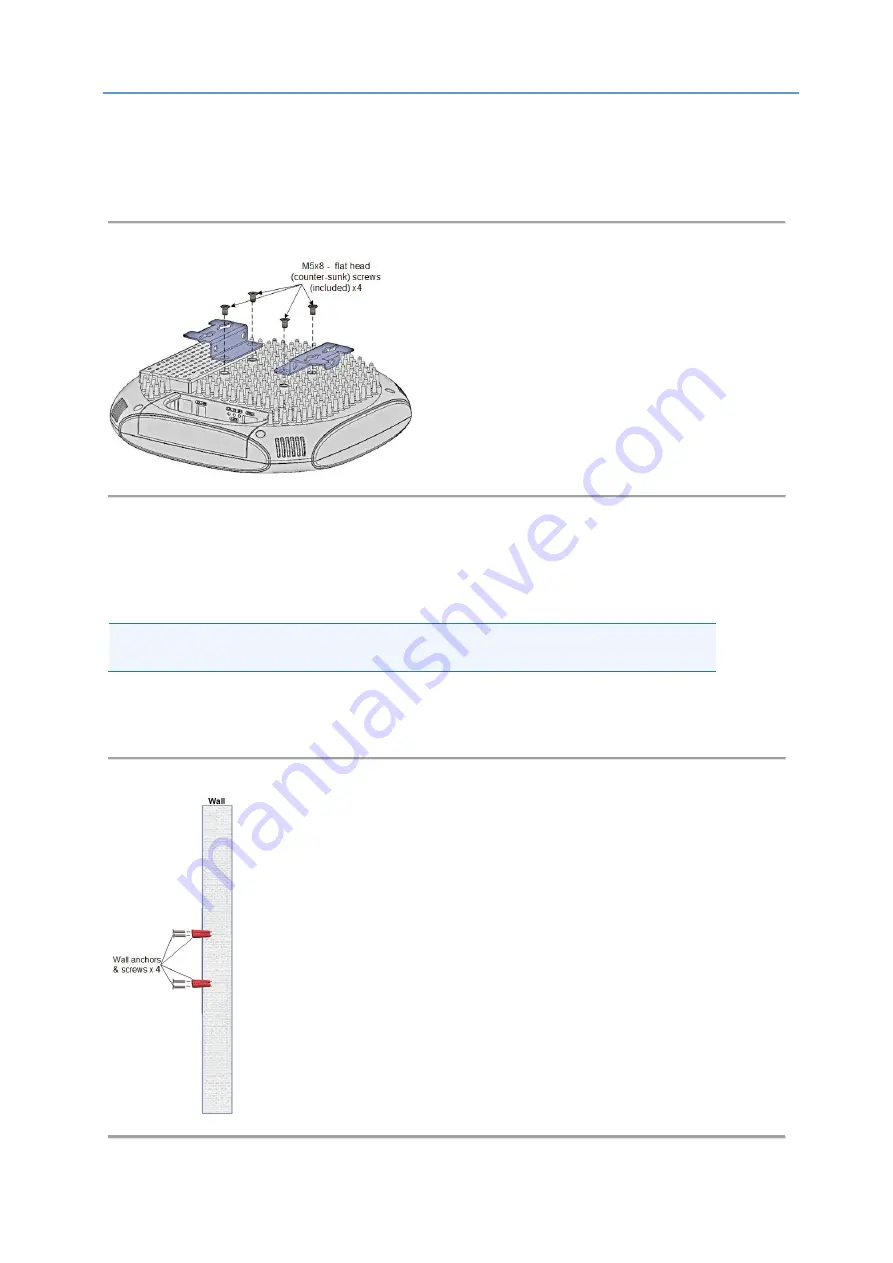
Figure 14: Assemble Rail Brackets to the Unit
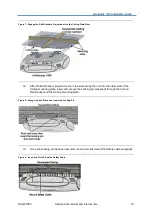
2.
Utilize the marking template supplied with the AirVelocity unit and position it against the
wall where the unit is to be mounted. Be sure to position the template
straight and level
mounting
to ensure the unit sits level.
3.
Mark the holes positions carefully through the template (supplied) onto the wall.
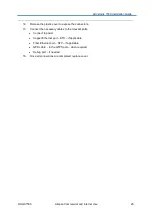
4.
Drill the four (4) holes. After drilling insert wall plugs (x4) (not included).
Note:
Wall plugs (x4) and necessary hardware are
not
supplied by Airspan and are the
responsibility of the installer. Use appropriate wall plugs according to field conditions.
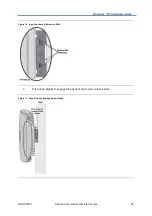
5.
Drive the screw(s) into the wall just far enough for the screw heads to stick out from the
wall, slightly more than the shoulder thickness of the head of the screw in order to hold
the Rail brackets snugly.
Figure 15: Insert Anchors & Screws in Wall
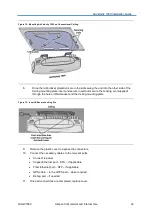
6.
Place the AirVelocity’s Rail brackets onto the screws heads protruding from the wall.