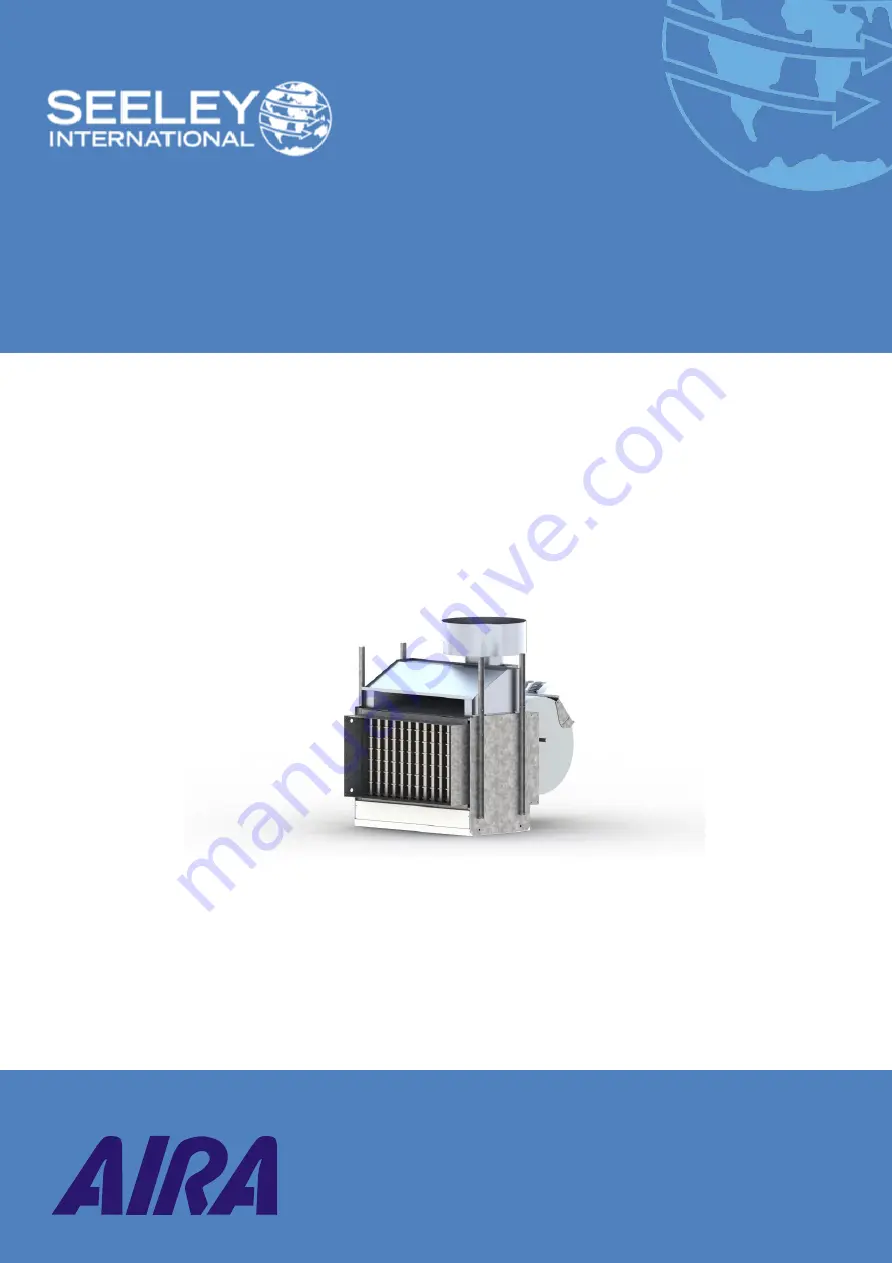
Dravo Series Indirect Fired Heating
Page 1 of 17
`
Installation, Startup, Operation, Service & Maintenance Manual
Dravo Series
Indirect Fired Heaters
Page 1: ...Dravo Series Indirect Fired Heating Page 1 of 17 Installation Startup Operation Service Maintenance Manual Dravo Series Indirect Fired Heaters ...
Page 2: ...eries Indirect Fired Heating Page 2 of 17 CONTENTS SAFETY INFORMATION 3 GENERAL INFORMATION 5 OPERATING INSTRUCTIONS 6 START UP 8 FAULT FINDING 10 SERVICE INSTRUCTIONS 13 WARRANTY TERMS AND INFORMATION 15 OPERATING INSTRUCTIONS ...
Page 3: ...actors and employees to assist in minimising risk Risk Assessment A risk assessment of all hazardous tasks is required under legislation A risk assessment is an essential element that should be conducted before the commencement of work to identify and eliminate the risk of falls and other risks or to minimise these risks by implementing control measures This does not need to be a complicated proce...
Page 4: ... issued for the use of an approved harness or only suitably trained people used Are all tools and materials being used prevented from slipping and falling onto a person at ground level Is the area below the work area suitably protected to prevent people entering this area Does the work schedule take into account weather conditions allowing for work to be suspended in high winds thunder storms ligh...
Page 5: ...d by the carrier Upon arrival the heater should be inspected by the customer If any damage has occurred in transit an immediate claim should be filed with the carrier Due to the widely varying conditions under which heaters are transported to the job unloaded and installed it is impossible for AIRA to assume responsibility for handling in transit Check to see if unmounted items are included with s...
Page 6: ...ons Shut Down 1 Depress control knob and turn to PILOT position depress knob and turn to OFF position 2 Set thermostat to lowest point UNITS FITTED WITH ELECTRONICALLY LIT AND SUPERVISED PILOTS ON OFF CONTROLS Start Up 1 Turn on electricity and set thermostat to lowest setting 2 Ensure main stop cock is turned off and then turn on pilot stop cock 3 Allow unit to stand 5 minutes for venting before ...
Page 7: ...UGH LEVER AND DAMPER BLADE Remove the access panel by unscrewing in 8 places lifting and pulling out The lock in handle can be set to four different positions to control the exit air flow To control the handle pull out of hole rotate and push into desired setting as per the following schematic ...
Page 8: ...emblies from flue tubes 7 Clean baffle and inner surface of flue thoroughly a 40 or 45mm diameter wire brush with a long handle is recommended 8 Remove dirt from bottom pan TO REMOVE PILOT ASSEMBLY BURNER BARS 1 Uncouple pilot union at valve 2 a Uncouple thermocouple union at valve b If electronic ignition remove flame rod and ignition leads 3 Remove screws holding pilot burner to pilot mounting b...
Page 9: ...on shutter if fitted may require adjustment GAS CONTROLS These must not be dismantled in the field If believed faulty they shall be replaced with reconditioned or new units Check before reassembly that gas lines are clean and free from foreign objects FAN AND MOTOR WHEN FITTED AS PART OF APPLIANCE 1 Remove belt and fan guards and inspect fan shaft bearings wipe off any superficial dust and dirt Lu...
Page 10: ...pipe size Pilot Flame Lights But Will Not Hold In 1 Thermocouple not yet heated 2 Pilot flame too small or yellow 3 Defective thermocouple 1 Allow at least 15 seconds to heat up 2 Clean pilot line primary air opening orifice Adjust flame to surround thermocouple about 10mm Flame must be soft quiet and blue 3 To check use a Voltmeter and adaptor Volt readings on a closed circuit using an adaptor mu...
Page 11: ...ater 4 Defective fan switch 5 Dirt on fan blades or clogged filters 6 Defective fan switch 7 System fan motor cutting out on overload 1 Replace gas valve 2 Check blower speed and for obstructions check for excessive system static pressure 3 Ensure that air flow across heat exchanger is uniform Adjust to give maximum velocity across bottom section of heat exchanger 4 Fan control must start blowers ...
Page 12: ... bypass rate screw high low units or reset auxiliary switch cam modulating units 5 Must be 4 ribbon for natural gas and LPG 5 ribbon for Towns gas Delayed or Rough 1 Dirt in main orifices 1 Remove and clean Burner Flames are Yellow or Tend to Float 1 Inadequate combustion air 2 Gas input too high due to oversized injectors 3 Gas line pressure over 3 5 kPa 4 Exhaust fans causing faulty draft 5 Impr...
Page 13: ...Fault Finding Dravo Series Indirect Fired Heating Page 13 of 17 Ignition 2 Burners covered with scale or other foreign matter 2 Remove and clean ...
Page 14: ...5 Check inside blower for pieces of paper or a build up of dirt on blower blades clean if required 6 Lubricate bearings at grease nipple points extended to outside of belt guards 7 Brush clean air intake side of burner with a brush 8 Check pilot assembly and clean if necessary 9 Check pilot electrode setting and reset if necessary refer Fig 1 for correct setting 10 Check that screws in electrical ...
Page 15: ...riod to which any expressed warranty applies all defective part s shall be replaced or repaired at the discretion of Seeley without charge for either parts or labour during normal working hours Further we may deem in our absolute discretion to replace the Goods and if so we may substitute any similar good even if it is not on our current price equipment list Further Goods presented for repair may ...
Page 16: ...tional branch or service representative and b any costs for additional labour or equipment associated with gaining acceptable and safe service access to the Goods installed in restricted high or unsafe locations and or the removal and replacement of any barrier walls roofs floors fences etc and c any costs incurred by the Seeley International service agent in gaining access to the Goods which is n...
Page 17: ...eley International to introduce continual product improvement Accordingly specifications are subject to change without notice Please consult with your dealer to confirm the specifications of the model selected BARCODE AND SERIAL NUMBER ...