9
AcraDyne Gen IV iAC Controller Manual
You will see the controller software on your
computer screen.
Connecting using the Ethernet Port Directly or via
LAN to PC
Turn on the computer and make a physical
connection by using a straight through Ethernet cable.
Turn on controller. Verify the controller IP address in
‘Communication Interfaces’ or press toggle button
to verify the IP address. If defaulted 0.0.0.0 set
desired IP address.
Set a static IP address of the Computer/Laptop
to 10.10.30.98 (example) and subnet mask to
255.255.255.0. (For instructions, see the example in
"Step 9" earlier in this section.)
To connect to the controller. In the Computer/Laptop
open a browser such as Chrome or Firefox. Enter
10.10.30.99, the default Ethernet port IP address.
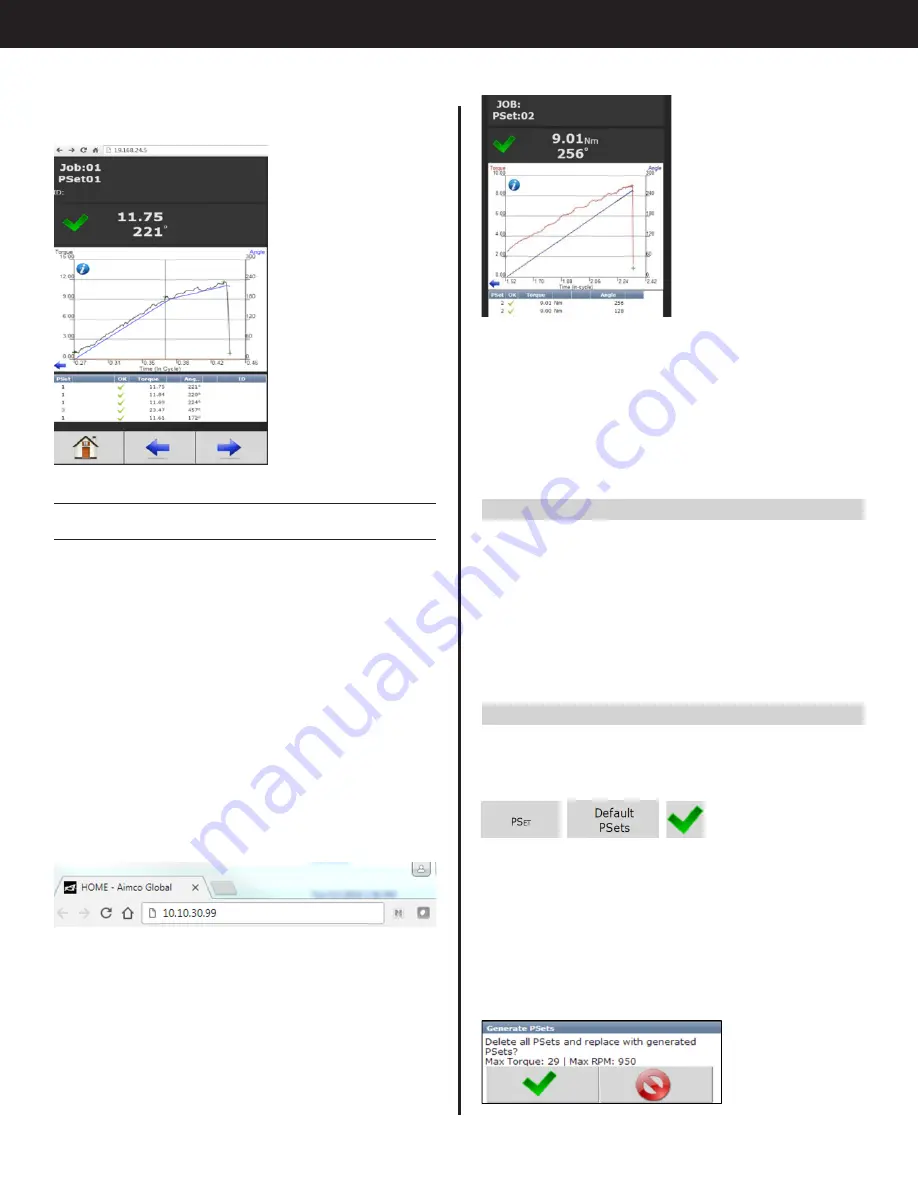
You will see on your computer screen the controller
software
NOTE:
Controller does not have a DHCP client, it
will not automatically configure itself with a usable
IP address. Consult your Network Administrator for
configuring a correct IP address for your network.
The PC, Laptop or Tablet IP address will need to be
configured to communicate with the controller.
3.3 Enter Tool Information into the Controller
Attention: For proper operation of the tool, the tool
ratings, calibration and other information must be
entered into the tool setup screen.
This is done by navigating from the main menu to
Controller → Tool Setup
3.4 Quick Set Up (Default PSets from Tool)
On the Home Page press the following to accept
default PSet Parameters:
This will generate three generic PSets for the tool
connected to the controller. It will automatically use
the 40%, 60%, and 80% of the rated maximum torque
of the tool in a two-stage Torque Control Strategy
(TC_PM). A prompt will display rated Max Torque
and Max RPM of the connected tool for reference.
These Psets can be modified to meet application
requirements.


