


Installation (Getting Started)
2
Installation and Verification Manual
41
Operation Checks on Delivery
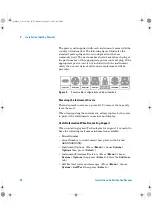
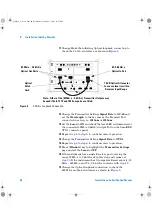
The following procedures give a quick Power-up and Back-to-
Back functional test of the optical interfaces using the optical
accessories provided. These checks should be performed by a
user or engineer familiar with making optical interface
connections.
1
For information on how to use the instrument and navigate
the graphical user interface, refer to the
Quick Reference
Guide
(supplied with the instrument).
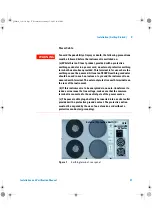
2
Connect the OmniBER OTN to the AC Power Line using the
Power Cord provided and set OmniBER OTN power switch
ON (located beside power inlet).
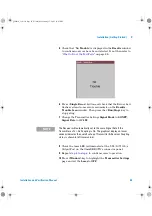
3
The fans should start and after a few seconds the display will
initialize and indicate the following.
Starting Instrument
Please wait.......
The Agilent Technologies splash screen will then be
displayed while the unit completes initialization.
4
On completion (approximately 30 seconds), the display will
change to the user windows with instrument settings. The
Instrument is now ready for use.
C A U T I O N
Safety precautions, care and connection cleanliness must be observed
to ensure that the optical connections are not damaged or degraded.
Ensure the recommended optical attenuation is present in all optical
loopback connections as failure to do so could cause test failure or
damage to the optical receivers.
To power-up the instrument
panther3_iv.book Page 41 Wednesday, January 15, 2003 12:03 PM